Best Before... Who Knows?

I wrote an article for Food + City Magazine about shelf life and four companies who are using innovation to help solve our country’s massive food waste problem. For more, read here.


November 2018
By Jill Santopietro

The next time you purchase perfectly heart-shaped strawberries on the East Coast, consider this: They were probably picked and packed into their plastic clamshells on a Central Valley farm in California between five and eight days ago.

They could have been harvested on a balmy 70-degree morning or in the 95-degree heat of mid-afternoon. Perhaps they sat in the field for one hour — or four. Maybe the pallets took five days to cross the country in a temperature-controlled trailer, or maybe the trailer refrigerator broke down halfway through the journey. Once at the store, the strawberries might have sat on the shelf for a day, or a few more. “Many things can impact shelf life,” says Kevin Payne, vice president of marketing at Zest Labs, a San Jose-based tech company trying to take the mystery out of produce shelf life. “But you can’t see those until the very end,” when 24 hours later, your picture-perfect ruby strawberries morph into camo-green fuzz balls.

Six dollars wasted. Dreams of strawberry shortcake vanished.

And now you can add that pound of trashed berries to the 400 pounds of food you personally waste each year. According to the Natural Resources Defense Council (NRDC), 40 percent of food produced for human consumption in the United States goes uneaten. Just one-third of that wasted food could feed the 48 million Americans living in food-insecure households.

Wasted food is bad for humanity, but experts believe it could be even worse for the earth. Food waste is responsible for 16 percent of our country’s methane emissions — the pollution equivalent of driving 37 million cars per year. Growing, processing, transporting and disposing of food uses roughly 10 percent of the U.S.’ energy budget, 50 percent of our land and 80 percent of our fresh water consumption. So, when you figure 40 percent of that goes unused, that’s a lot of unnecessary pollution accelerating climate change.

In the developing world, most food waste occurs in the field or in transit due to poor infrastructure or lack of refrigeration. But in the U.S. and the rest of the developed world, the majority of food is wasted on the farm, at the supermarket and at home.

The food industry had mostly resigned itself to these inefficiencies. “The approach has been that waste is the cost of doing business,” Payne says. “And the solutions have historically been reactive.”

That’s all starting to change thanks to a shift in food culture, environmental awareness, technological advances and a host of entrepreneurs shaking up the industry through food-shelf-life innovations.

POLLUTING THE PLANET

Wasted food is bad for humanity, but experts believe it could be even worse for the earth. Food waste is responsible for 16 percent of our country’s methane emissions — the pollution equivalent of driving 37 million cars per year. Growing, processing, transporting and disposing food uses roughly 10 percent of the U.S.’s energy budget, 50 percent of our land and 80 percent of our fresh water consumption. So when you figure 40 percent of that goes unused, that’s a lot of unnecessary pollution accelerating global warming and climate change. (Read on here.)


A Salad Fit for a King

 
Chicory Salad.jpg
 

When your good friend turns 75, invites his closest friends to a dinner in which each guest will contribute a different course, and then specifically asks you to make a salad because “you make THE best salads” (I blushed,) you look back at all the salads you’ve ever made for him or anyone else to find THE salad of all salads.

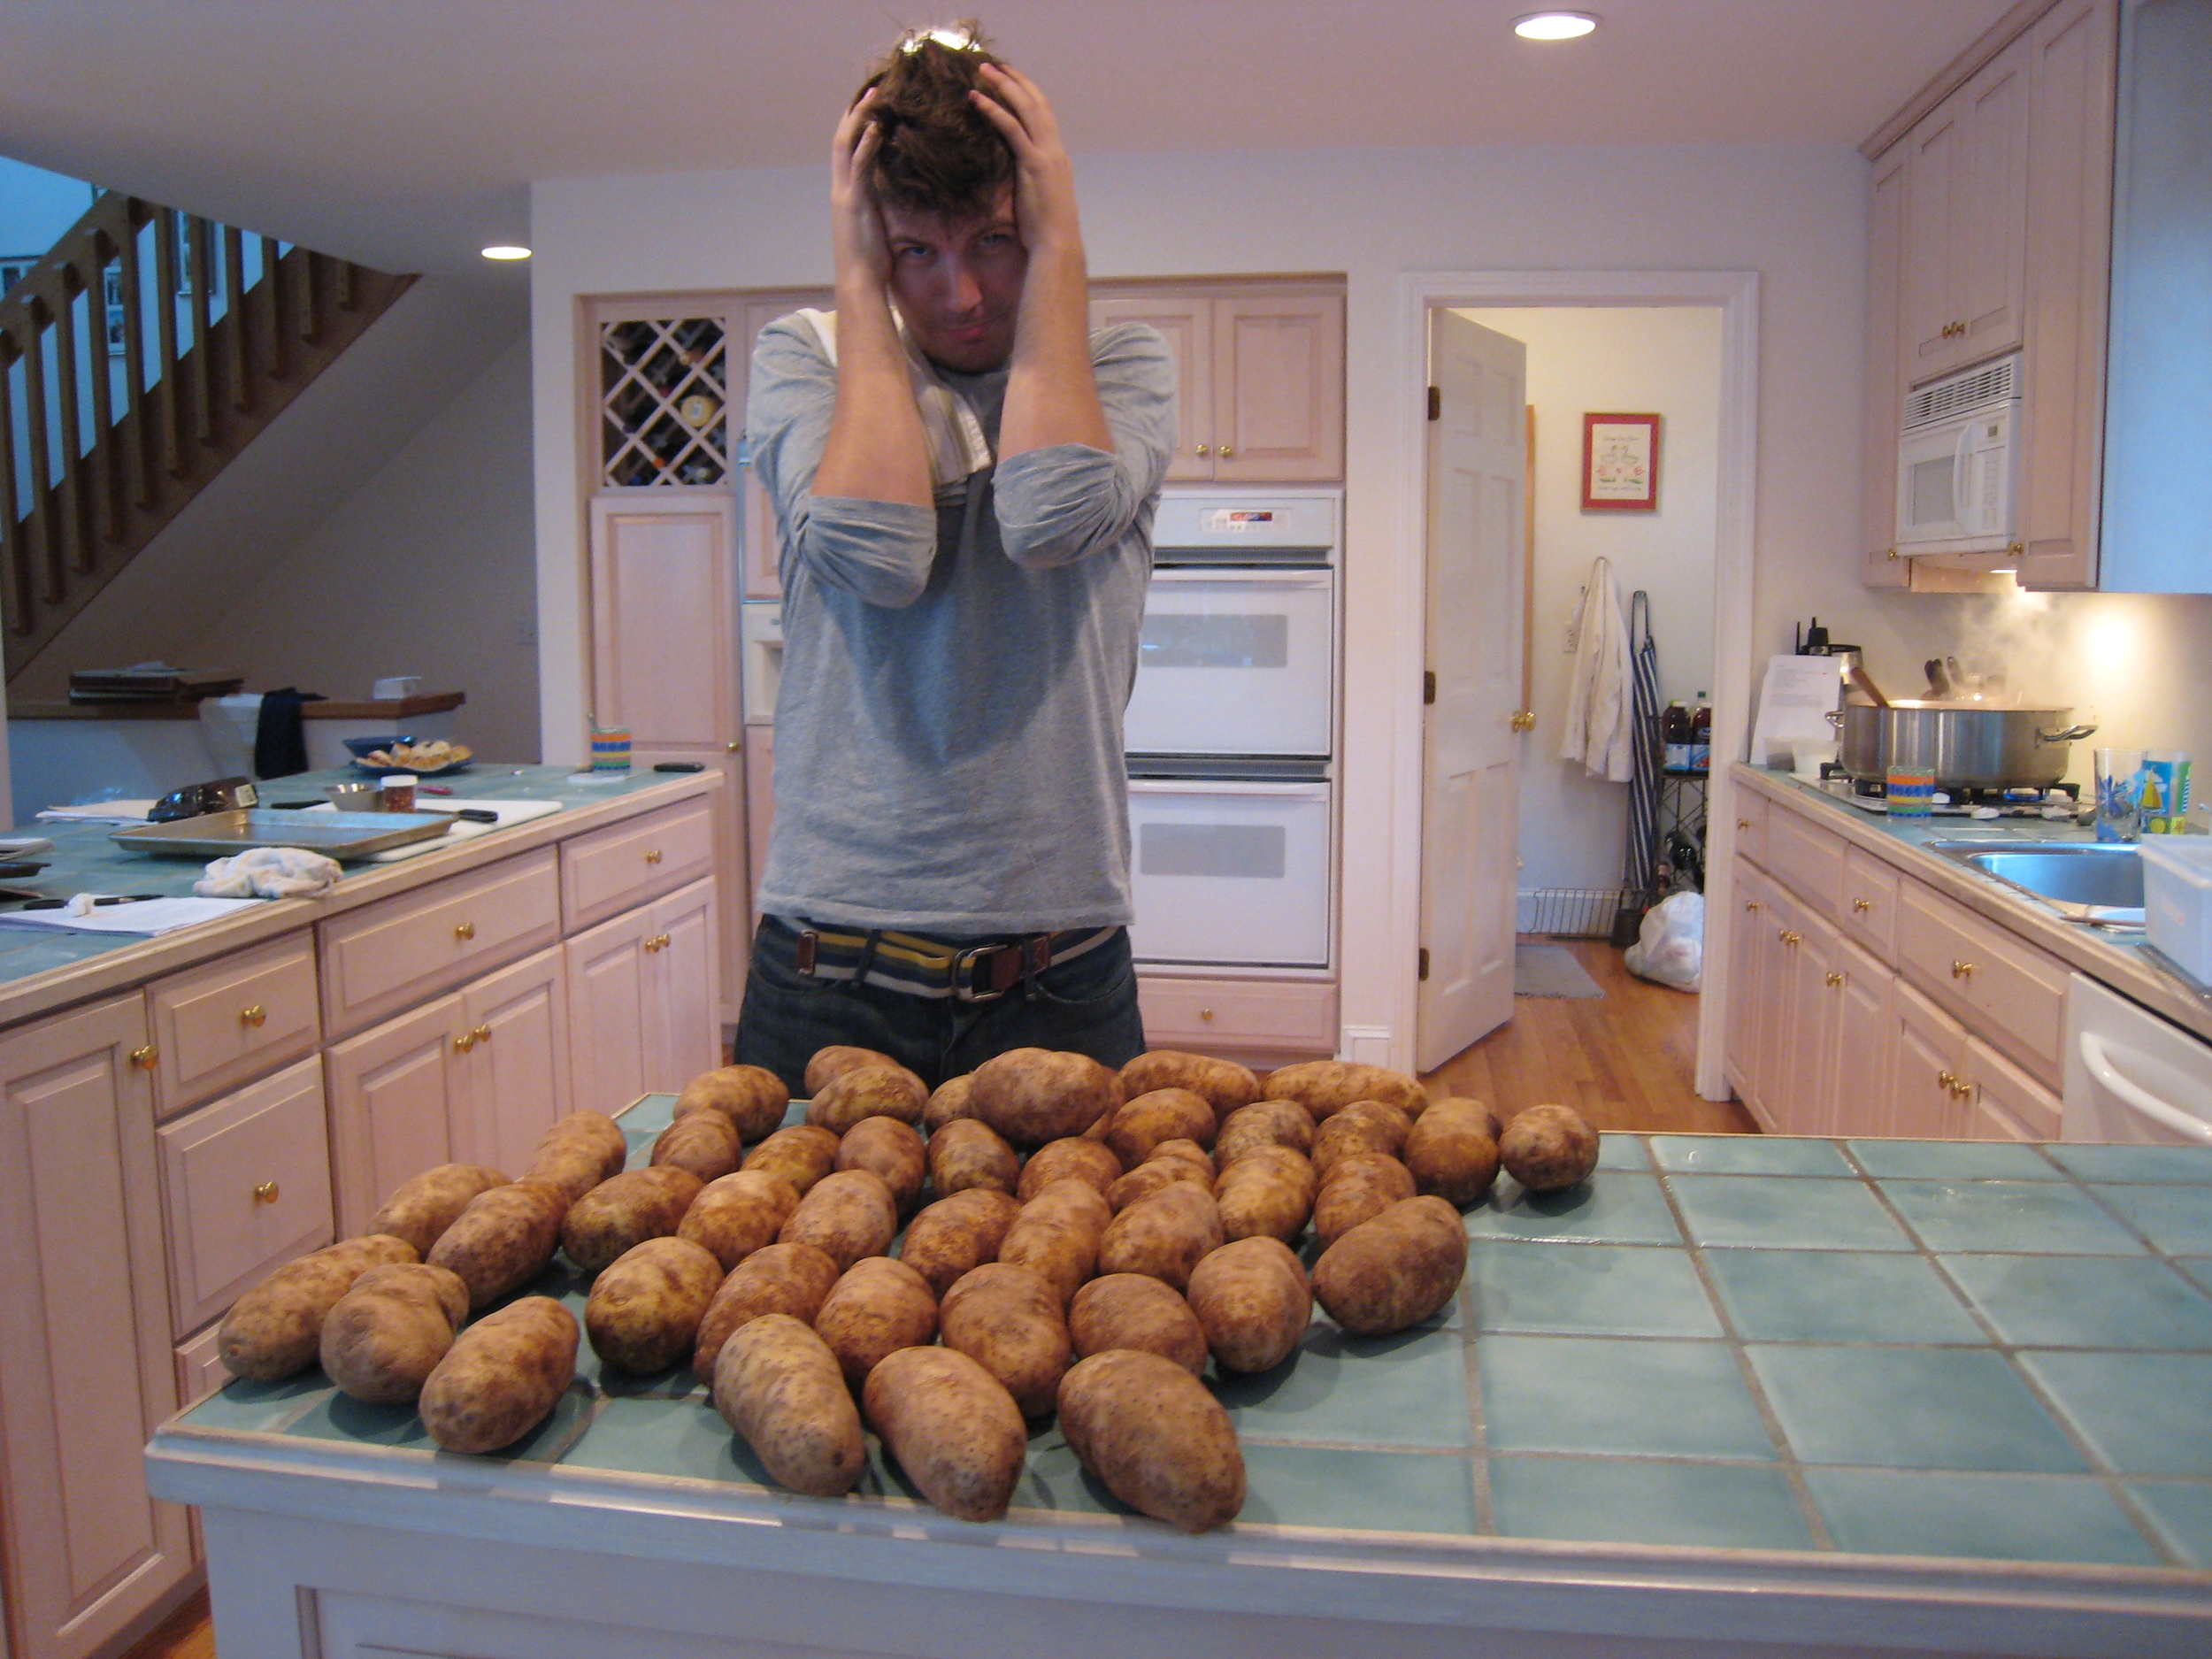
Gene is a serious shopper, especially when it comes to potatoes.

Gene is a serious shopper, especially when it comes to potatoes.

You see, this dinner wasn’t your average potluck; and our birthday boy Eugene Philips is not your average home cook. He is one of the best recreational cooks I know. He thinks about meals hours, days, sometimes months beforehand. And that’s one of the many reasons we became fast friends.

When John and I first moved to NYC, we’d visit the bar of Felidia’s for the occasional glass of wine and plate of pasta. Ruben was our bartender, and would chat us up and top off our glasses, knowing that we were not their average customer. One evening, eleven years ago, Ruben introduced John and me to Gene and his husband Brian, two of his other bar regulars. It was a month or so before our wedding. Gene and Brian ask us about our wedding food, and we told them that we were cooking it all ourselves. They didn’t balk or spit out their wine mid-gulp like most people did (even folks in the food biz.) Instead they smiled and pulled their chairs closer to us. We pulled our chairs closer to them, too.

Brian, left, and Gene, right, with our son Oliver.

Brian, left, and Gene, right, with our son Oliver.

Since that moment, we have been friends. John and I follow them around like baby ducklings. They travel for food – they are fortunate, and newly retired. Scotland, Japan, Myanmar, Mexico, France. We follow them whenever we can because, they don’t just travel, they create the traditional dishes of the places they visit. They go to the markets, take cooking classes, eat like the locals, and cook from traditional cookbooks. It doesn’t hurt that they adore our children and vice versus. They are part of our family now.

For the big three-quarter century event, I chose a chicory salad from Upland, which I wrote about for Bloomberg Pursuits a few years back. When I first tasted it, I couldn’t figure out what I was eating. And that’s because I was tasting the most subtle, umami-infused pixy-dust breadcrumb. Justin Smillie, the chef at Upland, should name it “breadgold,” not crumbs. Anchovy fillets are dehydrated in a low-temperature oven until your home smells absolutely amazing or absolutely fishy, depending on who you are. Then they’re crumbled into a powder, and mix with toasted breadcrumbs. This fishy pixy dust is delicious on salads or sprinkled over buttered spaghetti. A dust and salad fit for the king of home cooking. Happy Birthday, Eugene!


Chicory-Watermelon Radish Salad with Anchovy Crumbs

If pixy dust were food (and not the hallucinogenic kind,) this would be it. It will make you fly!

If pixy dust were food (and not the hallucinogenic kind,) this would be it. It will make you fly!

Adapted from Justin Smillie of Upland
Serves 6 as an appetizer; or 3 as lunch

For the anchovy crumb:
⅓ pound (about ⅓ large loaf) Italian white bread 
1 (2.8 ounce) jar oil-packed anchovy fillets, drained 
½ teaspoon extra-virgin olive oil

For the dressing:
2 tablespoons anchovy paste
2½ teaspoons Dijon mustard
1 teaspoon honey
½ small clove garlic, finely grated
2 tablespoons red wine vinegar
½ cup plus 2 tablespoons extra-virgin olive oil
Salt and freshly ground black pepper, to taste

For the salad:
1 watermelon radish, or other radish
4 cups ice water
1 head Little Gem lettuce 
1 head Treviso radicchio
1 head Tardivo radicchio
1 head Castelfranco radicchio
1 small head Lacinato kale
Salt and freshly ground black pepper
Juice of about 1 lemon
Extra-virgin olive oil, to drizzle

Directions
1. Make the anchovy crumb: Three days before preparing the salad, cut the crust off the bread; discard or save the crust for another use. Cut the crust-less bread into thick slices and lay on a baking sheet at room temperature to dry, ideally for three nights. (In a pinch, you can dry the bread for just one night but grind it a second time after toasting the crumbs, step 3 below.)

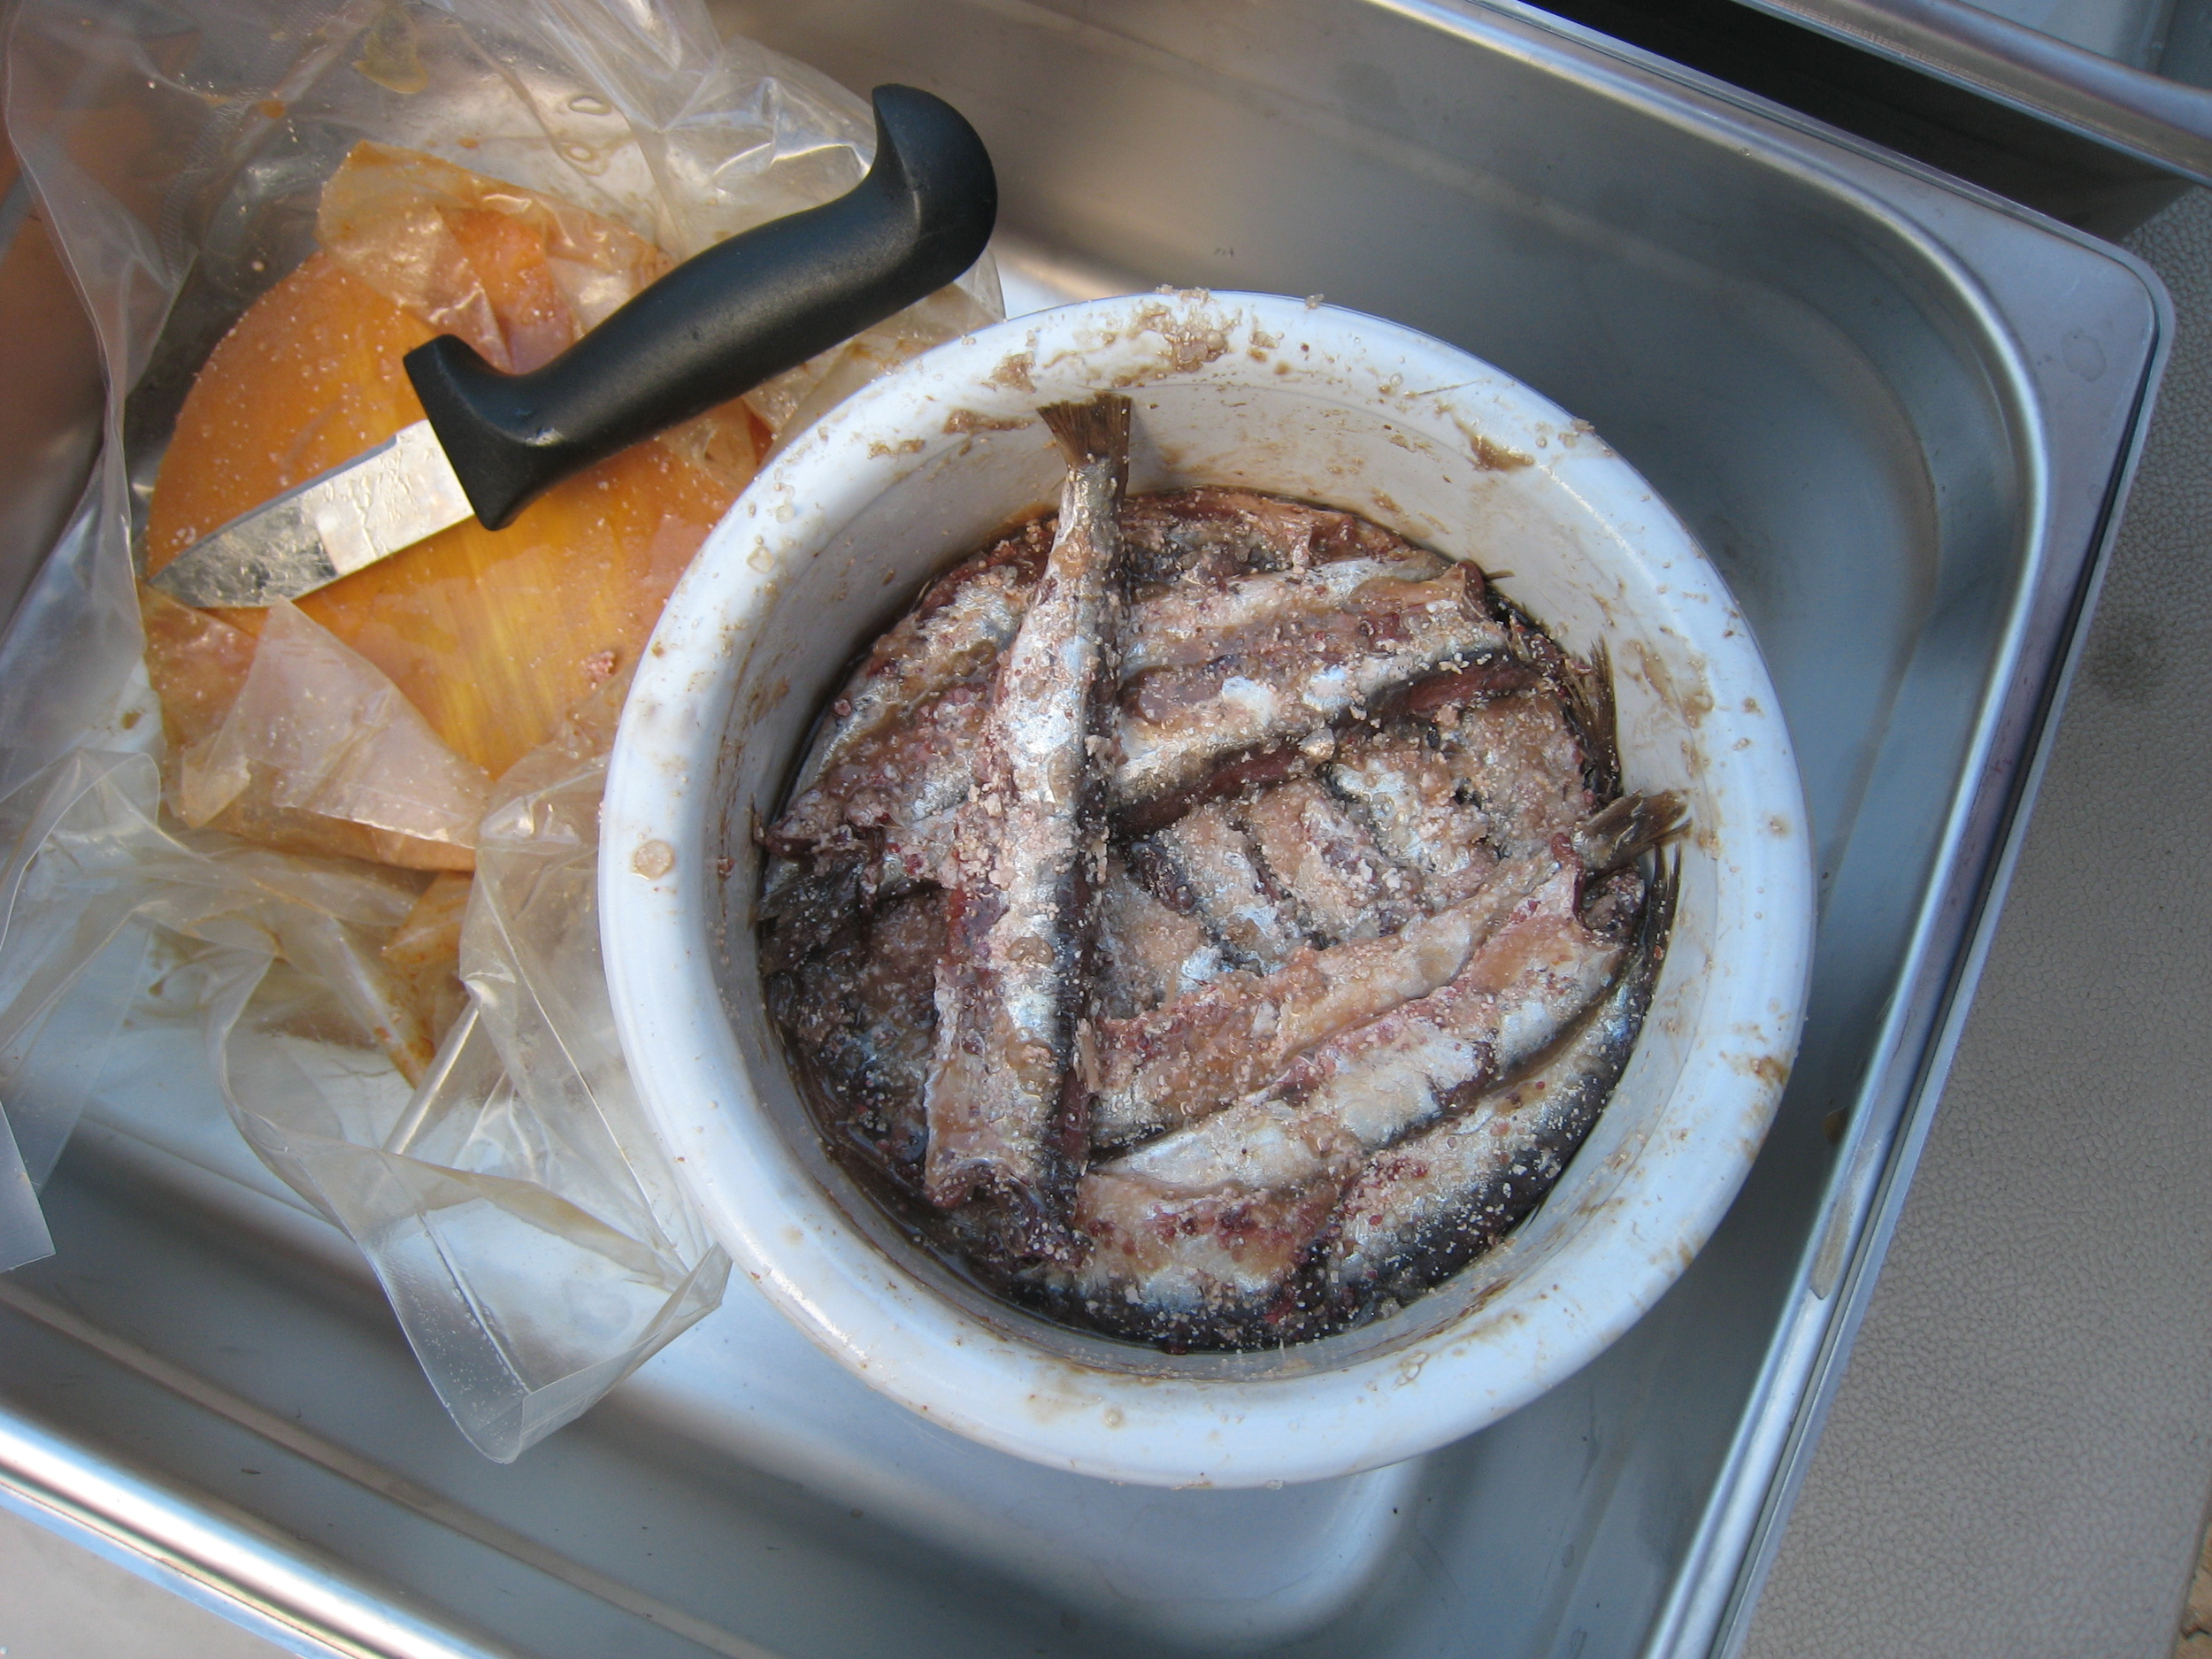
2. The night before, preheat the oven to 175°F. Lay the anchovies flat on a wire rack set over a small baking sheet. Set in the oven until dry, 8 to 10 hours. 

3. The next day, preheat the oven to 350°F. Place the bread slices in a food processor and puree into fine crumbs. Spread the crumbs on a baking sheet and bake in the oven until lightly browned, about 10 minutes. Let cool completely. Place 2 tablespoons of breadcrumbs in a small bowl and stir in ½ teaspoon of olive oil; set aside. Reserve the remaining breadcrumb for another use.

4. Using a mortar and pestle, grind the dried anchovies into a powder. (Alternatively you can crumble them using a rolling pin.) Combine the anchovies with the oiled breadcrumbs and set aside.

5. Prepare the salad dressing: In a medium bowl, combine the anchovy paste, Dijon mustard, honey, and garlic. Whisk in the red wine vinegar. Whisk in the olive oil in a slow stream. Season to taste with salt and pepper.

6. Prepare the salad: Using a mandolin, thinly slice the radish. Place the slices in an ice water bath and let soak for at least 15 minutes.

7. Remove the leaves from the heads of Little Gem, Treviso, Tardivo, and Castelfranco. Remove and discard the spine from the kale and tear the leaves in half. Wash and dry the leaves well, if needed.

8. Make the salad: Place 6 large handfuls of mixed leaves (about 12 leaves of each green) in an extra-large bowl. Place ¼ to ⅓ cup of the dressing around the bowl, sprinkle 1 tablespoon of the anchovy crumbs over the greens, and toss together using clean hands. Taste and season as needed with salt, pepper, and a drizzle of lemon juice and olive oil (about 1 tablespoon of each). Place the dressed greens in shallow bowls and tuck in some radish slices in each. Divide 1 tablespoon anchovy crumbs among the salads and sprinkle on top. Serve immediately.

Note: Dehydrated anchovies will keep for up to 3 weeks. Anchovy crumbs are best the day they’re made but will keep for a few days. 


Pierre Hermé’s Autumn Meringue Cake

 
IMG-6684 (1).JPG
 

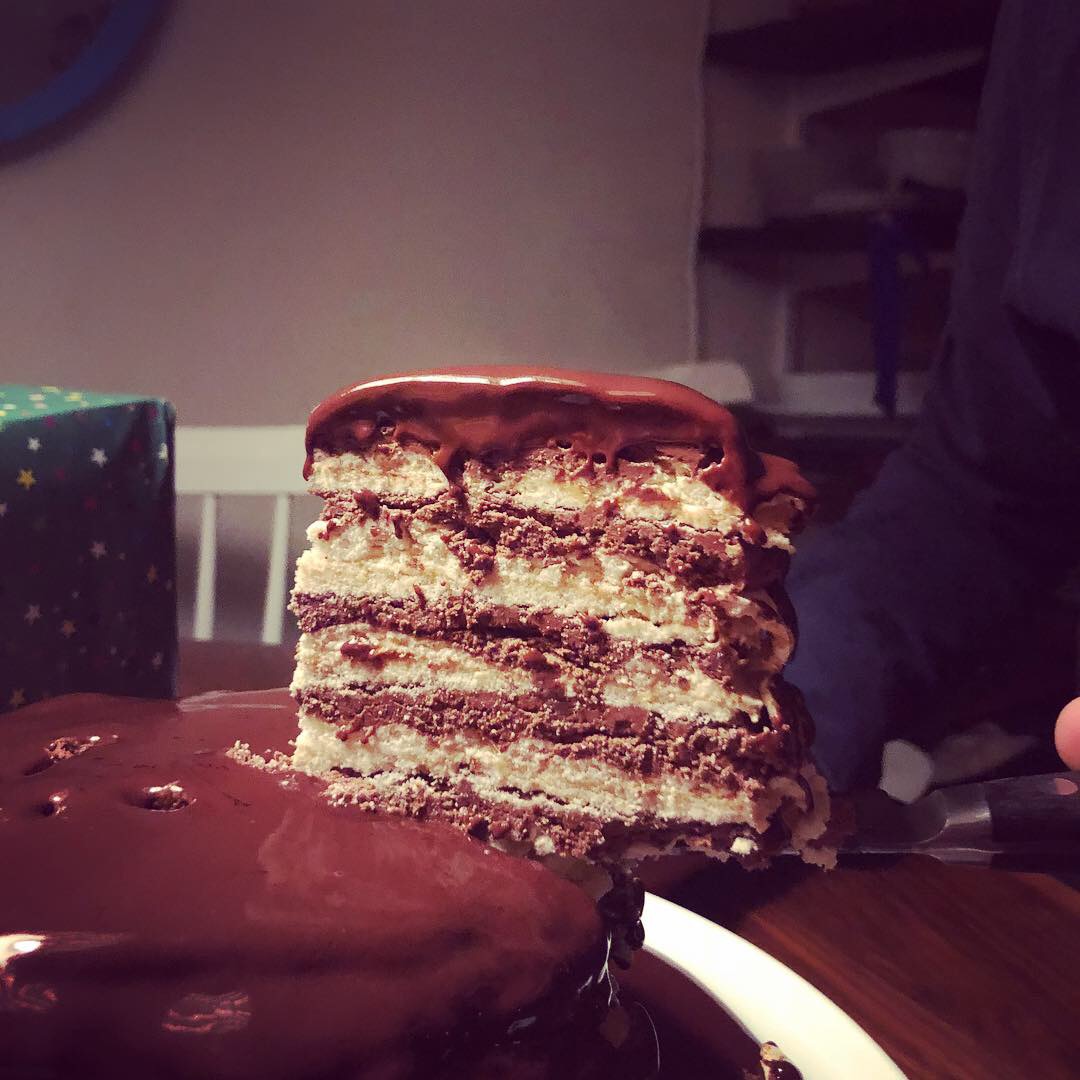
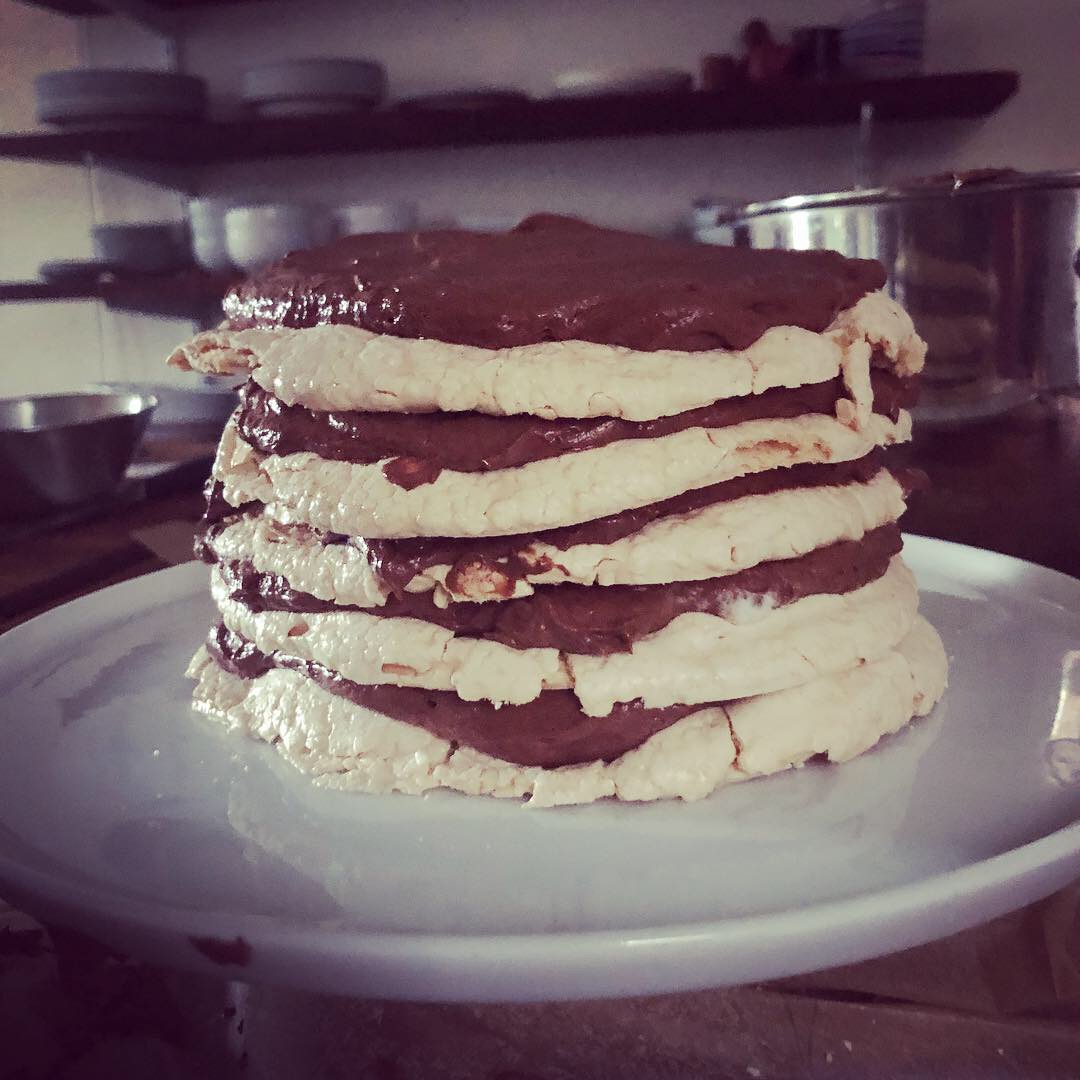
Baking a cake takes a village, especially when it’s Pierre Hermé’s Autumn Meringue Cake, which is the kind of dessert you’d imagine in the pretty glass case of his rue Bonaparte shop in Paris. The cake is made of meringue and chocolate mousse layers, piled high and covered in a fudgy glaze. Hermé would never call it fudgy, but Dorie Greenspan, who wrote Desserts by Pierre Hermé (Little, Brown and Company) with him, might. I’ve always loved the flavors of chocolate mousse but it doesn’t have enough contrasting texture for me. This cake solves that. Think of it as a giant macaron without the ground almonds.

It’s the cake my husband, John wants every year on his birthday. And every year he makes it for himself.

John is the baker in our house. I’m the baker when I need to be – when I’m making Amanda Hesser’s Dump-It-Cake for a children’s party or testing recipes for work.

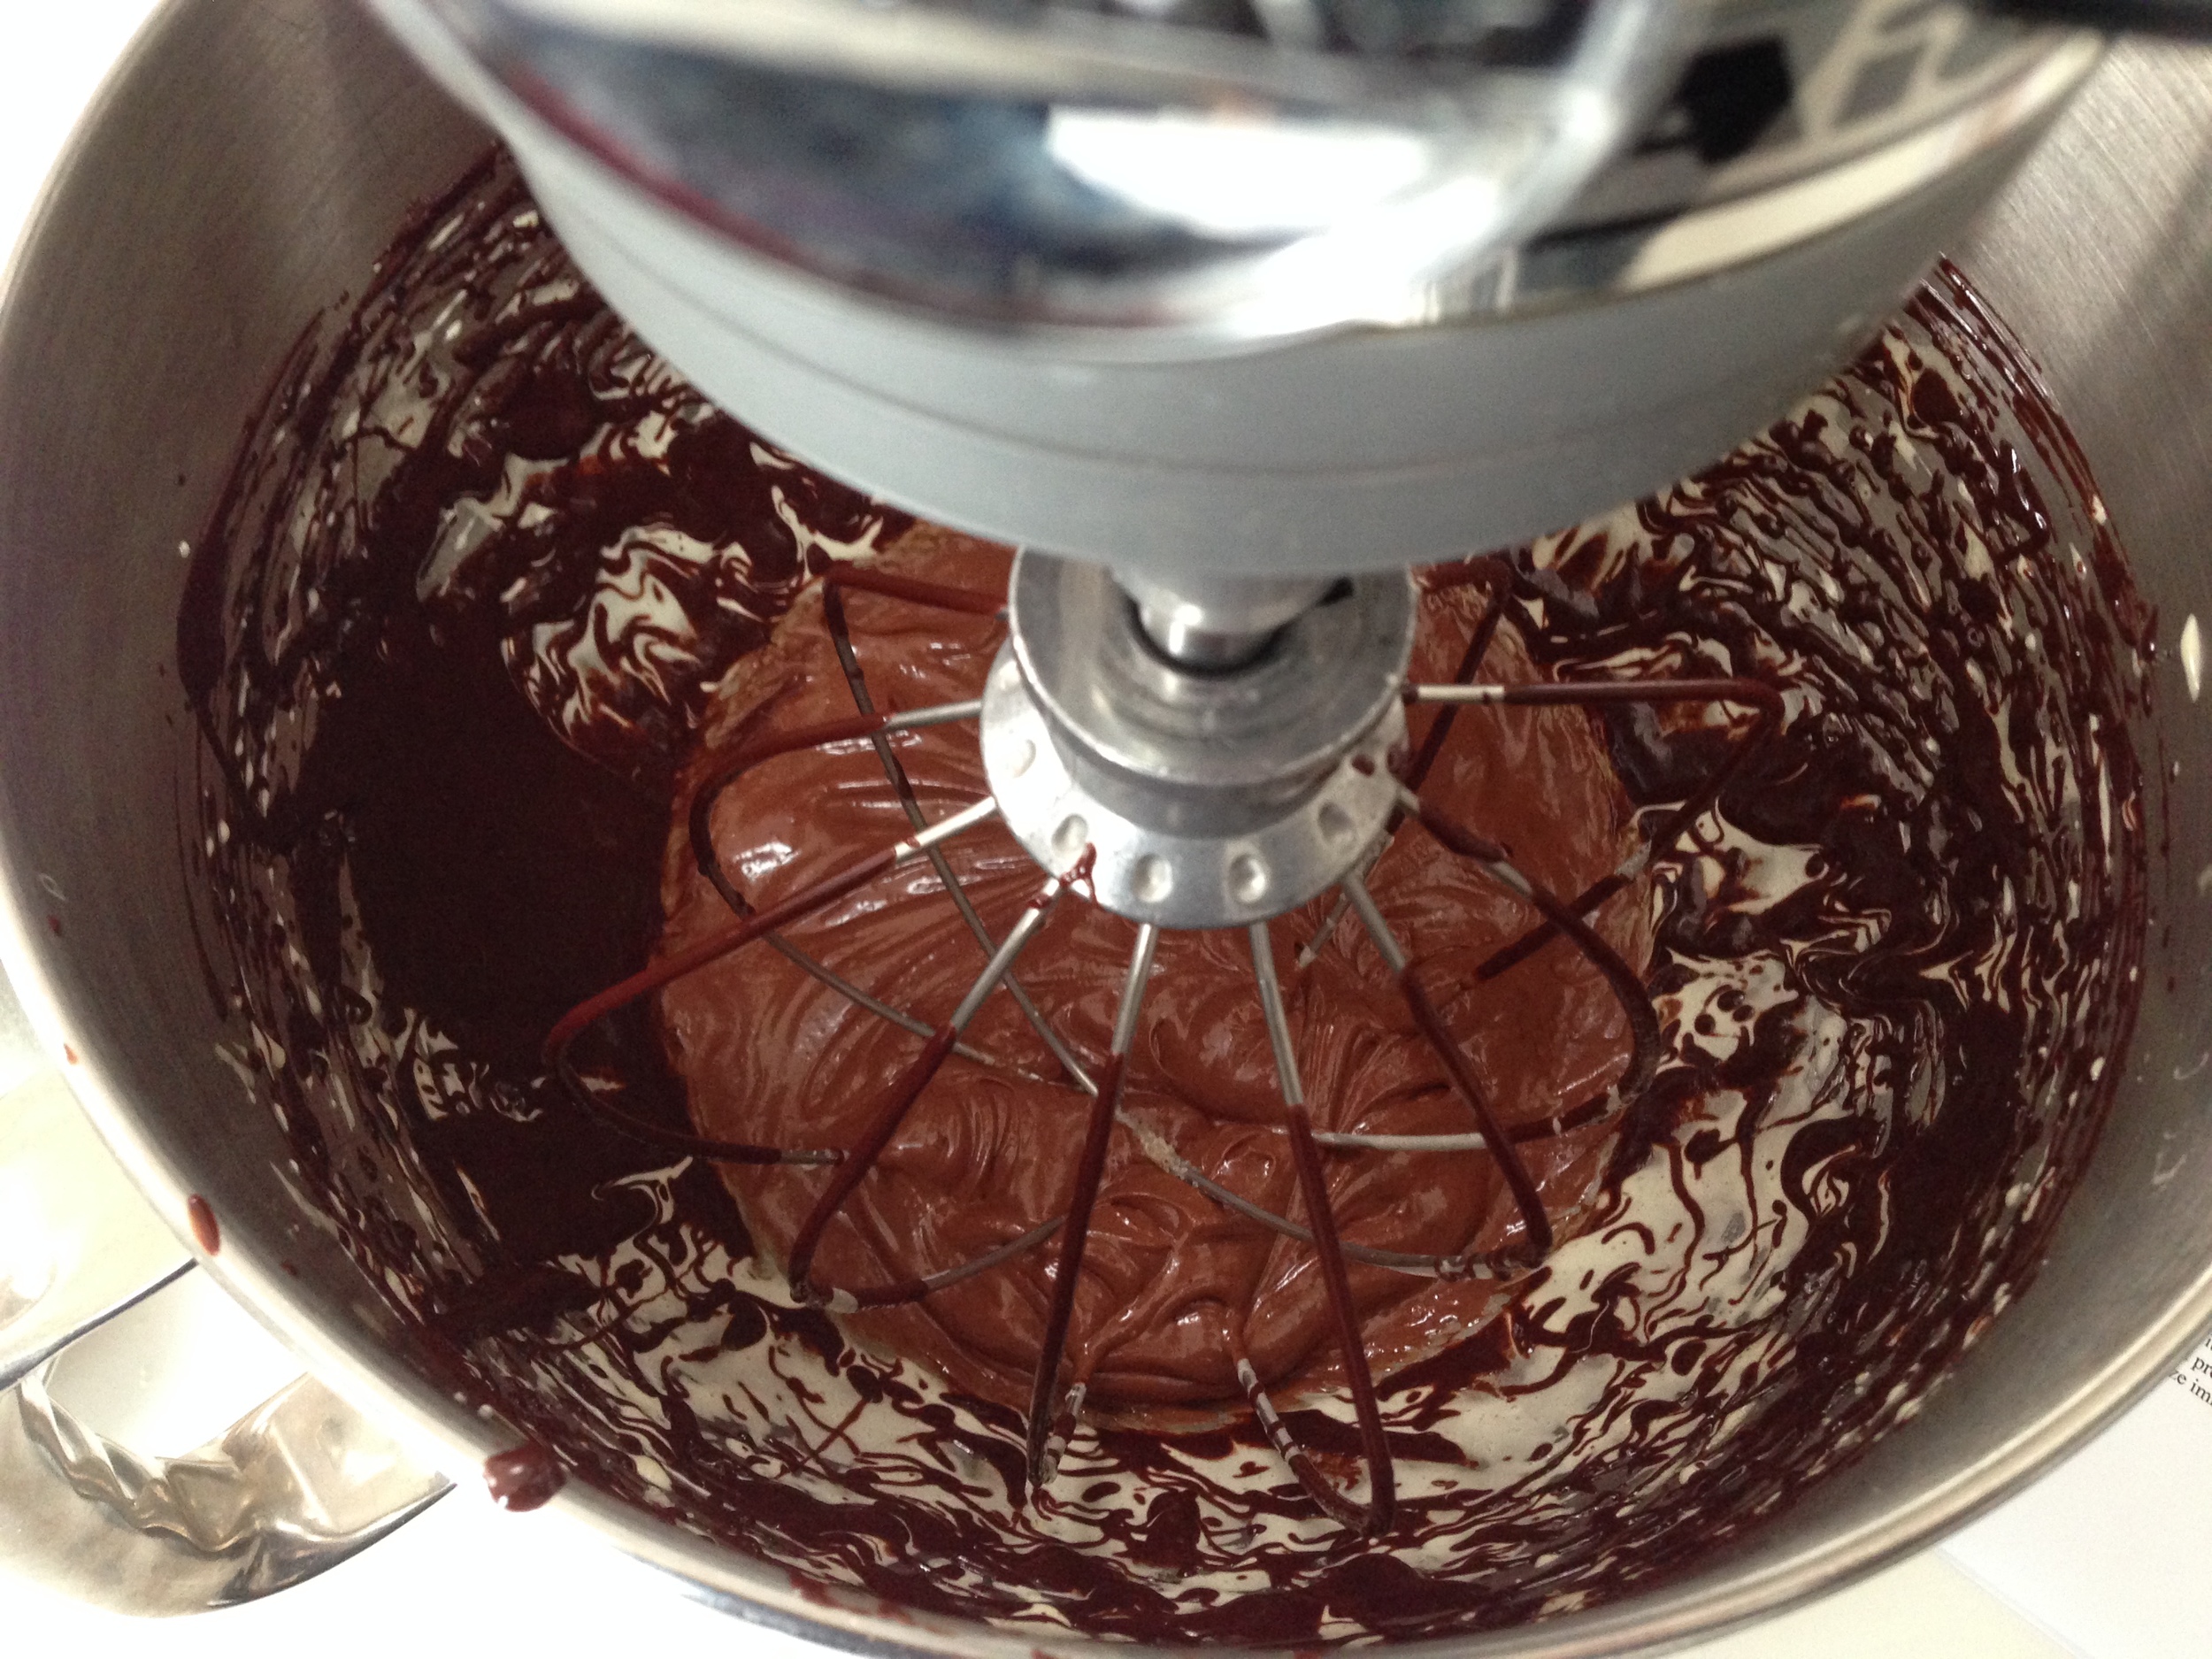
But this year, we couldn’t let him go it alone. So my kids and I whisked up three of the cake’s four components: the chocolate sauce, the chocolate mousse, and the chocolate glaze. John made the meringue.

As you make this cake, you begin to understand why some recipes belong to pastry chefs and others to home cooks. Hermé’s cake calls for a chocolate sauce of which only a few tablespoons are used in the mousse and glaze. I’m pretty convinced that you could cut this sauce entirely, adding some of its ingredients to other parts of the cake – maybe the crème fraîche could go directly into the mousse? That would make it a three-part cake instead of a four-part. But that’s for another day, another couple-hours worth of testing. I’d also add a little salt to all three parts of the cake. This book was written in 1998, before adding salt to desserts was SO on trend. I’d love to know why Hermé doesn’t add any salt cause I’m sure it’s for a reason. Finally, we made our cake narrower and taller. It’s supposed to be 3 9-inch layers of meringue and mousse for a total of 6 layers. We switched it to 5 layers of each, for a total of 10. The added height is impressive.

Here’s what I learned from finally making this cake:
1) sometimes making elaborate desserts and eating them on special occasions is worth the effort,
2) Dorie Greenspan is the most thorough and concise recipe writer of all time,
3) Pierre Hermé is a genius,
4) it does take a villages to raise children and make fancy cakes (can someone come over now and clean up my kitchen and kids?,
5) Autumn Meringue Cake could also be named Spring Passover Meringue Cake, as it’s both celebratory and flourless.

Below is the recipe. Brace yourself! And remember that dividing up the work between people or over days makes it manageable.


AUTUMN MERINGUE CAKE

Recipe adapted from “Desserts by Pierre Hermé,” written by Dorie Greenspan.
Serves 10 to 12

NOTE: All of the below cake components can be made and refrigerated ahead of the cake assembly. The sauce and glaze need to be rewarmed in a microwave or over a double boiler. See instructions for that below.
An instant read thermometer and piping bag are helpful. You can always make a piping bag though by cutting the corner of a Ziploc bag to 1/2 inch.


INGREDIENTS 

FOR THE MERINGUE:
4 large egg whites
1 cup sugar
3/4 teaspoon vanilla extract

FOR THE CHOCOLATE SAUCE:
4 1/2 ounces bittersweet chocolate
1 cup water
1/2 cup crème fraîche 
1/3 cup sugar

FOR THE CHOCOLATE MOUSSE:
9 ounces bittersweet chocolate
1 1/2 sticks unsalted butter, at room temperature
4 large eggs, separated
3 tablespoons Chocolate Sauce (recipe above)
1 tablespoon sugar 

FOR THE CHOCOLATE GLAZE:
1/3 cup heavy cream
3 1/2 ounces bittersweet chocolate
4 teaspoons unsalted butter, cut into 4 pieces, softened
7 tablespoons Chocolate Sauce (recipe above), warm or at room temperature 

 
INSTRUCTIONS

Make the Meringues:
1. Position the racks to divide the oven into thirds and preheat the oven to 250°F. Line two large baking sheets with parchment paper and fit a pastry bag with a plain 1/2-inch tip.

2. In an impeccably clean, dry mixing bowl with a clean, dry whisk attachment in place, whip the egg whites on high speed until they turn opaque and form soft peaks. Still whipping on high, gradually add half of the sugar and continue beating until the whites are glossy and hold firm peaks. Beat in the vanilla.

3. Using a rubber spatula, gradually fold in the remaining sugar. Work as quickly and delicately as you can to incorporate the sugar without deflating the whites.

4. To make meringue disks: pencil the outline of five 6-inch disks on the two pieces of parchment; turn the sheets of paper over. (If you can’t see the outline of the circles clearly now that the paper is flipped over, darken the pencil lines.) Gently spoon one third of the batter into the pastry bag and begin piping the batter at the center of a circle. Work your way in a spiral to the penciled edge and try to have each coil of batter touch the preceding coil. Pipe with light, consistent pressure and try to keep the disks thin – they shouldn’t be more than 1/3 inch high. Refill the bag twice more to pipe the remaining disks.

5. If there are any spaces in the disks, give them a once-over-lightly with a metal spatula. Place the baking sheets in the oven and insert the handle of a wooden spoon into the oven door to keep it slightly ajar. Bake the disks for 1½ to 2 hours, rotating the pans front to back and top to bottom two or three times, until firm and very lightly caramel colored. Turn off the oven and continue to dry the meringues for another 8 hours (or overnight) with the door closed.

6. Run an offset spatula under the cooled disks to loosen them from the paper.


Prepare the Chocolate Sauce:
7. Place all the ingredients in a heavy bottomed 2-quart saucepan and bring to the boil over medium heat, stirring constantly. Reduce the heat to low and simmer, stirring frequently, until the sauce thickens slightly and coats the back of a spoon (dip a wooden spoon into the sauce and draw your finger down the back of the spoon – if the sauce doesn’t run down, it’s done,) about 10 to 15 minutes. Let cool.


Prepare the Mousse:
8.
Melt the chocolate in a metal bowl over, but not touching, simmering water or microwave gradually until melted. Set the chocolate aside and using a thermometer cool to 104°F.

9. In a mixer fitted with a whisk attachment, beat the butter on high until light and fluffy. Lower the speed and add the chocolate in three additions, increasing the speed and beating well after each addition, then lowering it again before the next addition. You want to beat as much air as possible into this butter-chocolate mixture. Whisk the yolks together with the chocolate sauce and beat it into the butter chocolate mixture.

10. In a super clean dry bowl with clean beaters, whip the egg whites until they become white and foamy, then add the sugar and whip until the whites hold soft peaks. Working with a large flexible rubber spatula, fold a quarter of the whites into the chocolate mixture to lighten it, then lightly fold in the rest of the whites.


Make the Chocolate Glaze:
11.
In a small saucepan over medium heat, bring the heavy cream to a boil. Remove from the heat and, little by little, add the chocolate, stirring the mixture gently with a spatula in small circles. You want the chocolate temperature to reach 140°F. If it is too cool, warm it in a microwave or on top of a double boiler.

CakeBones.jpg

12. Slowly stir the butter and chocolate sauce into the 140°F chocolate mixer.


Assemble Cake:
13.
Place a meringue disk, flat side down, on a cardboard cake circle. (You can glue it to the cardboard using a dab of mousse in the center.) Spread one fifth of the mousse evenly over the disk. (If the meringue breaks, glue it together with mousse.) Top with a second meringue disk, and then another one-fifth of the mousse. Repeat until all the disk and mousse has been used. Refrigerate for 2 hours to firm.
14. Just before pouring the glaze over the cake, warm it to 114°F in a microwave or over a double boiler.

15. Place cake on a cooling rack set over a wax paper-lined baking sheet. Pour the warmed glaze over the cake, letting it run down the sides. Serve immediately or let set in the fridge. If refrigerated for over 6 hours, let rest for 1 hour at room temp before serving.


DIY Granola Bars

 
IMG_3102.JPG
 

For years, I considered granola bars the work of Clif and Luna; not me. But they're as easy to make as Rice Crispy Treats. Sure there are few more ingredients to buy and you need to toast the dry foods before tossing them into your sticky mixture. But that’s it!

I still buy store-bought granola bars because they’re convenient, especially when traveling. But for a dollar, sometimes more, each, they add up. Not too mentioned, I find most overly sweet and oftentimes artificial tasting.

By making your own, you have control. You can adjust the flavors, swap the sweetener from rice syrup to honey or agave, and add less or more of it. You can eliminate some of the more esoteric ingredients like flaxseed meal, wheat germ, and coconut, and stick to a plainer bar. The possibilities are many.

Here are two recipes to start with:


Cherry Power Bars

I like 18 Rabbits’ figs and cherry bar, but I knew it could be even better. This chewy dried cherry bar has a nice balance between tart and sweet. Plus with all that wheat germ and flax seed, as well as oats and nuts, it’ll power you through the day.

IMG_3091.JPG

Nutritional information: Serving Size 1 Bar (1.9 oz/56g), Calories 225, Total Fat 9.1g, Saturated Fat 2.1g, Trans Fat 0g, Cholesterol 3.1mg, Sodium 74mg, Total Carb 42.9g, Fiber 5.1g, Sugars 16.5g, Protein 5.1g. (Nutritional information was calculated via SparkRecipes’ Recipe Calculator.)

1 tablespoon unsalted butter, plus more for coating the pan
2 cups rolled oats (not instant)
½ cup raw sliced almonds
½ cup raw walnut halves, finely chopped
¼ cup raw wheat germ
2 tablespoons unsweetened, untoasted, dried coconut flakes
2 tablespoons flax seed meal
¼ cup honey
3 tablespoons packed dark brown sugar
1 teaspoon ground cinnamon
1 teaspoon vanilla extract
¼ plus 1/8 teaspoon fine salt
¾ cup dried, pitted cherries (about 4 ounces), finely chopped

1. Heat the oven to 350°F and arrange a rack in the middle. Coat an 8-by-8-inch baking pan with butter; set aside.
2. Place oats, almonds, walnuts, wheat germ, coconut, and flax seed meal on a rimmed baking sheet, toss with your hands to combine, and spread in an even layer. Bake, stirring halfway through, until walnuts are light golden brown, about 12 minutes. Transfer to a wire rack. Reduce the oven temperature to 300°F.
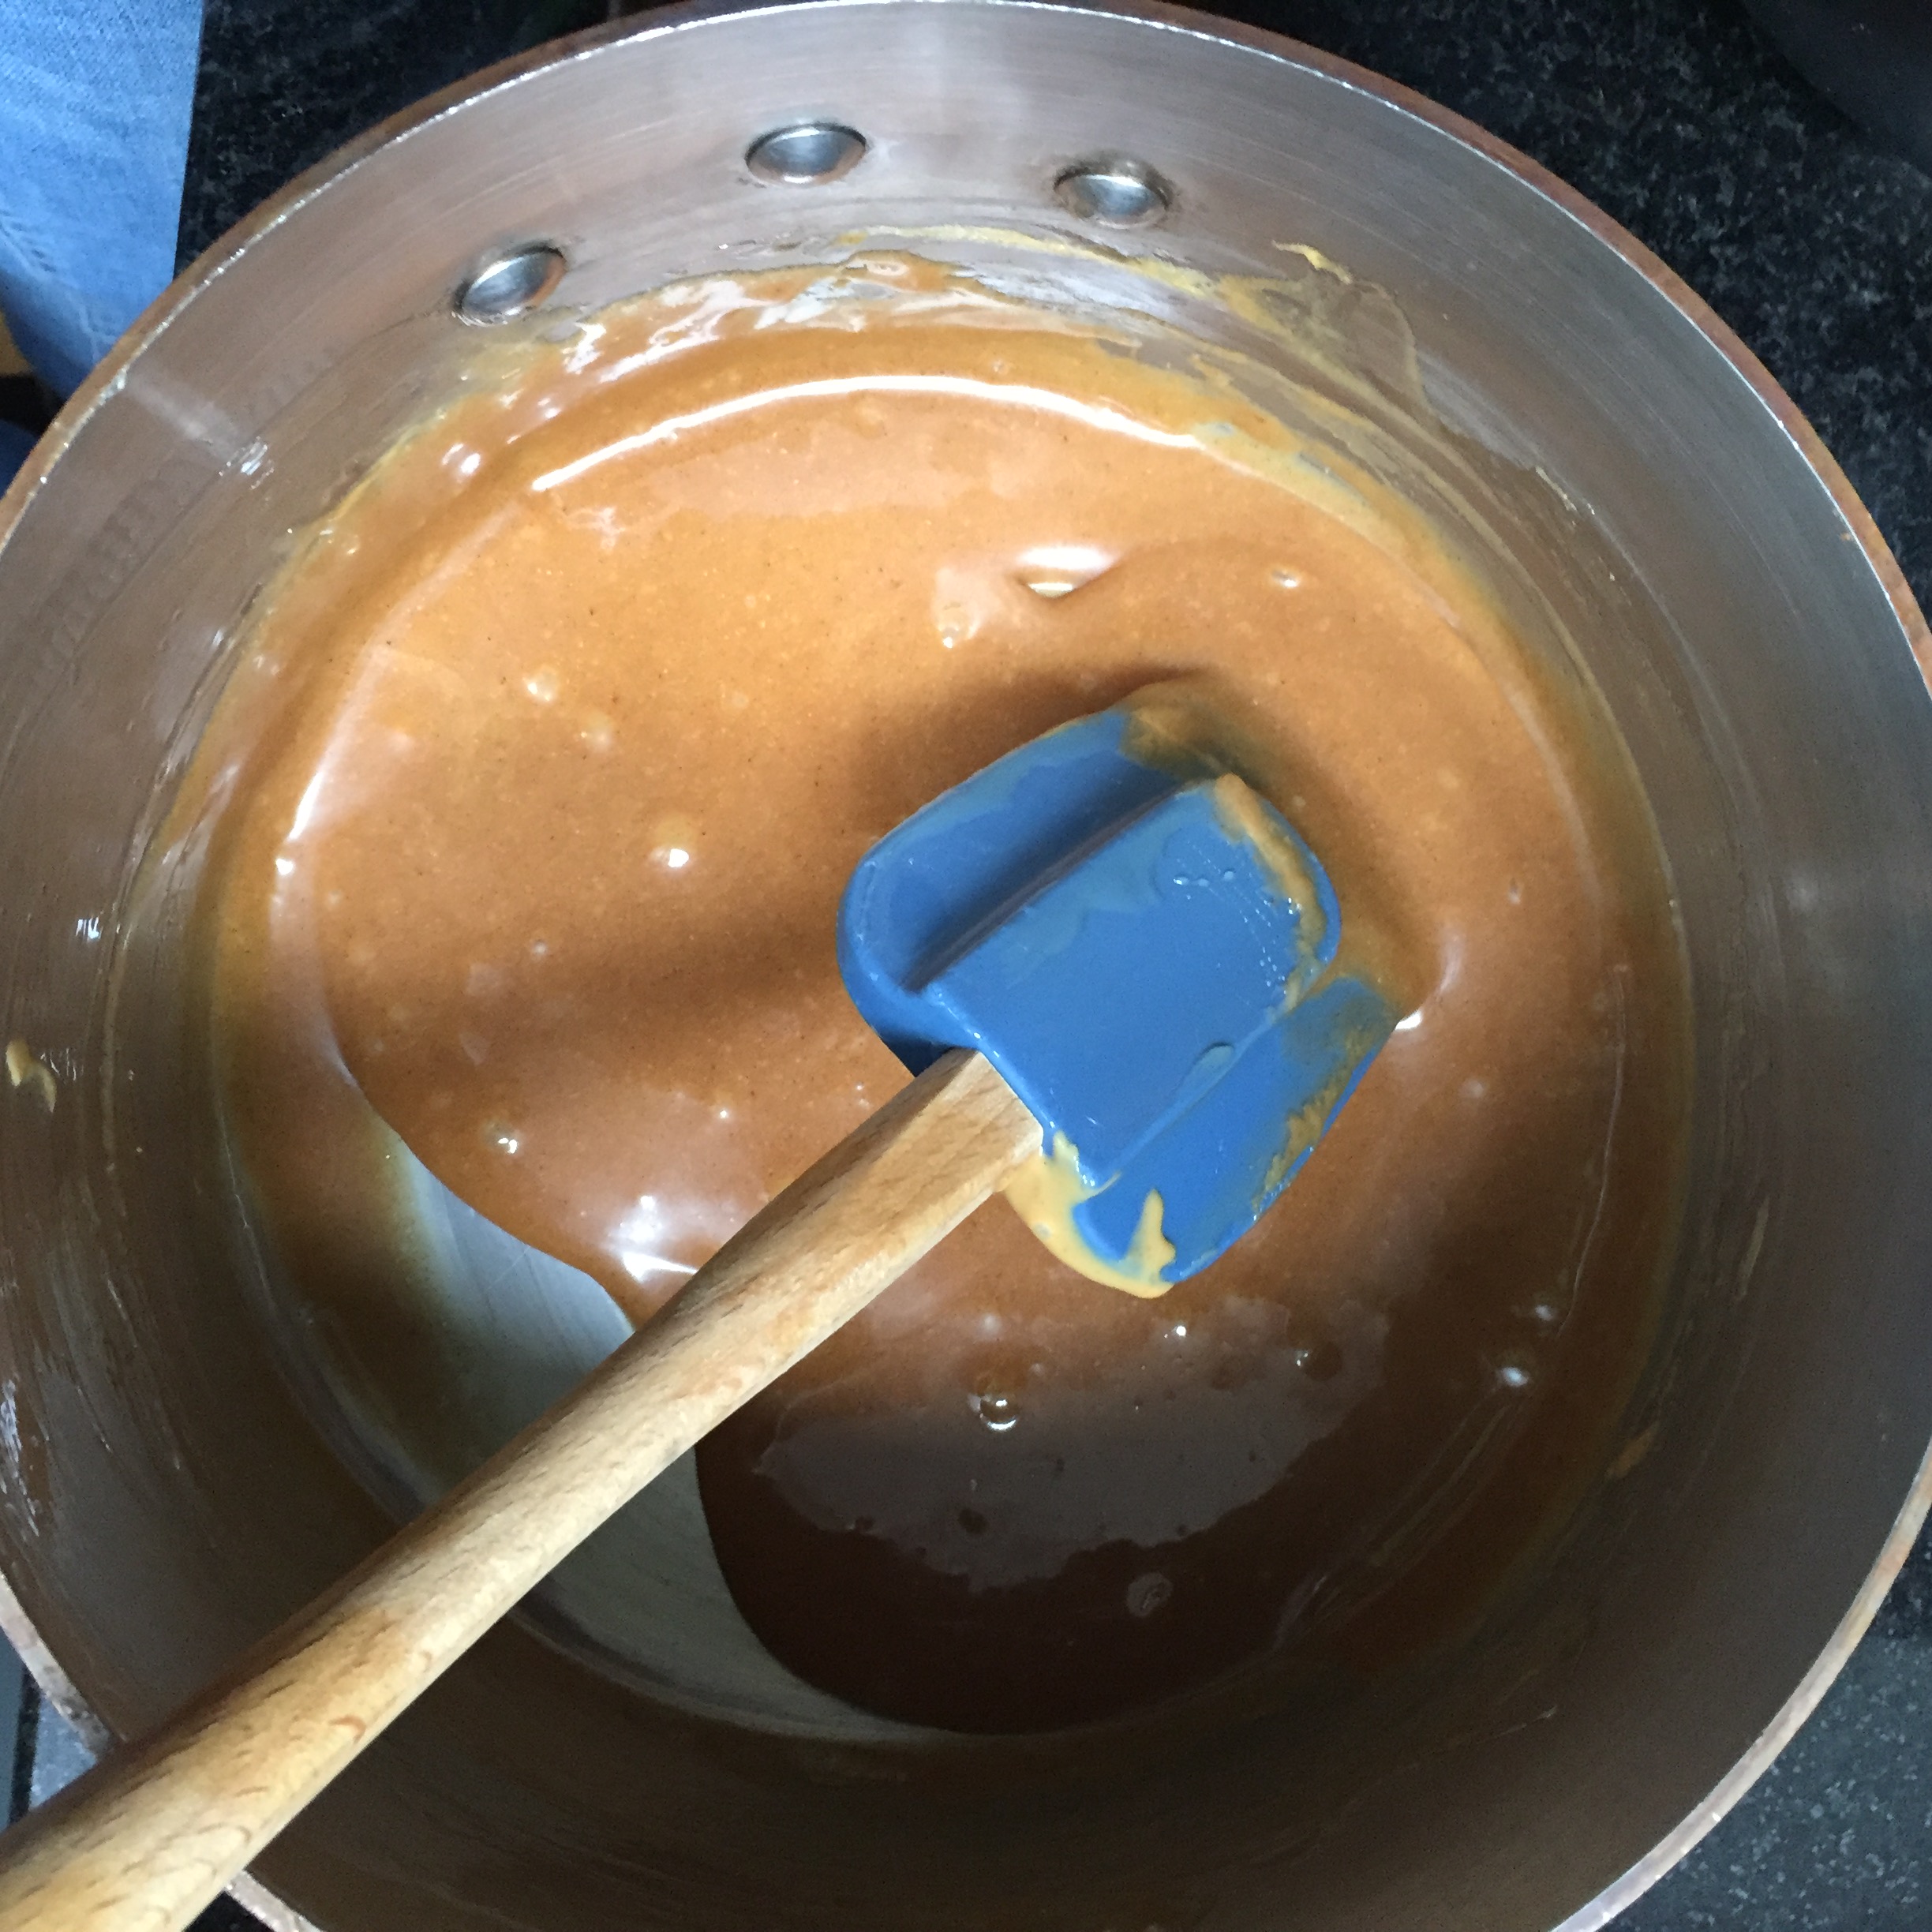
3. Place honey, brown sugar, measured butter, cinnamon, vanilla, and salt in a medium saucepan over medium-low heat and stir until mixture is smooth and combined and brown sugar has dissolved. Remove from heat and immediately add oat-nut mixture and cherries to the saucepan, stirring until combined. Transfer to the prepared baking pan, spreading the mixture evenly with a spoon.
4. When the mixture is cool enough to handle but is still warm, dip your hands in water to prevent sticking and press the mixture evenly and firmly into the pan. Bake until aromatic, about 10 minutes. Place the pan on a wire rack to cool completely.
5. Remove the granola slab from the pan. Cut it in half to form two rectangles, then cut each rectangle widthwise into 5 bars to form 10 bars total. Wrap each bar in parchment or wax paper or plastic wrap. Store at room temperature for up to 3 days or freeze in a sealed plastic bag for up to 3 weeks; let frozen bars come to room temperature before eating. Makes 10 bars. –Jill Santopietro for CHOW.com.


Chocolate Victory Bars

I started experimenting with this recipe when news of salmonella-tainted peanut butter broke in October 2009 and my favorite energy bars, Luna Nutz Over Chocolate, were pulled from grocery stores. Think of these fairly nutritious peanut-chocolate bars as less of a diet food and more of a healthy candy bar.

Nutritional information: Serving Size 1 Bar (1.8oz/52g), Calories 218, Total Fat 8.5g, Saturated Fat 2.4g, Trans Fat 0g, Cholesterol 0.8mg, Sodium 122mg, Total Carb 37.7g, Fiber 3.9g, Sugars 13.7g, Protein 4.8g. (Nutritional information was calculated via SparkRecipes’ Recipe Calculator.)

Oil, for coating the pan
1½ cups crispy brown rice cereal
1 cup rolled oats (not instant)
½ cup raw sliced almonds
¼ cup raw wheat germ
2 tablespoons unsweetened, untoasted, dried coconut flakes
2 tablespoons flax seed meal
½ cup brown rice syrup
3 tablespoons natural smooth unsalted peanut butter
1 tablespoon packed dark brown sugar
1 teaspoon vanilla extract
½ teaspoon ground cinnamon
¼ plus 1/8 teaspoon fine salt
1/3 cup bittersweet or semisweet chocolate chips

1. Heat the oven to 350°F and arrange a rack in the middle. Coat an 8-by-8-inch baking pan with butter; set aside.
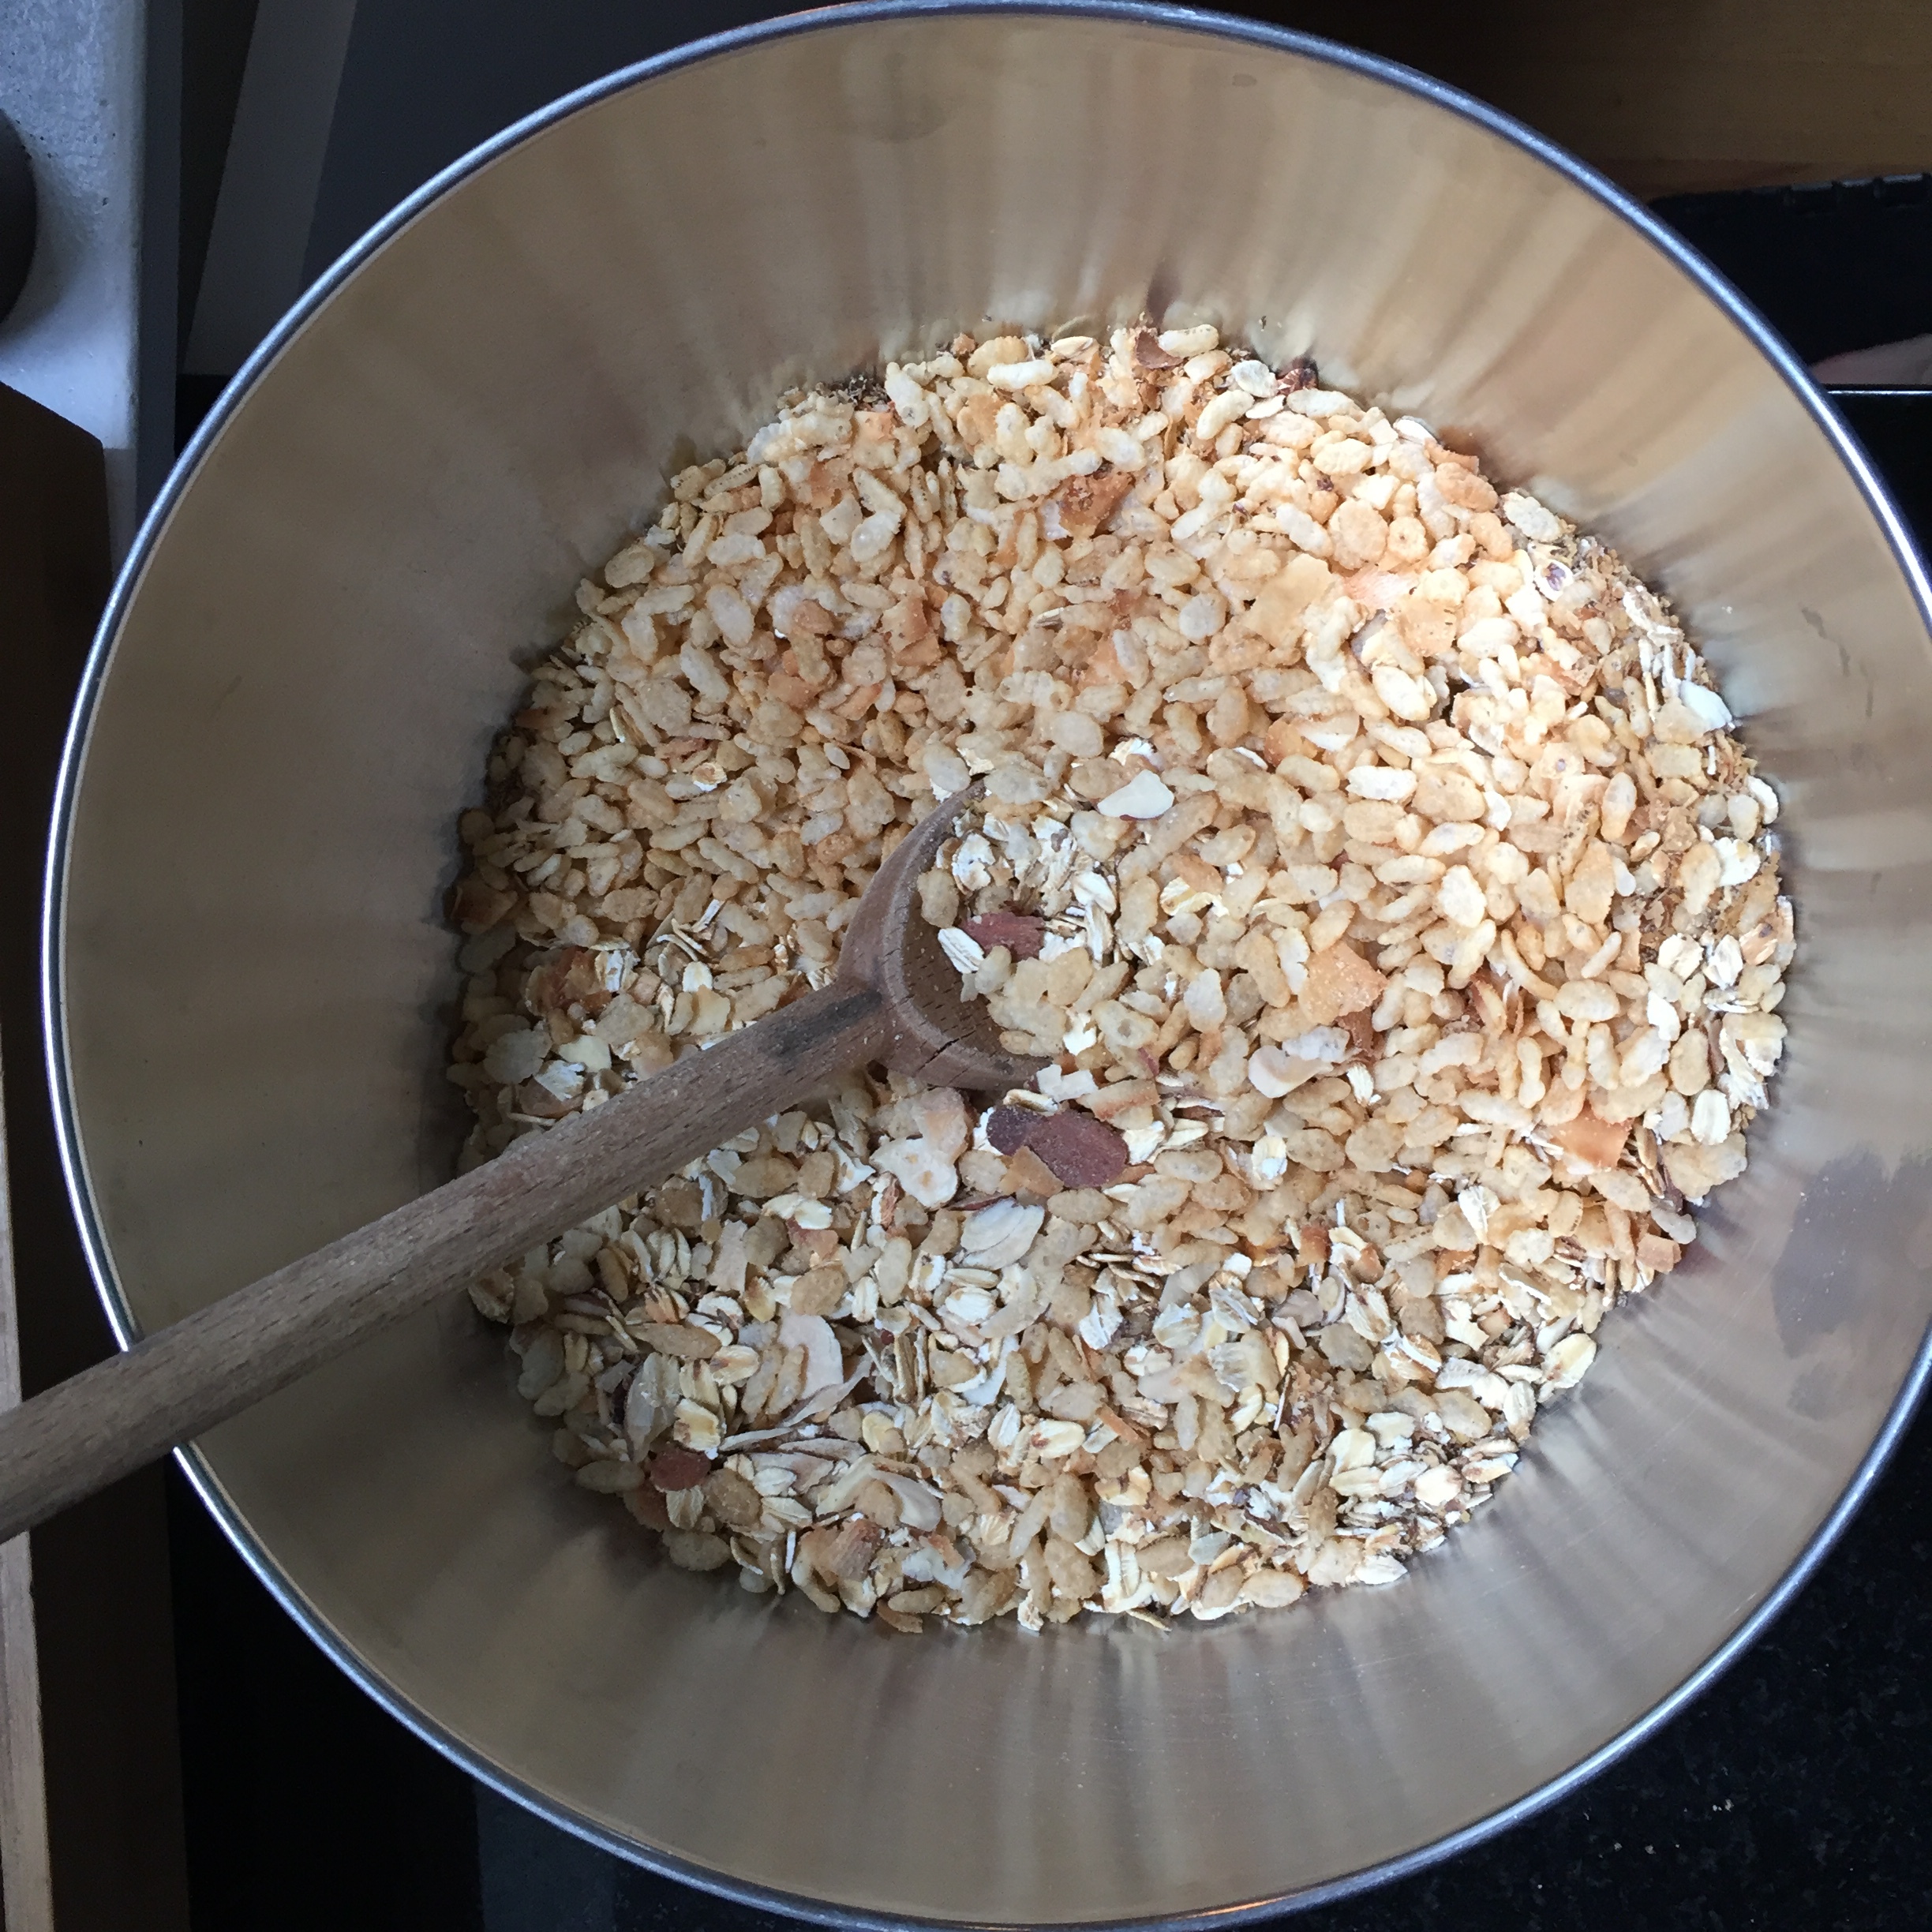
2. Place rice cereal, oats, almonds, wheat germ, coconut, and flax seed meal on a rimmed baking sheet, toss with your hands to combine, and spread in an even layer. Bake, stirring halfway through, until almonds are light golden brown, about 12 minutes. Transfer to a wire rack.
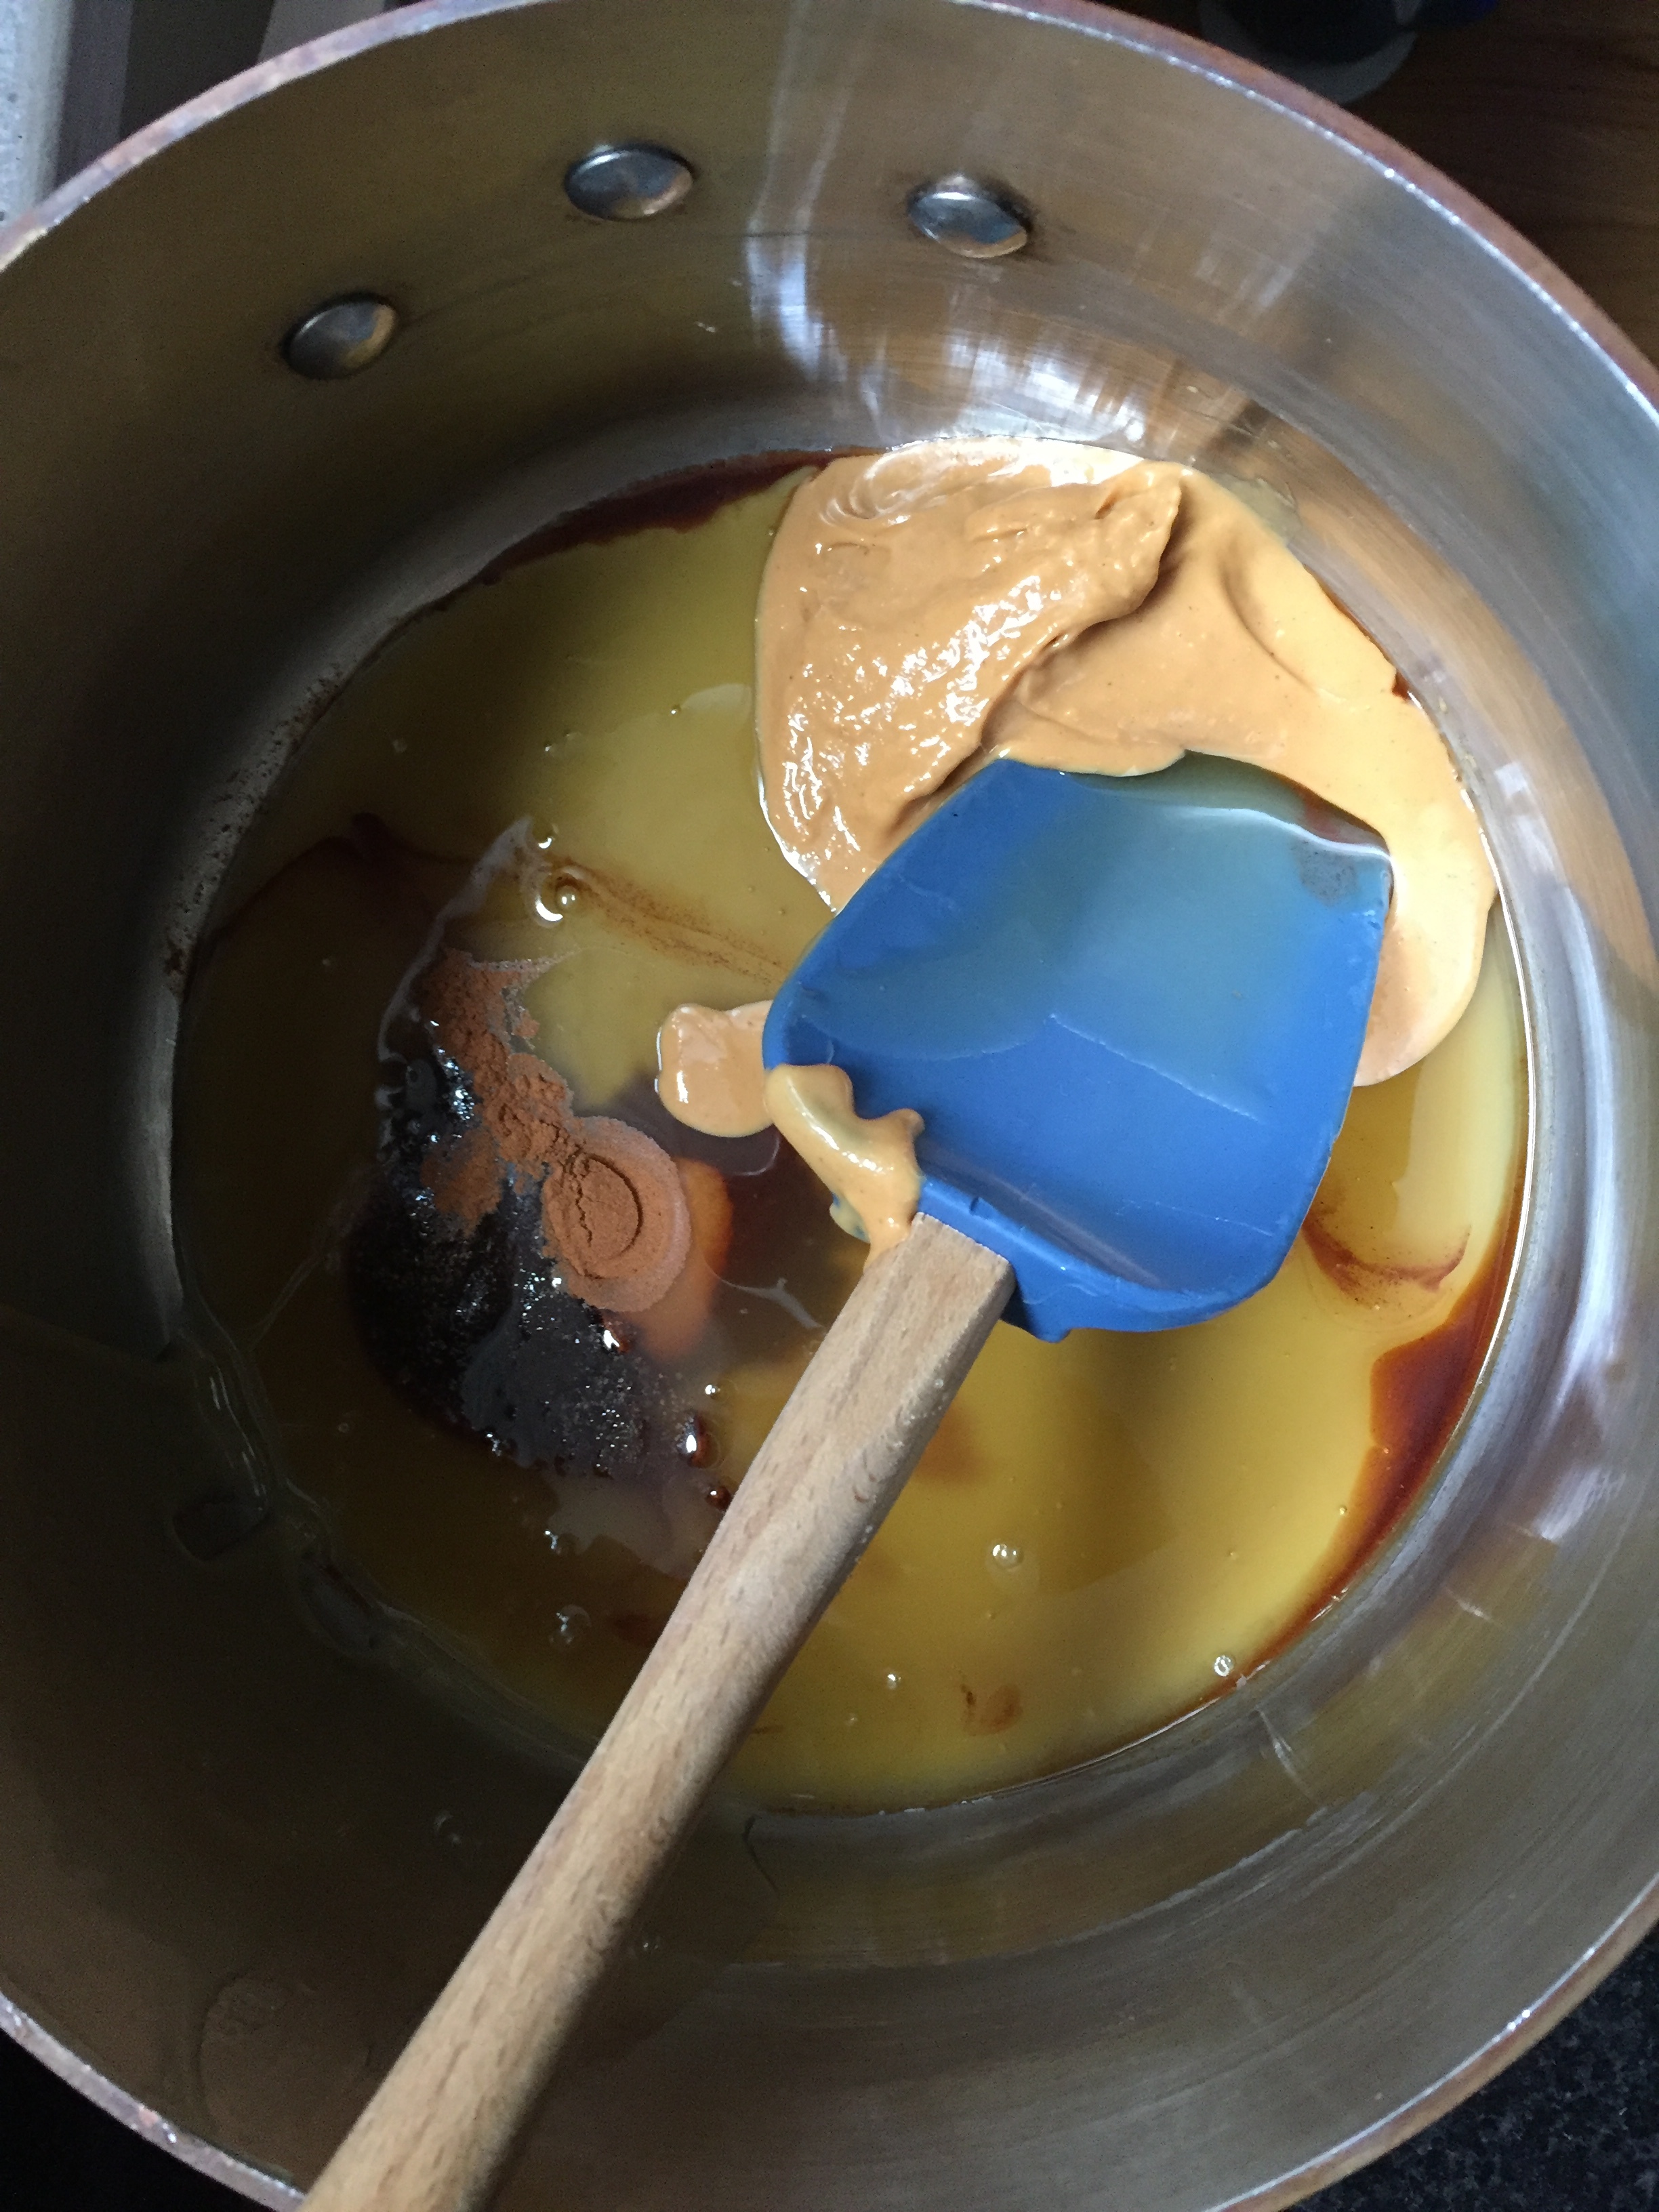
3. Place rice syrup, peanut butter, brown sugar, vanilla, cinnamon, and salt in a medium saucepan over medium-low heat. Stir until mixture is combined and brown sugar has dissolved. Remove from heat, immediately add cereal mixture, and stir until combined. Transfer mixture to the prepared baking pan and, using a spoon, spread it evenly, pushing it into the corners.
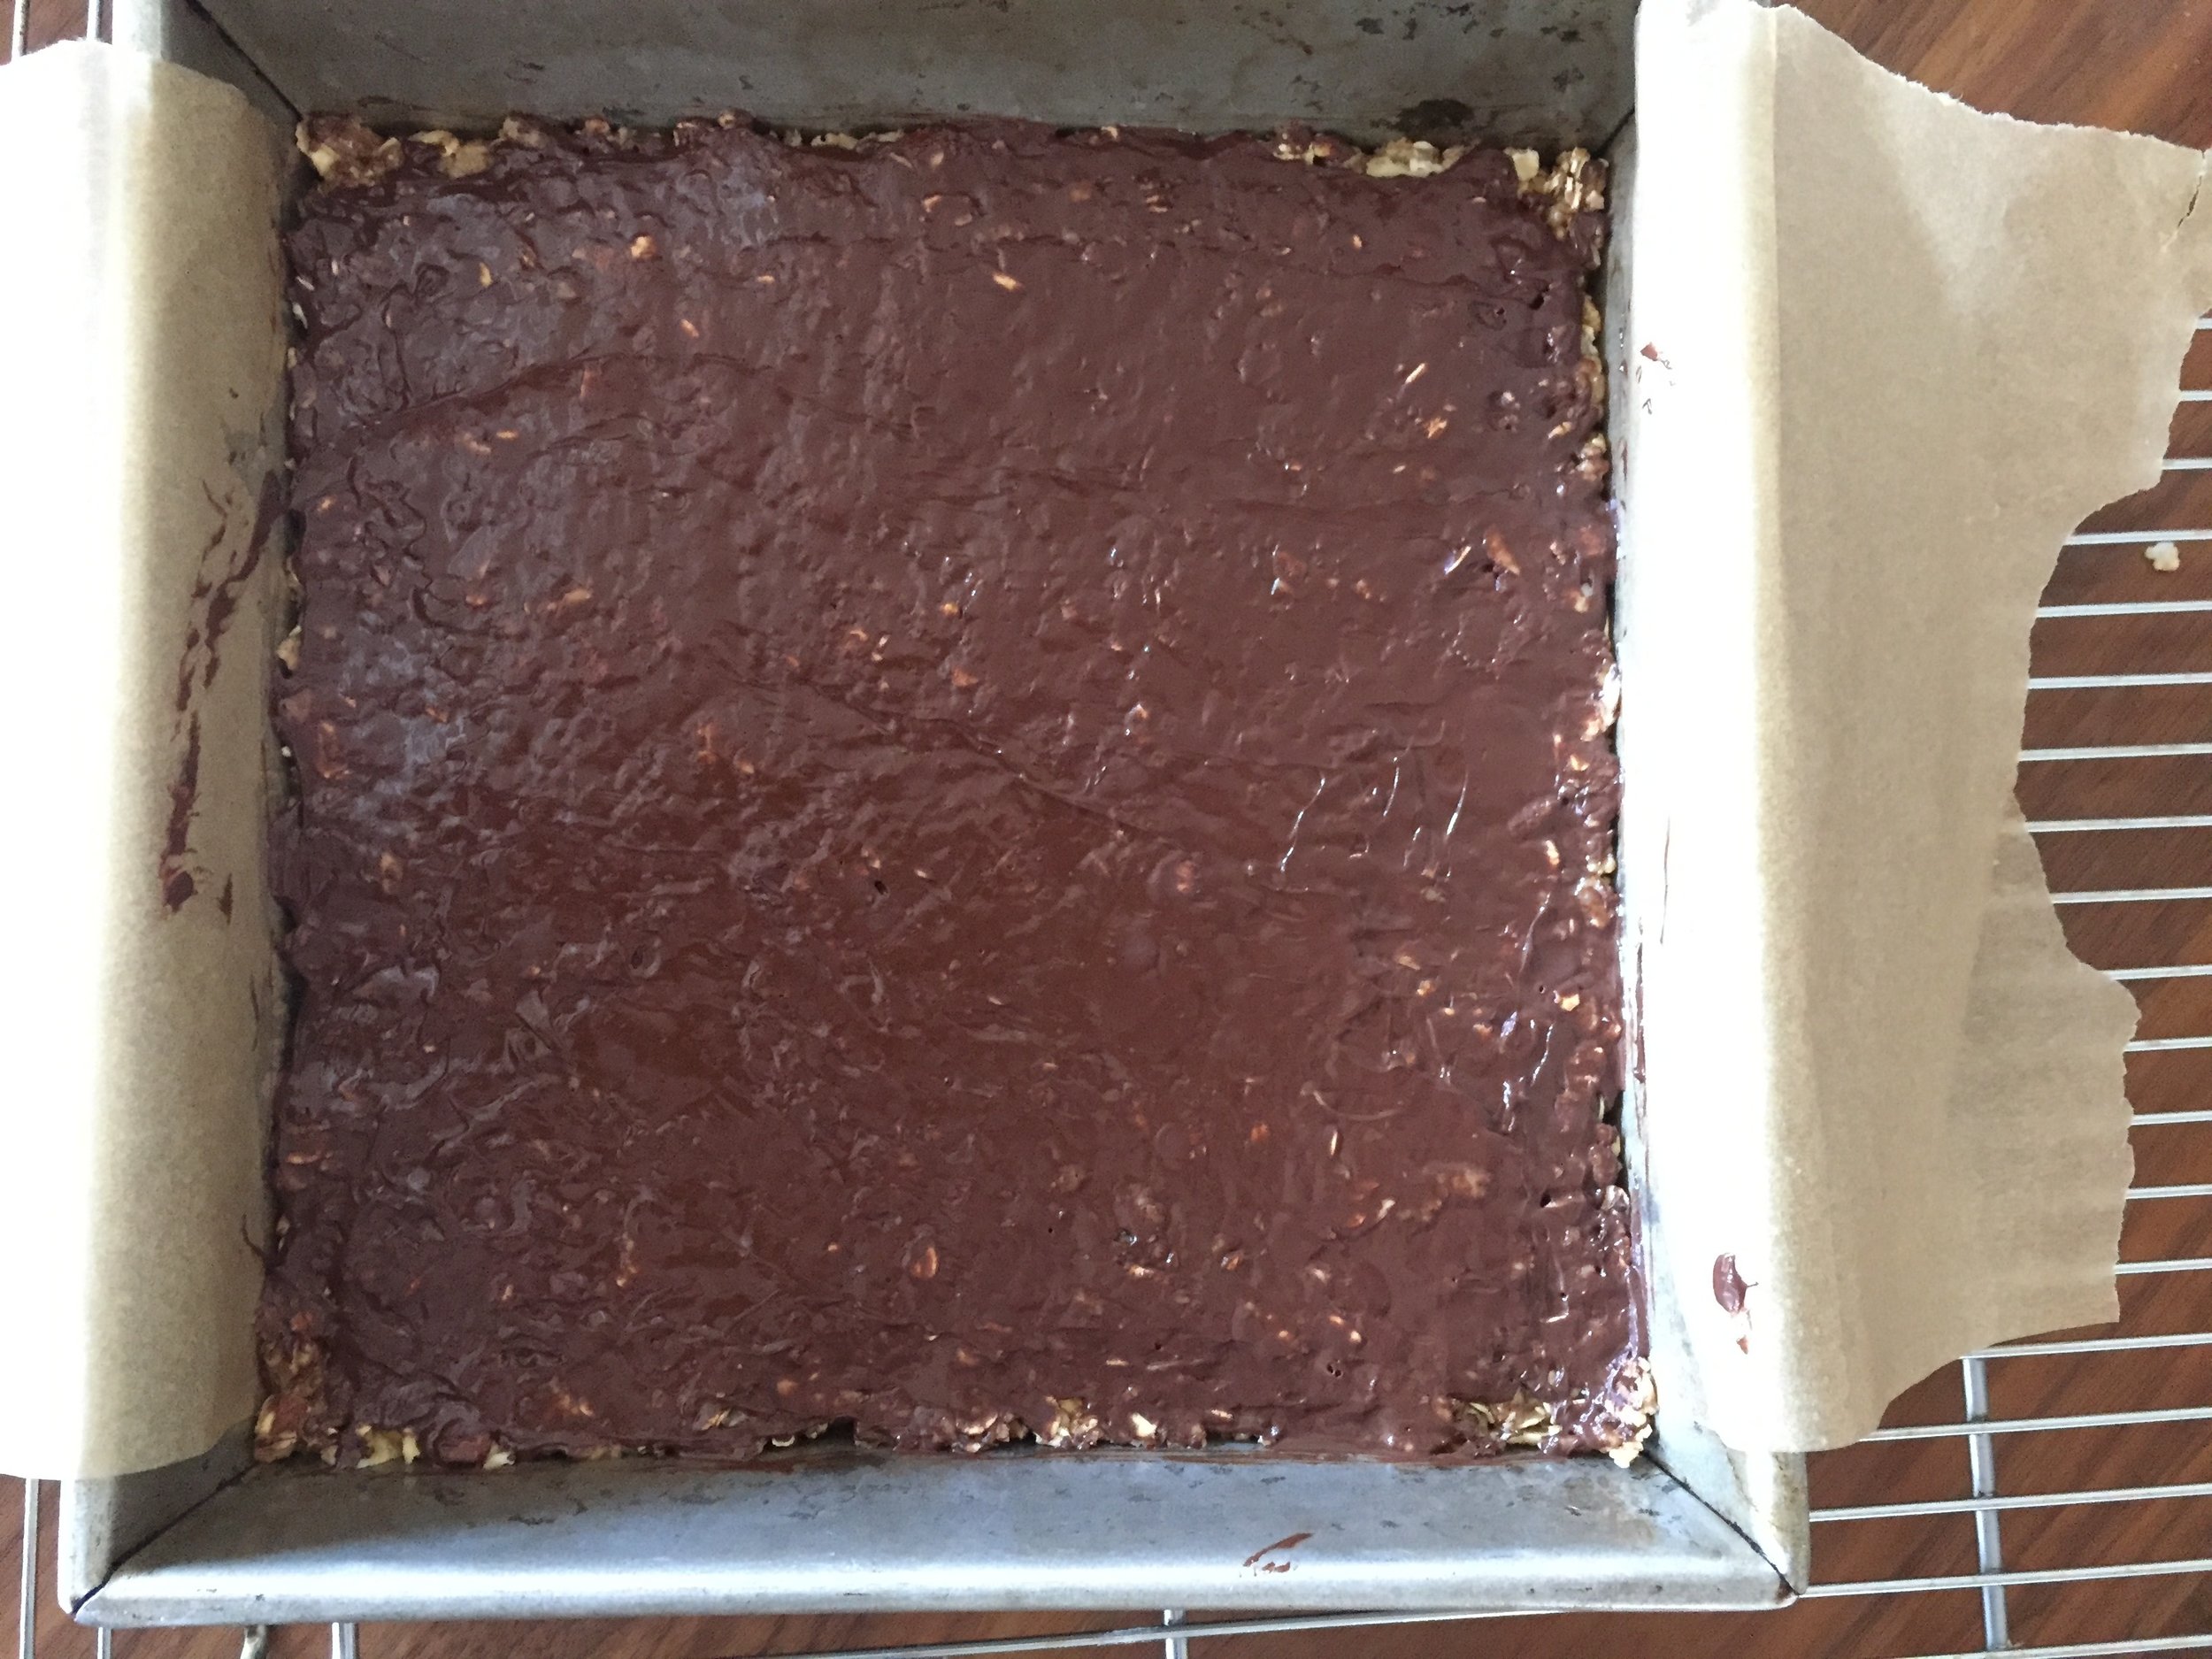
4. When the mixture is cool enough to handle but is still warm, evenly and firmly press it into the pan with your hands. Sprinkle with chocolate chips and place in the oven. Bake until the chips start to melt, about 2 to 3 minutes. Remove from the oven and, using a table knife or offset spatula, spread the chocolate into an even layer. Cool the pan on a wire rack for 10 minutes, then place it in the refrigerator until the chocolate is set, about 30 minutes.
5. Remove the nutty oat slab from the pan (you may need to run a knife around the perimeter to loosen it). Cut it in half to form two rectangles, then cut each rectangle widthwise into 5 bars to form 10 bars total. Wrap each bar in either parchment or wax paper or plastic wrap. Store at room temperature for up to 3 days or freeze in a sealed plastic bag for up to 3 weeks; let frozen bars come to room temperature before eating. Makes 10 bars. –Jill Santopietro for CHOW.com.

NOTE: you can eliminate the chocolate coating, and simply fold some chocolate chips in after the final mixture has cooled down slightly and before pressing into the pan.

Healthy-ish Banana Bread

 
IMG_5075.JPG


Banana bread is my madeleine – the breakfast sweet that perfumes every phase of my life. As a kid in my mom’s kitchen, cooking for the first time as a young adult, and now as a mother with my own kids – I long for that sweet, cinnamon aroma, the contrasting textures of mushy banana and fine crumb.

I bake banana bread regularly in part because my kids love bananas but despise black spots. Once even a little blemish emerges, that poor banana is a prime candidate for either my husband's belly or banana bread. If it's the latter, I peel and pop them into the freezer until I’m ready to bake.

I love this recipe by Kathryne Taylor of CookieAndKate.com because it not overly sweet. It’s sweetened with just honey and bananas, and contains whole wheat flour instead of white flour, but you wouldn’t know it. My kids love the addition of chocolate chips – just enough so that each slice contains only a chip or two. It may not be healthy, but it’s healthy-ish, and a lot better than giving them Pirate Booty (I'm guilty as charged.)

The most pleasure I get these days from banana bread is watching my 6 and 3 year old make it together – a rare moment of collaboration that comes from the fact that if they don’t work together, they don’t get to eat it.


Healthy-ish Banana Bread

IMG_4314.JPG

1 3/4 cups white or regular whole wheat flour
1 teaspoon baking soda
1/2 teaspoon fine salt
1/2 teaspoon ground cinnamon, plus more to sprinkle on top
1/3 cup extra-virgin olive oil (or other high quality oil)
1/3 to 1/2 cup honey
2 eggs
About 3 medium or 2 large ripe bananas, mashed
¼ cup whole milk
1 teaspoon vanilla extract
1/4 cup chocolate chips, optional

1. Preheat the oven to 325° F and grease a 9 by 5-inch loaf pan.
2. In a medium bowl, whisk together the flour, baking soda, salt and 1/2 teaspoon of cinnamon; set aside.
3.In a large bowl, beat the oil and honey with a whisk until combined. Beat in the eggs and then whisk in the mashed bananas, milk, and vanilla.
4. Using a wooden spoon, stir the flour mixture into the wet mixture until just combined (lumps are ok!) If using, fold in chocolate.
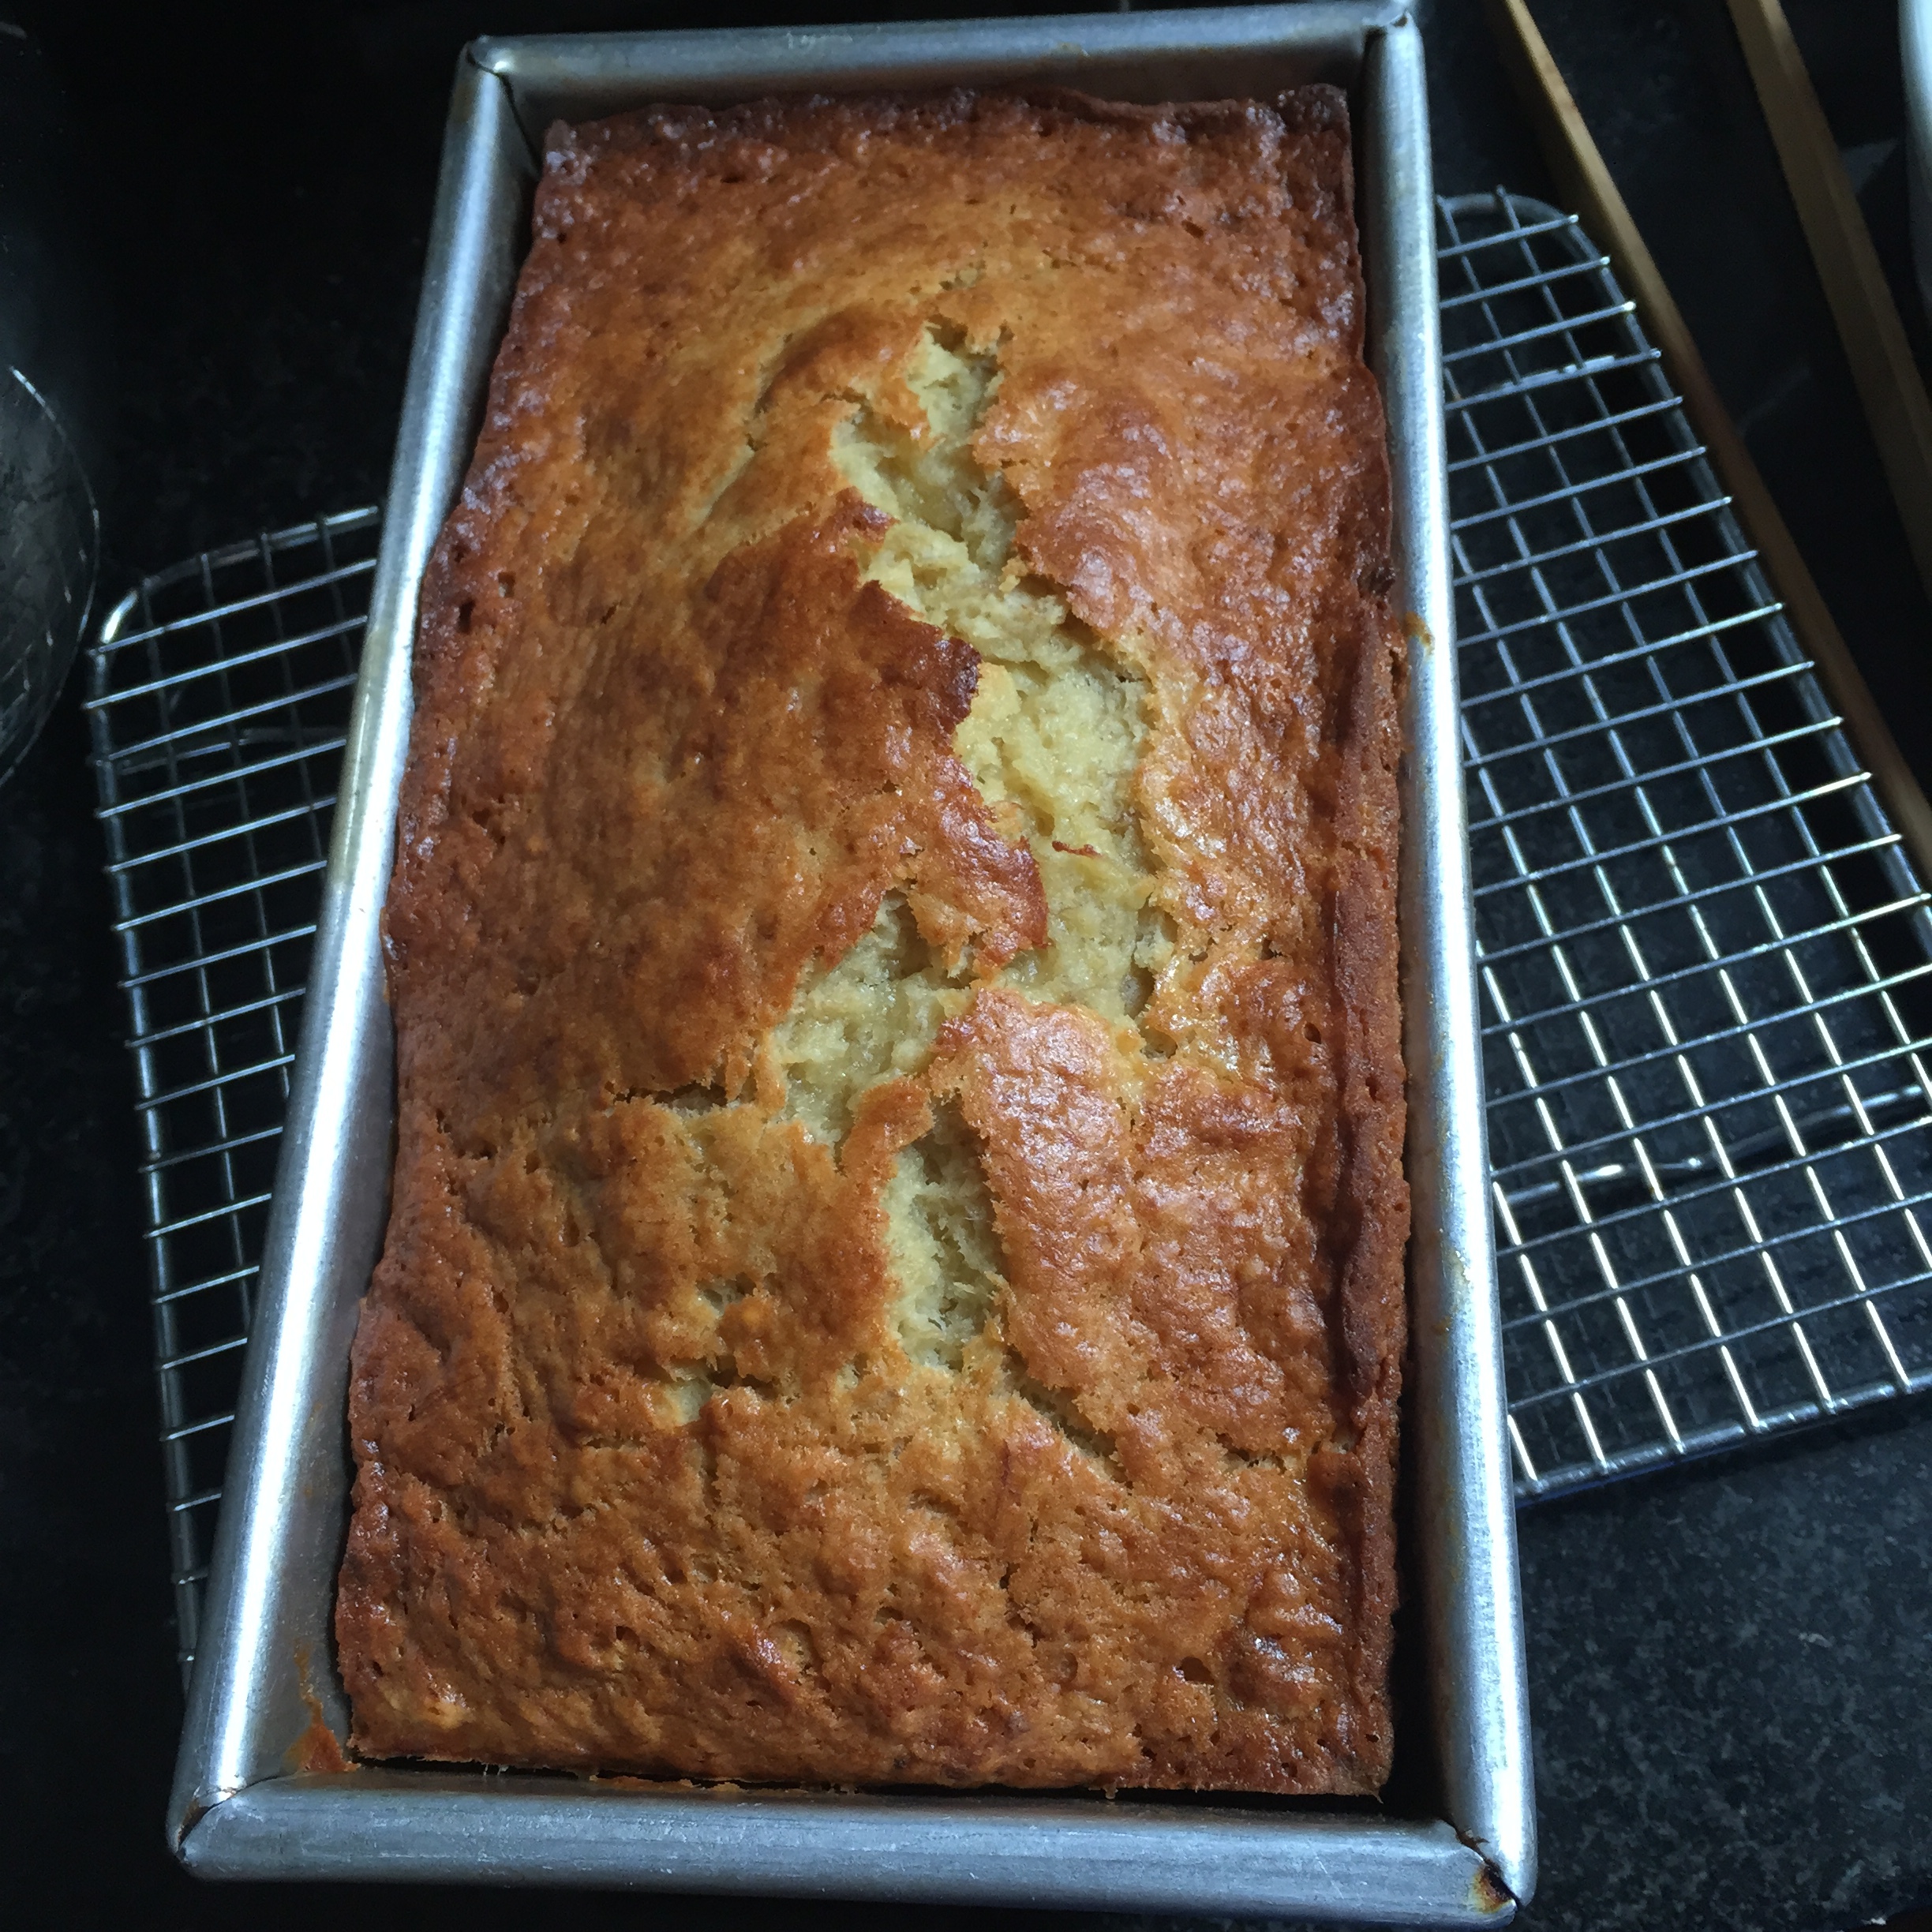
5. Pour the batter into your greased loaf pan and sprinkle lightly with cinnamon. Run the tip of a knife across the batter in a swirl pattern.
6. Bake until a toothpick inserted into the center comes out clean, about 1 hour. Let the bread cool in the loaf pan for 10 minutes, then remove from the pan and set on a wire rack to cool for 20 minutes before slicing. Makes 1 loaf.  Adapted from CookieAndKate.com.

NOTE: If you have a habit of eating too much at one sitting (as I do,) I suggest slicing the bread and freezing it in batches. Then you can pull out only a few slices at a time.

NOTE#2: These make great muffins too, just cook them for about half the time (or until a tooth pick inserted comes up clean.) Mini loaves and mini muffins are bake-sale winners.


IMG_3761.jpg

My Granola

I cook granola so often, I could probably make it in my sleep.

My version is an adaption of Bon Appetit’s “Better Granola”, which looks a lot like Early Bird’s granola recipe. And so is the way with recipes…

I’m not a food scientist, but I think that egg whites help crisp the mixture as it cooks. The whites may also help create clumps, but on this I’m less convinced. I think the secret to those lovely clumps is to NOT stir it. And keep the temperature low enough so that the edges don’t burn. 

You can and should alter the recipe to suit yourself. Maybe you love coconut oil or agave, or sesame seeds, apricots, and pistachios appeal more than pecan and cherries. Yours and mine will look different, but the basic formula is the same.


Granola

2 large egg whites
2/3 to ¾ cup sweetener (agave, honey, brown sugar, molasses, sorghum, maple syrup..you name it. I usually do mostly honey, a little maple and dark brown sugar)
½ cup olive or canola oil (I use “pure” olive oil)
1 tablespoon Diamond Crystal kosher salt
1½ teaspoons vanilla extract
6 cups rolled oats
3 cups mixed chopped nuts (I like pistachio, walnuts, almonds, and pecans)
1 cup raw pumpkin seeds (optional, my son makes me pick them out, so we don't use them anymore)
¼ cup wheat germ or flax seed (optional)

¾ cup coconut flakes
1½ teaspoons ground cinnamon
1½ cups cherries, golden raisins, chopped apricots, or mix of all three

1. Preheat the oven to 325°F.
2. Beat the egg whites in a medium bowl. Whisk in the sweeteners, oil, salt, and vanilla.
3. In a large bowl, use two wooden spoons to combine the oats, nuts, pumpkin seeds and wheat germ or flax (if using,) coconut flakes, and cinnamon. Pour the wet mixture into the dry and toss until fully combined. Spread onto two large baking sheets and cook, without stirring, for 40 to 45 minutes, or until golden brown.
4. Let cool completely, and add cherries or other dried fruit.  Lift from the baking sheet, and store in a sealed container. Makes about 10 cups. Adapted from Bon Appetit.

My Desert Island Dessert

I've got a big birthday this month. And while I don’t talk numbers, I do talk dessert. You see I don't love cake. Show me a cake that can compete with a profiterole – a hot and crunchy choux dough (the same used for éclairs) that sandwiches cold and smooth ice cream (preferably coffee.) This perfect package is then topped with hot fudge and candied almonds or pistachios. My preference for profiteroles over cake may have something to do with the fact that I have an ice cream problem and a thing for textured food, but most people will agree this is one classic that doesn't age.

Below is my go-to profiterole recipe, which I developed for Tasting Table in 2014. 

Profiteroles with Ice Cream and Chocolate Sauce
Makes roughly 30 profiteroles, Serves 10

For the Profiteroles
7 tablespoons unsalted butter, cut into pieces, plus more
1/2 cup whole milk
1/2 cup cold water
1 teaspoon granulated sugar
1/4 teaspoon fine salt
1 cup plus 2 tablespoons all-purpose flour
4 large eggs
1 large egg white
Vanilla or coffee ice cream
Chocolate sauce (see recipe)
Caramelized almond slices (see below)

For the Caramelized Almond Slices
3/4 cup sliced almonds
1½ tablespoons granulated sugar
1 tablespoon unsalted butter
Dash sea salt

1. Make the profiteroles: Heat the oven to 425°F and arrange a rack in the middle. Line a large baking sheet with parchment paper. Fit a pastry bag with a 1/2-inch round tip.
2. Place the butter, milk, water, sugar and salt in a medium saucepan and set over medium heat. Stir with a wooden spoon until the butter has melted. Bring the mixture to a rolling boil, then remove from the heat. Add the flour all at once and stir quickly with a wooden spoon until a dough forms, about 30 seconds. Return the saucepan to medium heat and stir constantly to cook the flour, for about 3 minutes. (A film should form on the bottom of the pan.)
3. Transfer the dough to a stand mixer fitted with a paddle attachment. Mix the dough for a few turns about every 30 seconds to release steam until the dough is slightly cooled, for about 4 minutes total.
4. With the mixer on low, add the eggs and egg white one at a time, making sure each egg is incorporated before adding the next. (The dough will separate each time an egg is added but it will come back together.)
5. Transfer the dough to the pastry bag. Pipe into 11/4-inch circles, 1 inch apart on the baking sheet. Coat your finger with butter and dab each dough peak to smooth it out.
6. Bake for 10 minutes, then reduce the heat without opening the oven door to 375°F and bake until golden brown, about 10 to 15 minutes more. Remove from the oven, set baking sheet on a cooling rack and quickly pierce the side of each puff with a paring knife to release steam. immediately cut the puffs horizontally in half. Let cool on the baking sheet. Once cool, puffs can be stored in an airtight container at room temperature or in the freezer.
7. Caramelize the almonds: lightly toast the almonds in a large skillet over medium heat. Transfer to a baking sheet. Add the sugar to the skillet and, without stirring, melt it over medium-high heat (shaking the pan helps). Once the sugar is light brown, stir in the butter and a dash of salt. Gently stir in the almonds and cook until the caramel turns brown. Transfer to the baking sheet to cool. Season to taste with salt.
8. To serve: reheat puffs in a 300°F oven until warmed through. Fill a warm puff with a large scoop of ice cream. Top with chocolate sauce, and sprinkle with toasted almonds.  


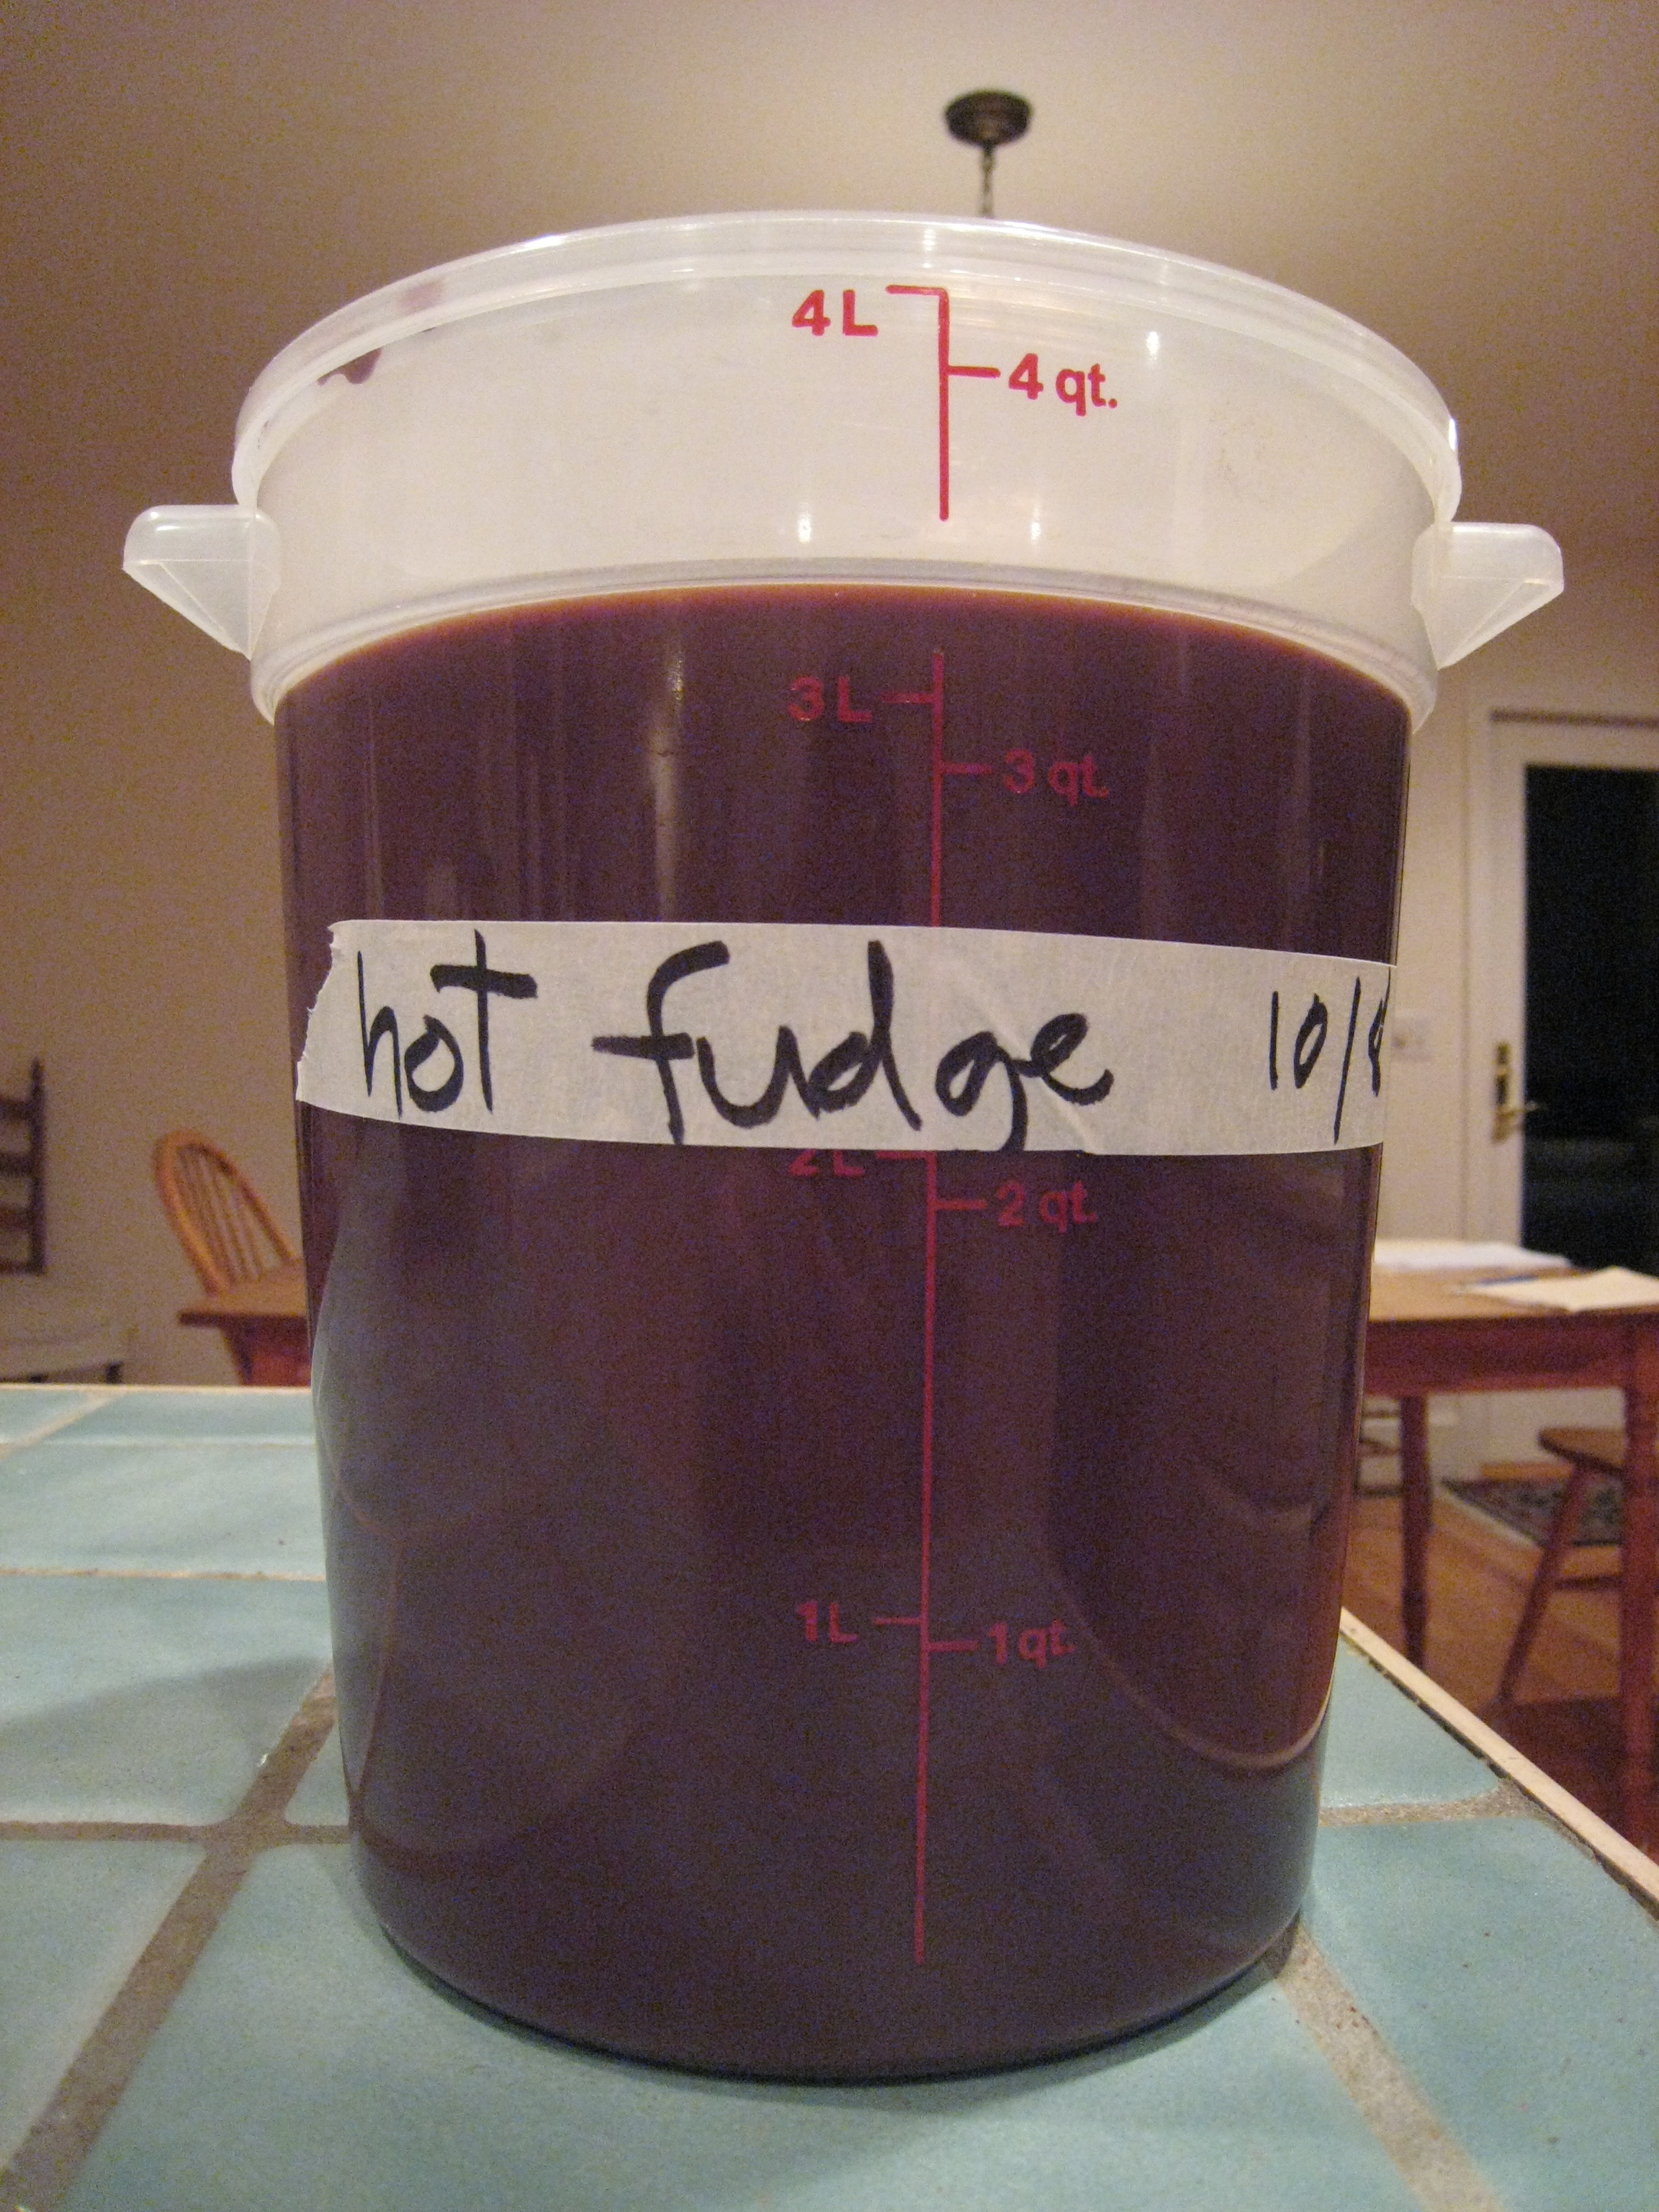
Hot Fudge Sauce
Makes about 3 cups

1 cup heavy cream
1/4 cup plus 2 tablespoon sugar
½ cup light corn syrup
½ cup unsweetened Dutch-processed cocoa powder
½ teaspoon vanilla extract
¼ teaspoon fine sea salt
5 ounces bittersweet chocolate, finely chopped
2 tablespoons butter, cut into small pieces

1. In a medium saucepan, whisk together the cream, sugar, corn syrup, cocoa powder, vanilla and salt.
2. Bring to a gentle boil over medium heat, whisking often to combine and help the sugar dissolve. Remove from the heat and stir in the chopped chocolate and butter pieces until melted. Serve warm.
3. Refrigerate excess sauce in an airtight container for up to 3 weeks or freeze for longer.


Porter Ice Cream Sundae

I’m a sucker for ice cream. Throw hot fudge into the mix for that contrast of hot and cold, and, well, it’s a slippery slope for me.

If you suffer from ice cream fever like I do, you have to try Little Park’s ice cream sundae, which I wrote about for Bloomberg News (totally thrilled to be working with them on a column that tells the story of exceptional restaurant dishes.) The beer ice cream is chocolaty, malty, and coffee-esc (heaven!), and quite simple to make. The puffed bulgur takes time to cook (four hours in the oven), and goes through five stages (raw, boiled, dried, fried, fried and coated) but the recipe is otherwise straightforward. Fried bulgur looks and tastes like Kashi cereal, and can be served on beef tartar, salads, and other desserts, or eaten as a snack. Make it in bulk because it keeps for days. Tossed with maple syrup and apple vinegar and topped on a sundae, puffed bulgur takes toppings to a whole new level.  

Photo by Sam Hall/Bloomberg News

Photo by Sam Hall/Bloomberg News

IMG_3108.jpg

The story I didn't get to in the article was that Little Park's pastry chef, Jennifer Luk, doesn't thicken her ice cream custard over the stove-top like traditional egg-based ice cream recipes do. I was stumped so I called my friend Kate Zuckerman, who was the pastry chef at Chanterelle for years and now is somewhat of an ice cream expert. She explained that Luk’s technique is more common than I thought. 

I wanted to know more, so I did a side-by-side test. I tested her method of adding the eggs to the hot cream against the traditional technique of adding the eggs to the hot cream and then thickening it over the stove-top until it holds a line on the back of a spoon. The results were noticeable. The cooked base tasted tangier. The uncooked base tasted gentler and cleaner, but was icier (this I expected). I wasn’t expecting the tang, partly because the beer is added after the base is cooked and cooled.

For purposes of this article, it was important to kill bacteria in the egg, so I decided to cook the custard. I also liked its tanginess, which brought out the beer flavor more. This is truly an adult dessert for beer, chocolate, and coffee lovers everywhere. Try it!


Winter Scoop

I have an ice cream problem. (I don’t want to know how many quarts I consume annually, but I’m sure it's on the far right side of the bell curve). You’d think my habit might slow down in the winter, but alas, snowstorms make matters worse – the snow reminds me of iced milk and melting custard.

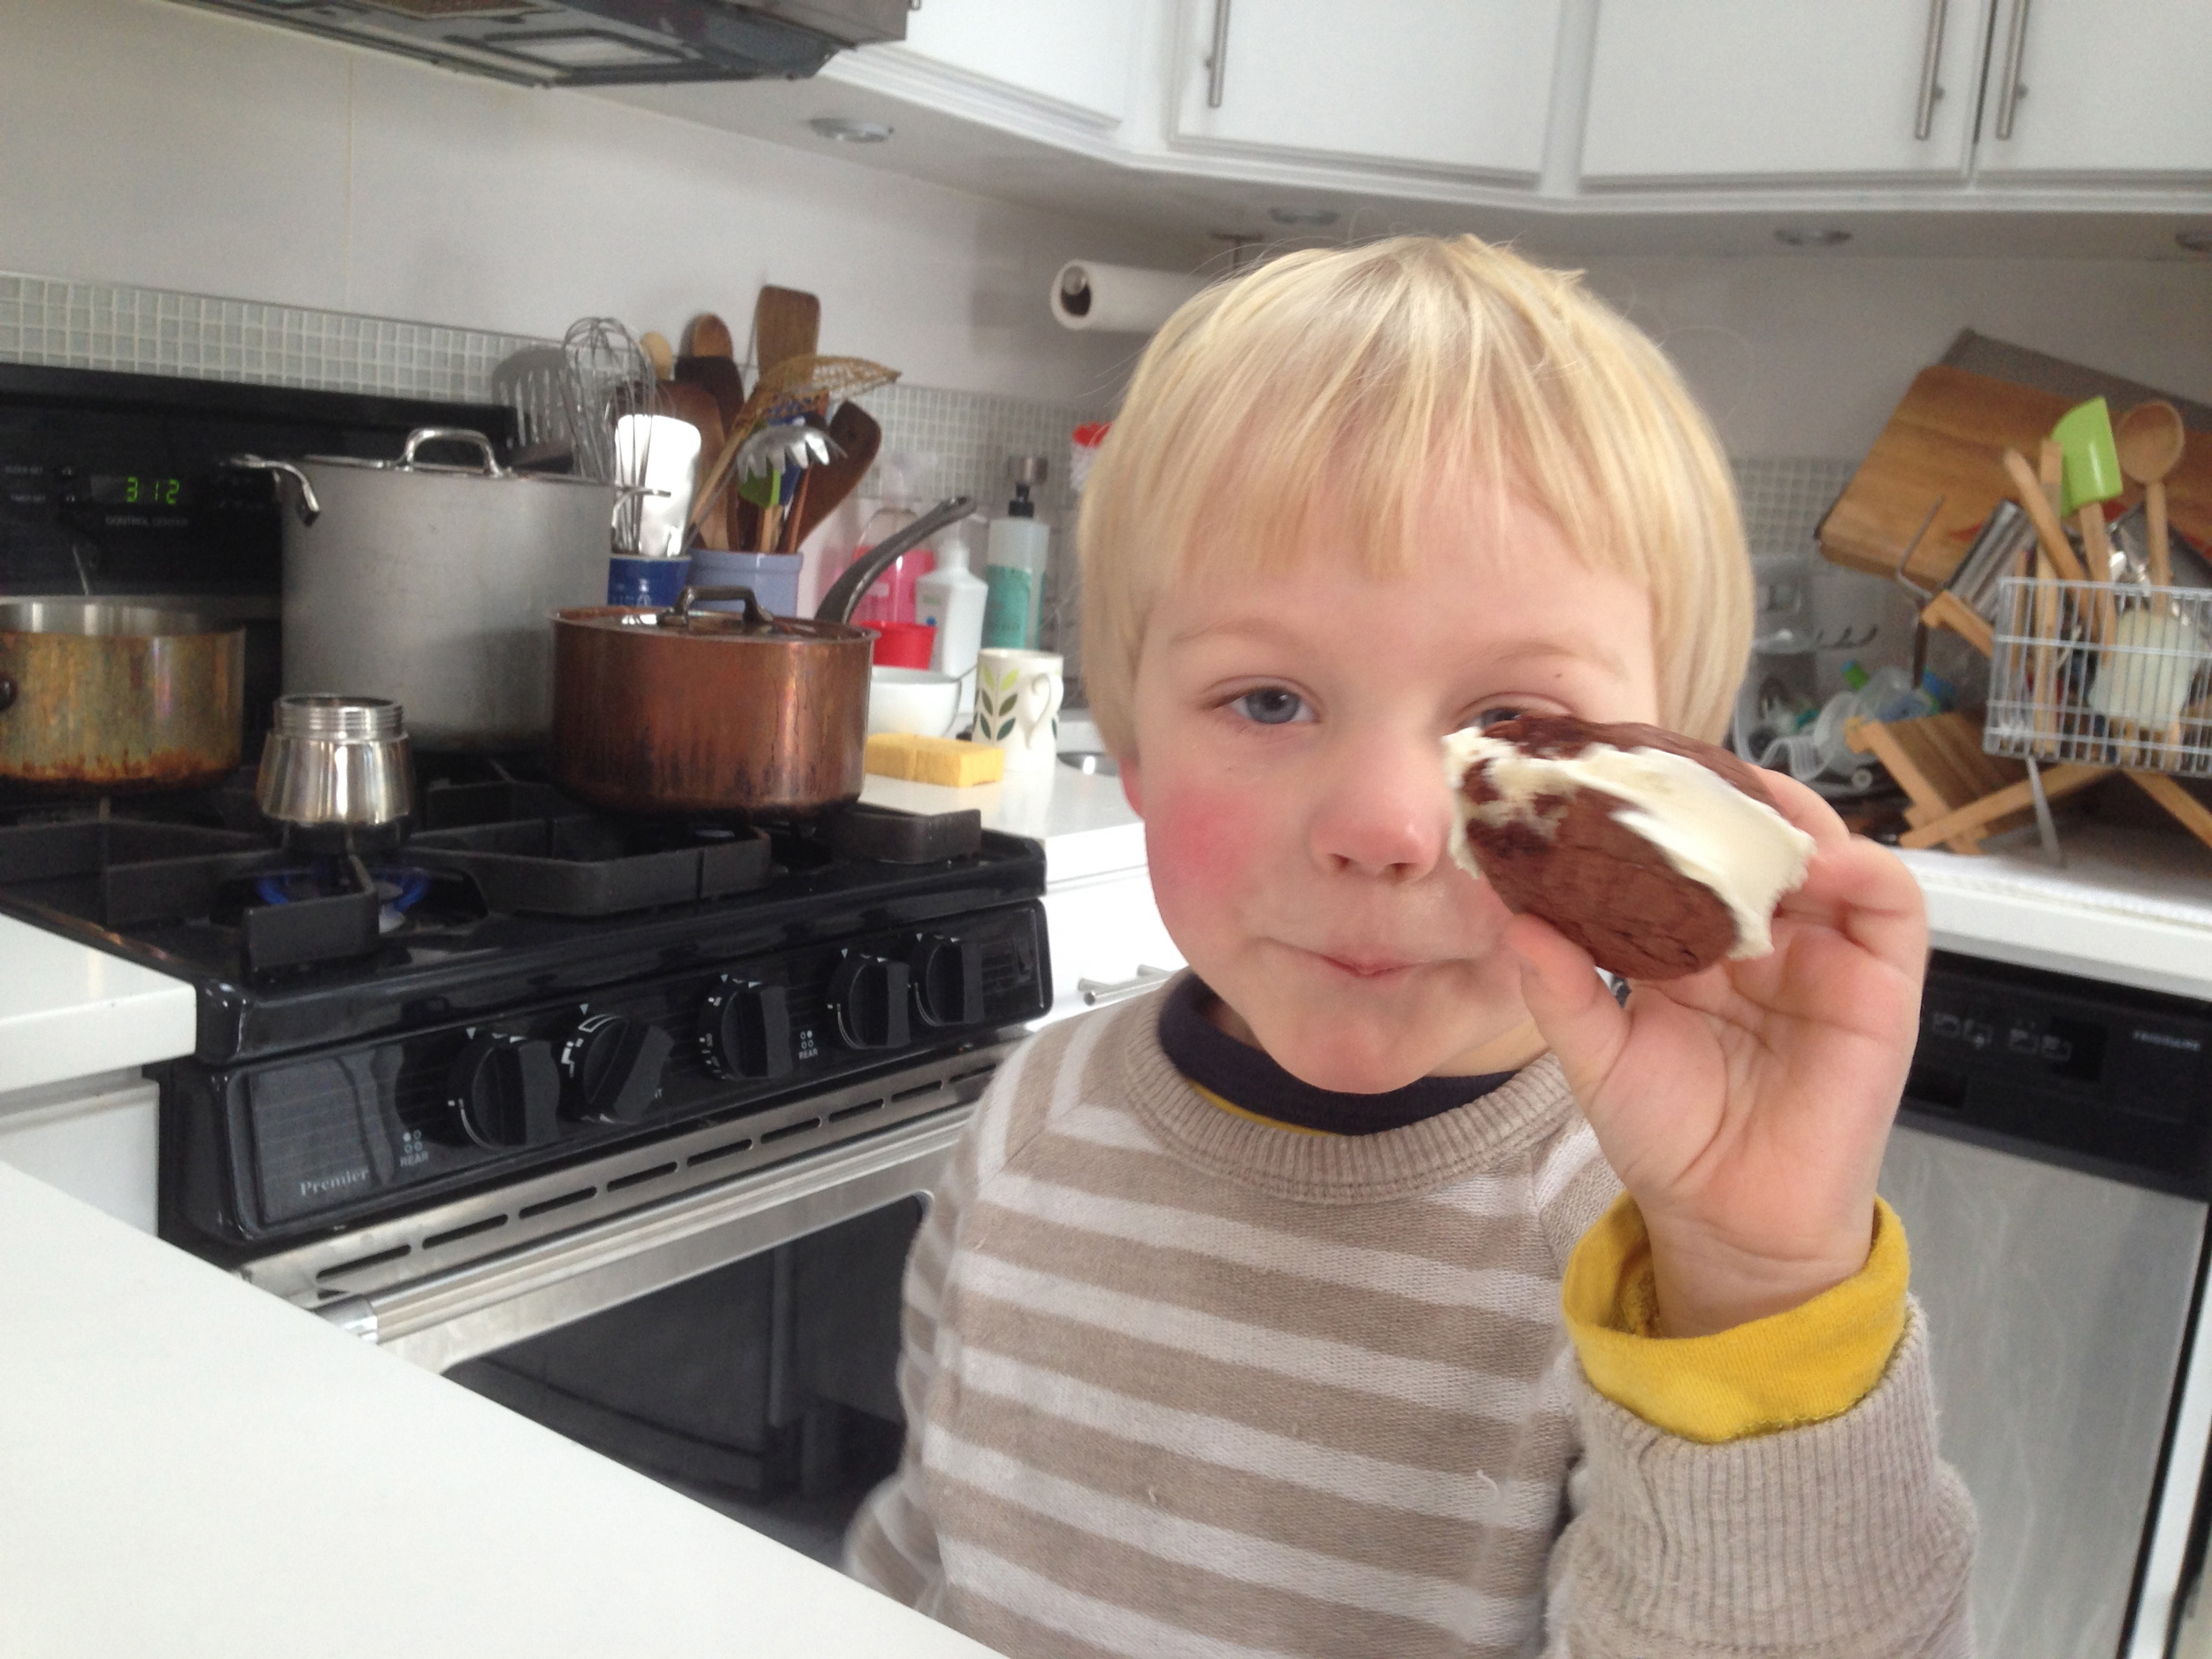
So while others were stirring chili and sipping cocoa as “Snowmageddon” hit New York City three days ago, our post-sledding warm-up involved squeezing ice cream between cookies.

I first made these sandwiches while testing recipes for Alex Guarnaschelli’s cookbook, Old-School Comfort Food. They are hands down the best ice cream sandwiches I’ve ever eaten. A fudgy, chewy cookie with a slightly crisp exterior – think portable brownie sundae minus the hot fudge. And it’s not impossible to bite into once frozen (my biggest gripe with most other versions.)


Chocolate Ice Cream Sandwiches

2½ ounces semisweet or bittersweet chocolate, roughly chopped (about ½ cup plus 1 tablespoon)
1½ ounces unsweetened chocolate, roughly chopped (about 1/3 cup)
3 tablespoons unsalted butter, cut into small pieces, plus more for greasing the pan
1 large egg
1/3 cup sugar
1 teaspoon vanilla extract

1 tablespoon plus 2 teaspoons all-purpose flour
1/8 teaspoon baking powder
1/8 teaspoon fine sea salt, plus an extra dash
1 pint ice cream  

1. Preheat the oven to 350°F. Grease two baking sheets with butter.
2. In a medium bowl, combine the chocolates and butter. Create a double boiler by filling a medium pot that will hold the bowl of chocolate snuggly with 1 inch of water. (The bowl should not touch the water.) Bring the water to a boil, then lower the heat so the water is hot but not boiling. Set the bowl of chocolates and butter on the pot, stirring often with a rubber spatula, until melted. Remove from the heat.
3. In the bowl of an electric mixer fitted with a whisk attachment, beat the egg on high until fluffy, about 1 minute. Add the sugar and vanilla and beat on high until the mixture thickens slightly and turns pale yellow, about 5 minutes. (Stop to scrape down the sides of the bowl.) Using a rubber spatula, gently mix in the chocolate mixture. Sift the flour, baking powder, and salt together. Slowly add the flour mixture to the chocolate mixture and stir until combined.
4. Drop 1 tablespoon lumps of the cookie batter onto the baking sheets, leaving about 1½ inches between each. You should have about 10 cookies per baking sheet. Bake for 4 minutes, rotate the pan from front to back, and bake until they crack slightly but still look somewhat moist, an additional 4 minutes. Let the cookies cool for 10 minutes on the sheets, then transfer to a rack to cool completely. (They will flatten slightly once cooled.)

5. Scoop 3 tablespoons of ice cream and press into a fairly round 1-inch-thick puck. Sandwich the ice cream puck between 2 cookies and press gently until the ice cream is about ¾ inch thick. Eat immediately or wrap and freeze until ready to eat. Repeat with the remaining cookies and ice cream. Makes about 10 mini (2-inch) sandwiches. Adapted from “Old School Comfort Food” by Alex Guarnaschelli.


Gingerbread House

My three-year-old's gingerbread house.

My three-year-old's gingerbread house.

It's Christmas. Time to decorate. This year, I decided to host a kid gingerbread house making party. Yikes! I admit, preparing five homes was an insane amount of work. But one is totally doable. And, hey, your kid will be so proud;  so will you.

After experimenting with a few doughs, I landed on one that's sturdy enough for construction (note, there's no egg) yet satisfies my incorrigible sweet tooth.

What you'll need:
1. Food coloring paste (paste won't thin out your egg white mixture)
2. Cookie making ingredients (see below; though in a pinch you can make mini homes with graham crackers).
3. Piece of cardboard to set your house on. (Pizza boxes are perfect.)
4. Quart size sealable freezer bags. For piping the egg white paste.
5. Hard stock paper (cardboard or photo paper), for making stencils.
6. Lots of candy - Necco wafers (roof tiles), Twizzlers (chimney), Smooth & Melty mints, M&Ms, mini candy canes, Skittles, candy cane mint rounds (walkway), yogurt-covered pretzels (fence), gumdrops, tree gumdrops (shrubs), large marshmallows (snowmen), Hershey's bar (shutters)...
7. A few cookie cutters: gingerbread man, tree, snowman (for decorating around the house).


Gingerbread House

For the house:
3½ cups all-purpose flour
1 tablespoon ground ginger
1½ teaspoons cinnamon
½ teaspoon ground cloves
1 teaspoon baking soda
½ teaspoon fine salt
¾ cup (1½ sticks) unsalted butter, at room temperature
½ cup granulated sugar
½ cup dark molasses (not blackstrap)
1 tablespoon vinegar (cider or white wine vinegar)


For the tacky paste:
5 egg whites
2 (1 pound) boxes confectioners’ sugar,

1. Over a large bowl or piece of wax paper, sift together the flour, ginger, cinnamon, cloves, baking soda, and salt; set aside.
2. In a mixer fitted with a paddle, beat the butter rapidly for 2 minutes, stopping to scrape down the sides of the bowl. Add the sugar and beat until fluffy, about 2 minutes more. Scrape the sides of the bowl again. Beat in the molasses and vinegar until fluffy, about 1 minute more. On low speed, add the flour mixture, a little at a time, stirring until just combined.
3. Divide dough in half. Flatten, cover in plastic wrap, and refrigerate until hard, about 1 hour. Roll dough between two sheets of plastic wrap to between 1/8 to 3/16-inch-thick and chill for at least 30 minutes, preferably more.
4. Preheat oven to 375°F. Cut gingerbread house or gingerbread men from dough (See stencil NOTES below). Work quickly as the dough softens fast. Rechill and reroll dough as needed. Place on a parchment-lined baking sheet and bake until firm to touch, about 12 minutes. Cool on a wire rack. Once cool, use a serrated knife to reshape the gingerbread to the size of your original stencils (place the stencils over the hard cookies and with a sawing motion, cut through the cookie).
5. Make the paste: using a mixer fitted with a whisk attachment, beat the whites until frothy. Gradually add the confectioner’s sugar. You want the paste to hold the line of your finger when you place it through it. Distribute egg white paste among small bowls and add food coloring, as desired.
6. Transfer white or colored egg white pastes to pastry bags or quart size sealable freezer bags. Snip the tip with scissor. You’re ready to assemble. (See notes below.)


NOTES:
A. Using heavy stock paper, carve the following stencils:
One 5¾ by 4¾ inch rectangle [roof]
One 2½ by 4 inch rectangle [sides of house]
One 2½ by 4 inch rectangle plus a triangle above it (4 by 4½ by 4½ inch) [front or back of house]
One 1 1/8 by ½ by 1 inch triangle under 1 by ½ inch rectangle [chimney]

B. Use stencils to carve out raw cookie dough
Place the stencils over the raw rolled-out dough.  Make sure to cut 2 of each (roof, sides, front- back of house, and chimney).

C. Use stencil again to reshape the cookies
Once the cookies are fully cooled and hard, use a serrated knife and saw through the hard cookie following the lines of the stencils to reshape.

D. Add food coloring to egg white paste
Add Wilton food coloring (not watery ones) to the egg white paste to create colors. Glue with plain white paste, decorate with colored ones.

E. Use a large piece of cardboard for the base of the gingy house
You can cover it with egg white paste to create snow. Spread the paste flat and evenly across the bottom.

F. Decorate the house pieces first
Let them harden and dry, and then attach the house. Use plenty of paste. And keep the edges of each house side clear of candies (they could be in the way when you glue the sides together).