My favorite Paella


I have some food traditions – cannelle on New Year’s Day, Profiteroles on my birthday, the Feast of Fishes on Christmas Eve, and a grilled paella once a summer.

Lately, I’ve been thinking that one paella is not enough, especially now that I own a Weber and while it’s still barbecue weather.

I first made this recipe as a test for Sam Sifton for The New York Times Magazine. Years before that, I was introduced to paella in Madrid, which unfortunately made me and my sister violently ill. I eased back into Spanish food not long after, but paella took me years.

I cannot claim this recipe is traditional. I know Italian food much better than I know Spanish. What I’ve read is that paella is originally from Valencia and their version contains green beans, butter or lima beans, and rabbit, chicken, or duck. This paella is a cross between a mutated Valencia paella and a seafood paella. Whatever it is, it’s pretty tasty — a one-skillet dinner party dish for a group of 10, though I’ve stretched it to 12+. In my experience, the Spanish Bomba rice is key. Italian short-grained rice works, too, in a pinch.

Over the past 15 years, I’ve tweaked the original recipe. When I have lobster stock from lobster roll making, I use that. Extra lobster, lucky you - please throw it in! When I’m out of stock and looking for a quick fish sauce, I make one using a mix of bottled clam juice, water, leftover shrimp shells, and some aromatics like onion, bay, and peppercorn. If you need to make things even simpler, use chicken broth. The only thing you cannot skimp on is the saffron. The saffron in the broth is everything! And while I love the skin-on, bone-in chicken, and shrimp with the shell-on (both of which help flavor the dish,) most of my clients (i.e. my family and friends,) love it when I remove the skin, bones, and shells for them.

So here is my adapted recipe. Hope you love it as much as I do.

My favorite Paella
Serves about 10.

Ingredients:
For the paella:
2 pounds shell-on shrimp (large to jumbo work)
1/4 to 1/2 cup extra-virgin olive oil
Salt
Freshly ground black pepper
2 pounds boneless, skinless chicken thighs, cut into 2-inch pieces
12 to 16 ounces chorizo, cut into half moons
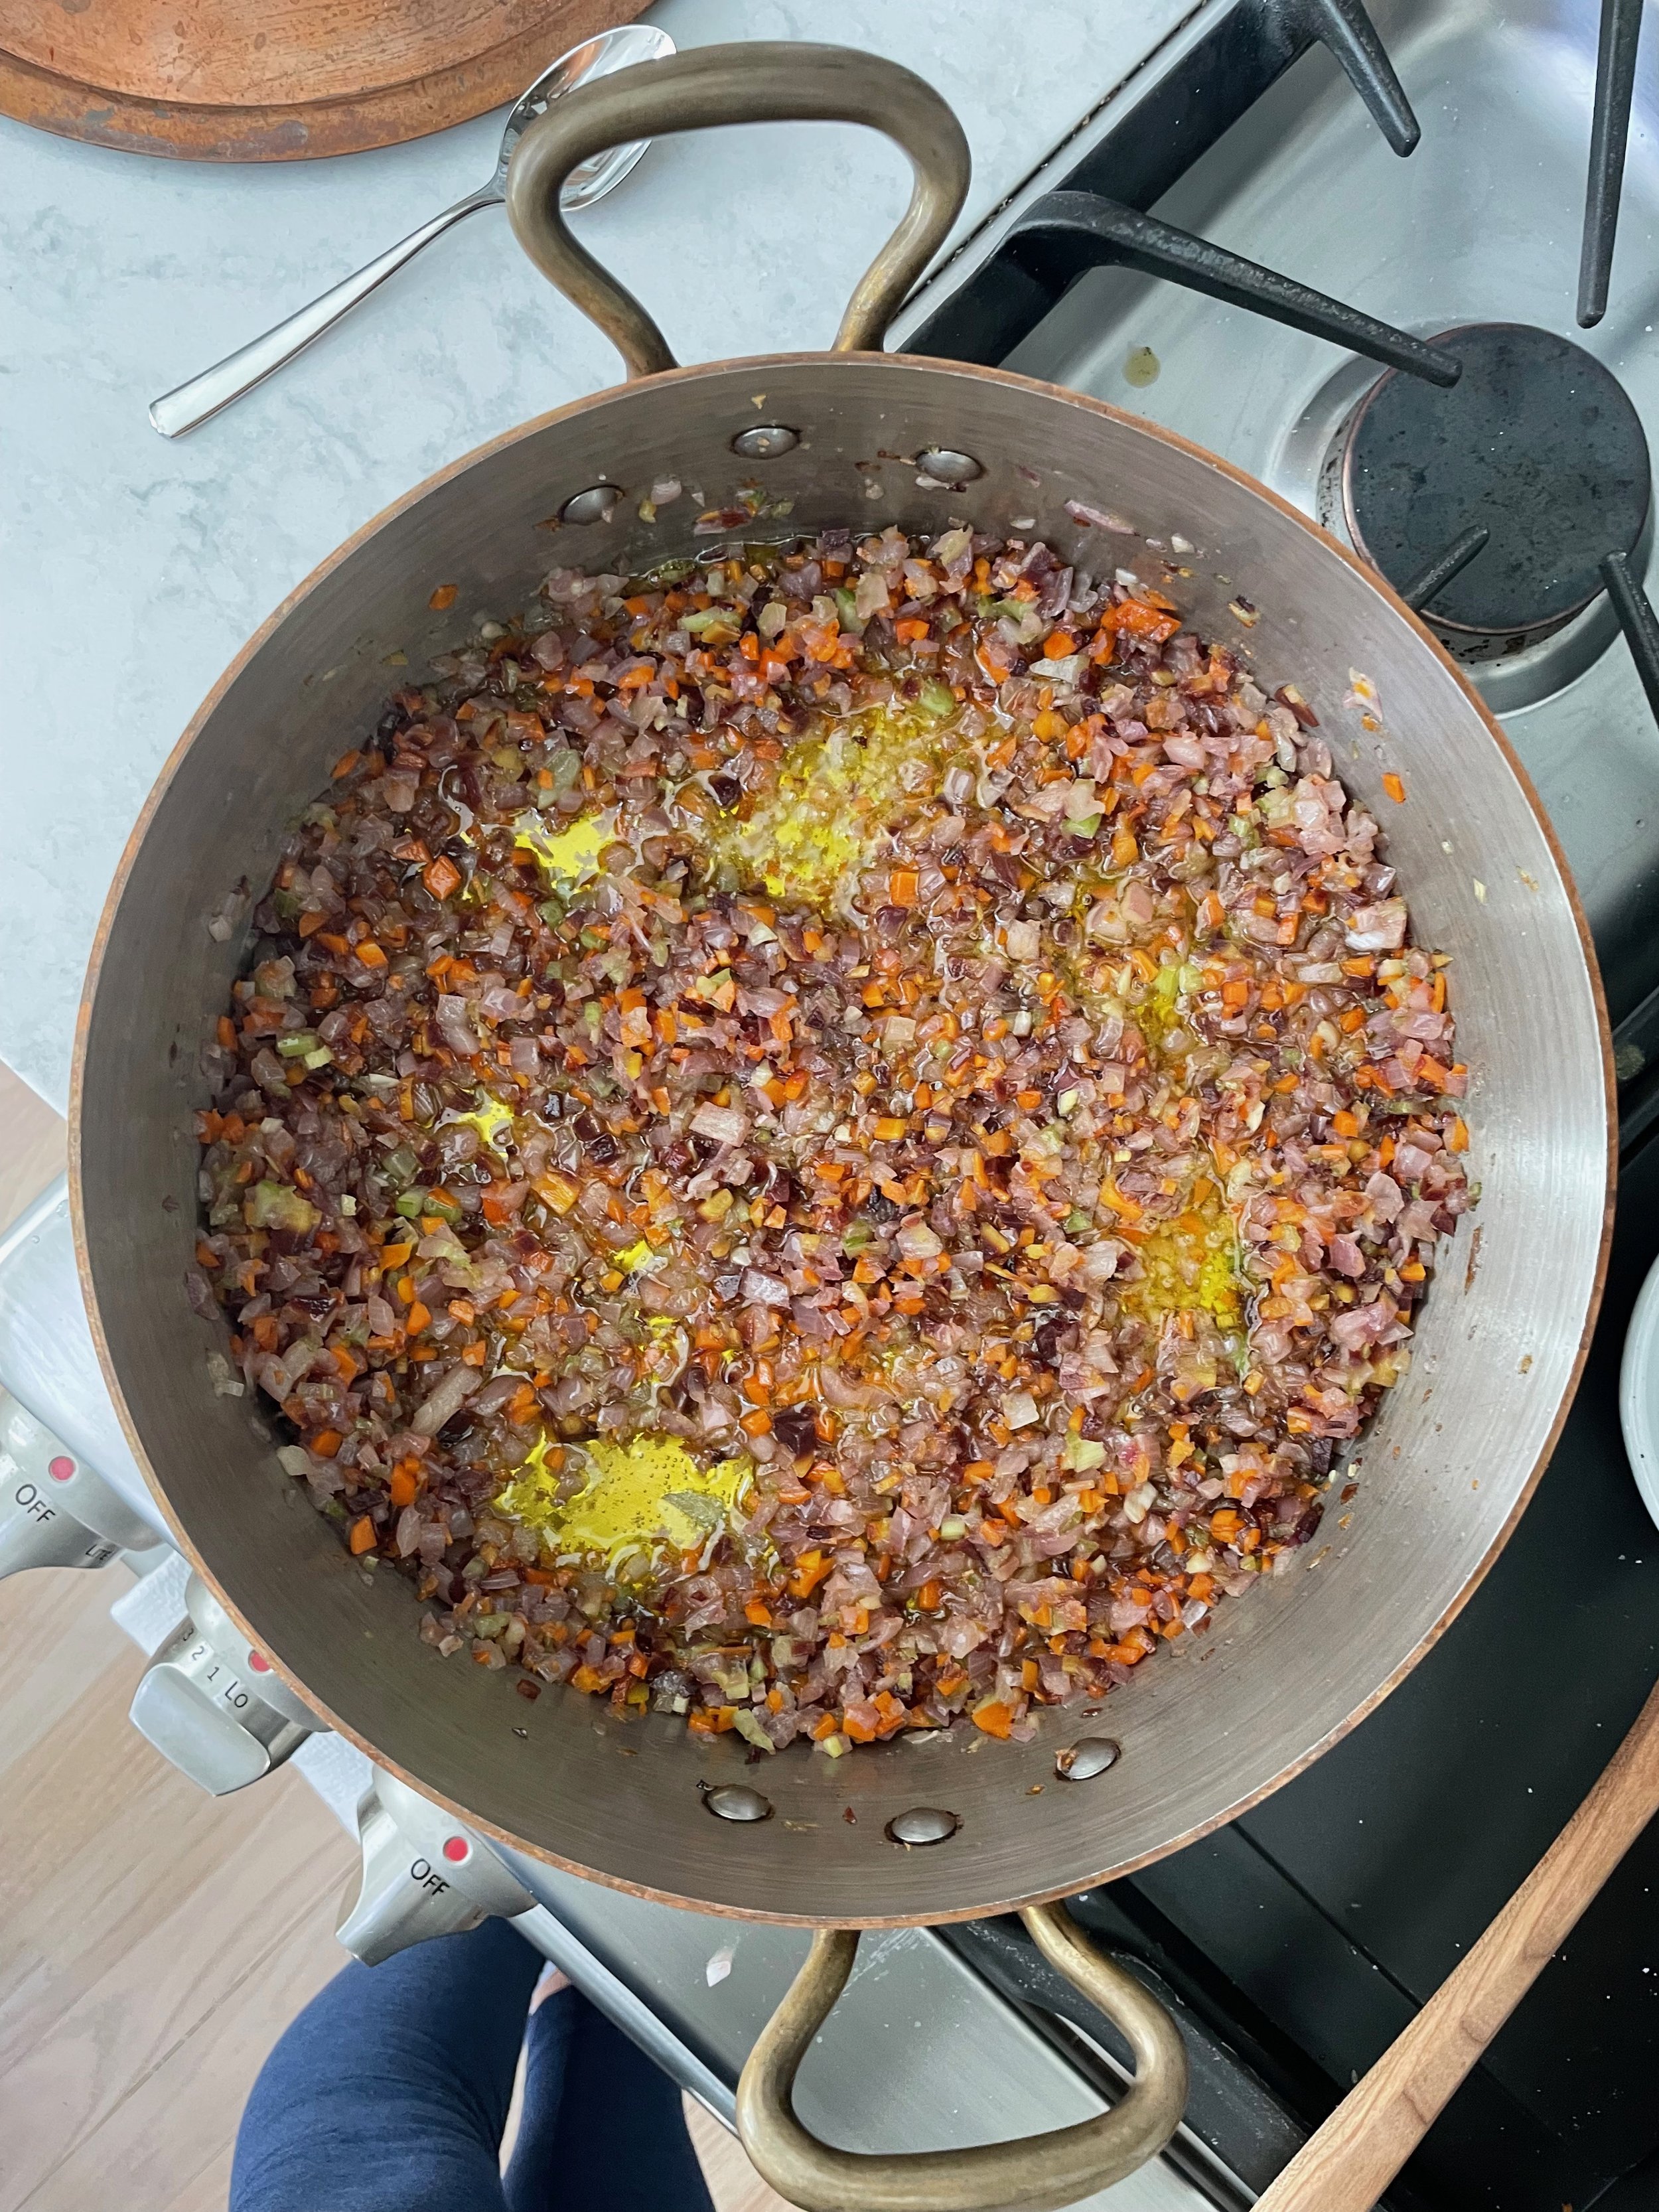
1 large onion, peeled and finely chopped
1 tablespoon minced garlic
3 1/4 cups short-grained Spanish rice, such as Bomba (Arborio also works)
1 1/2 cups fresh or frozen peas or favas
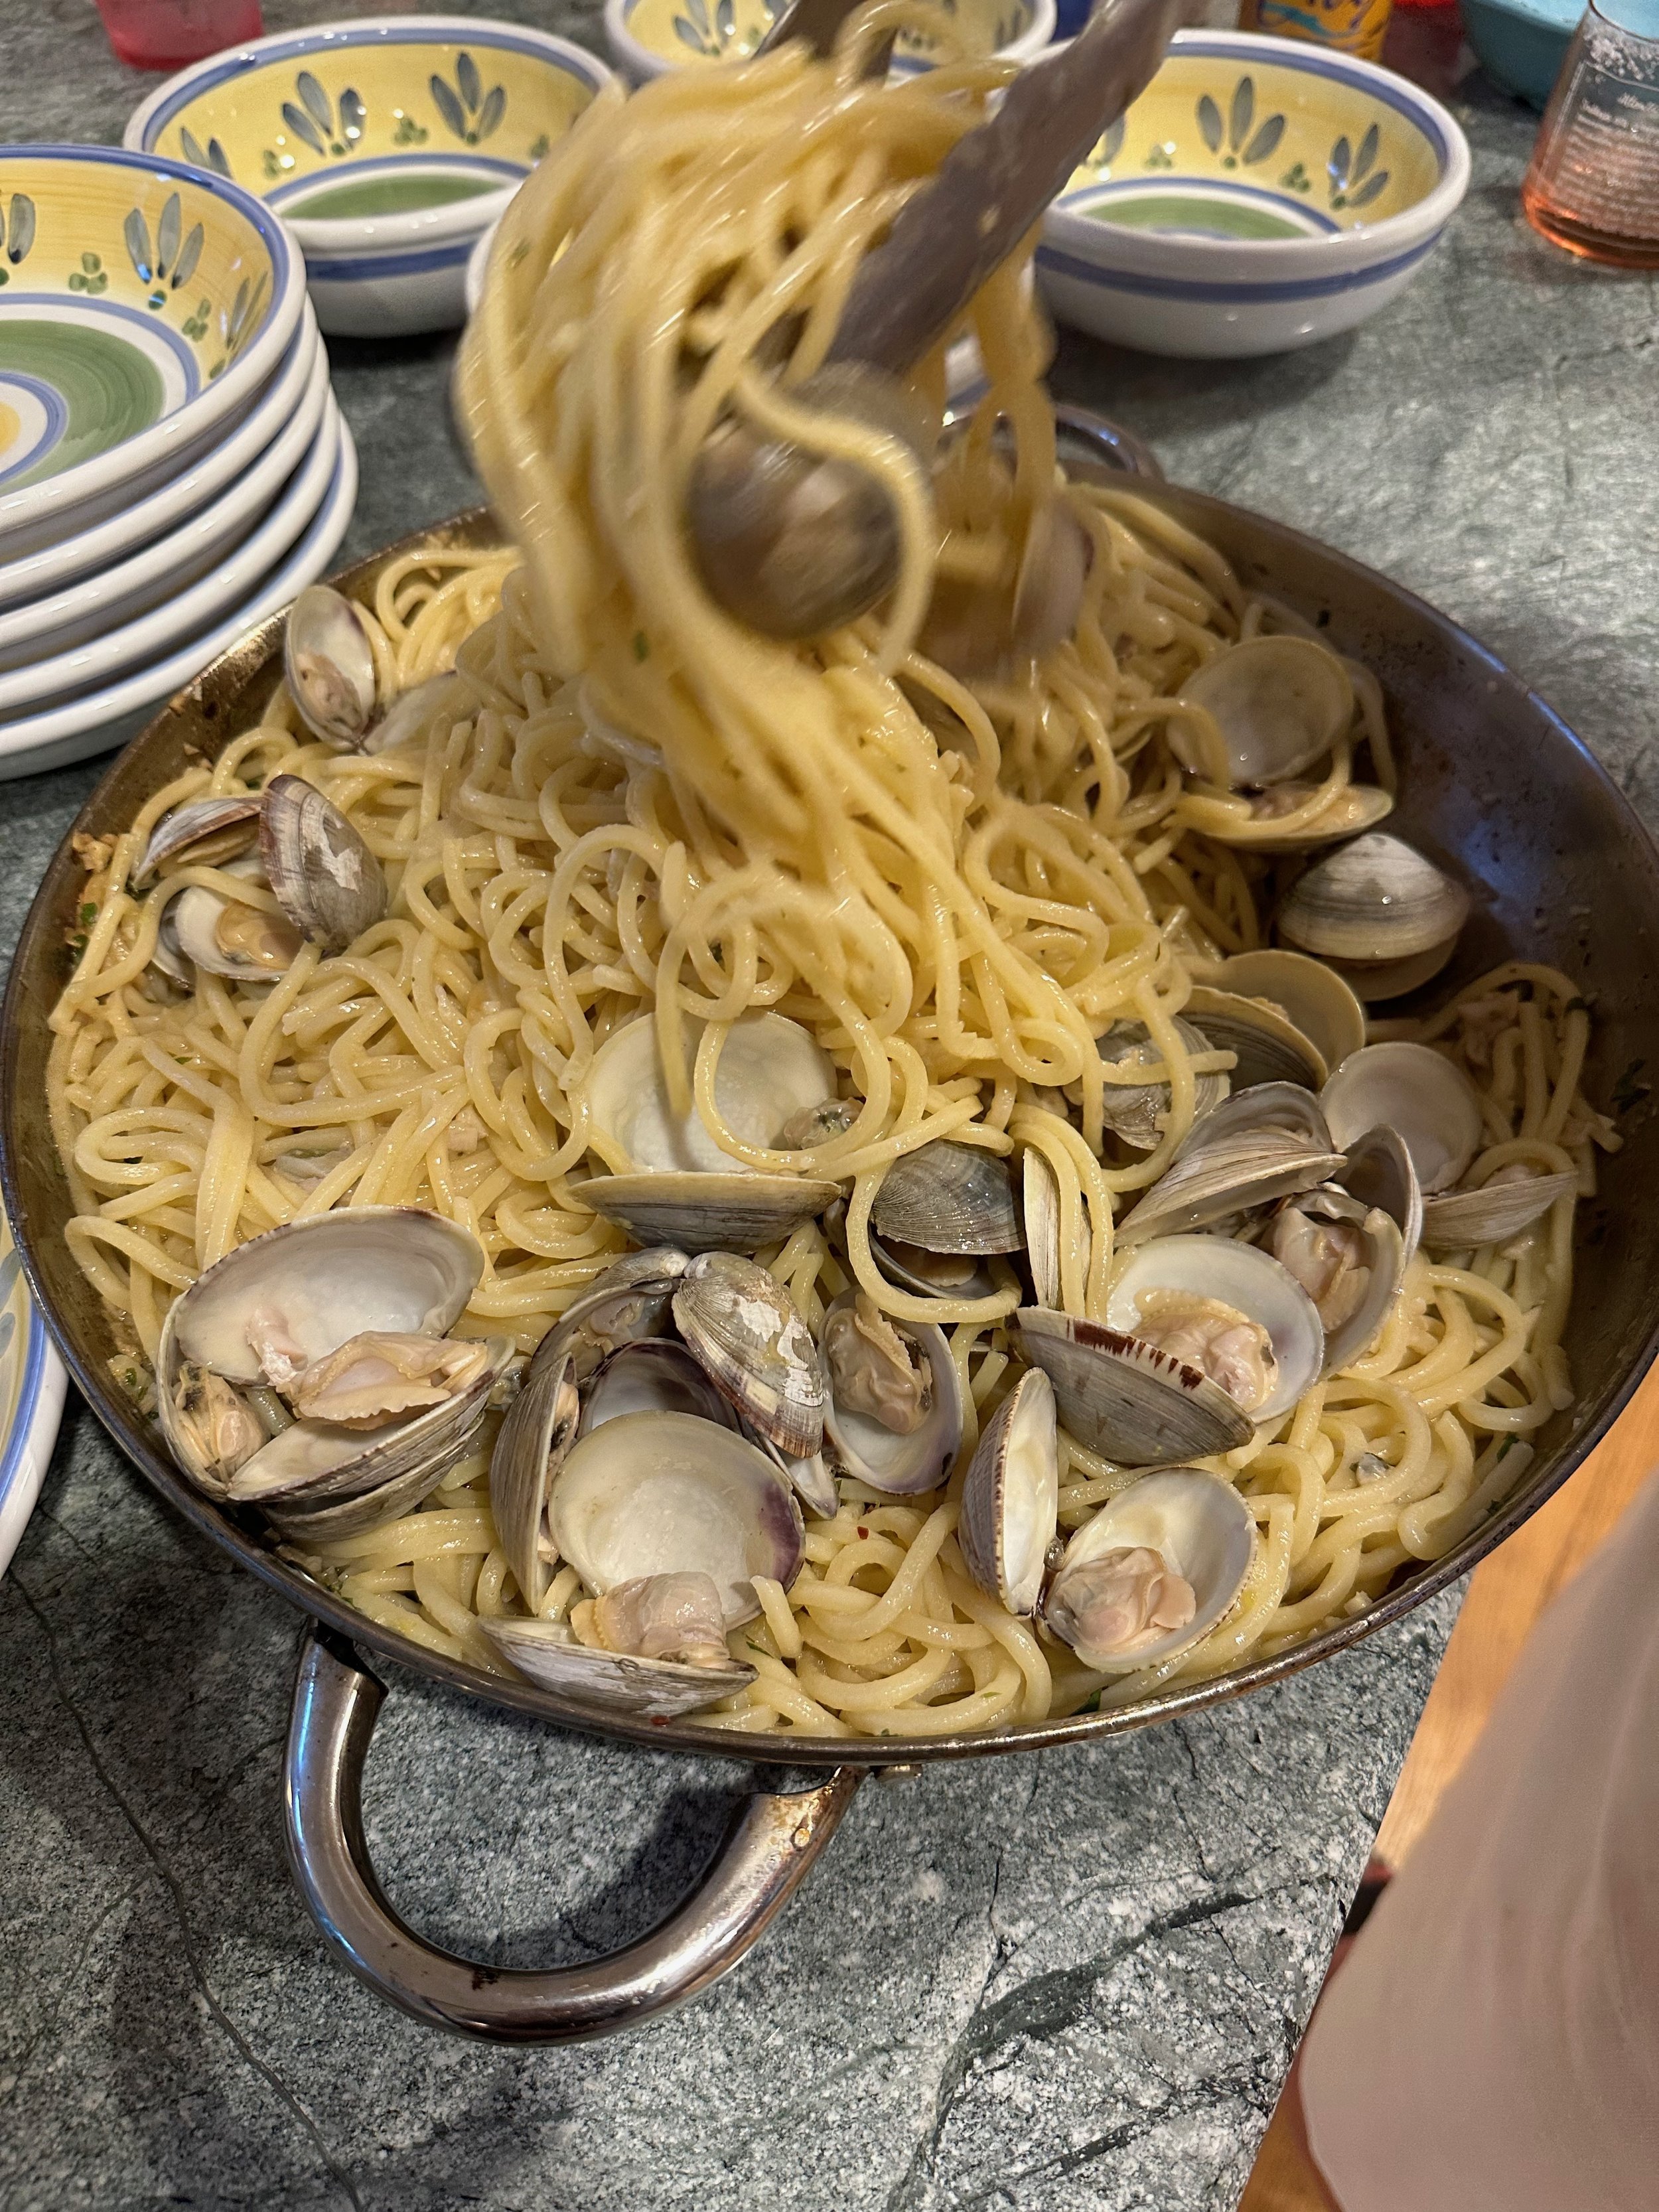
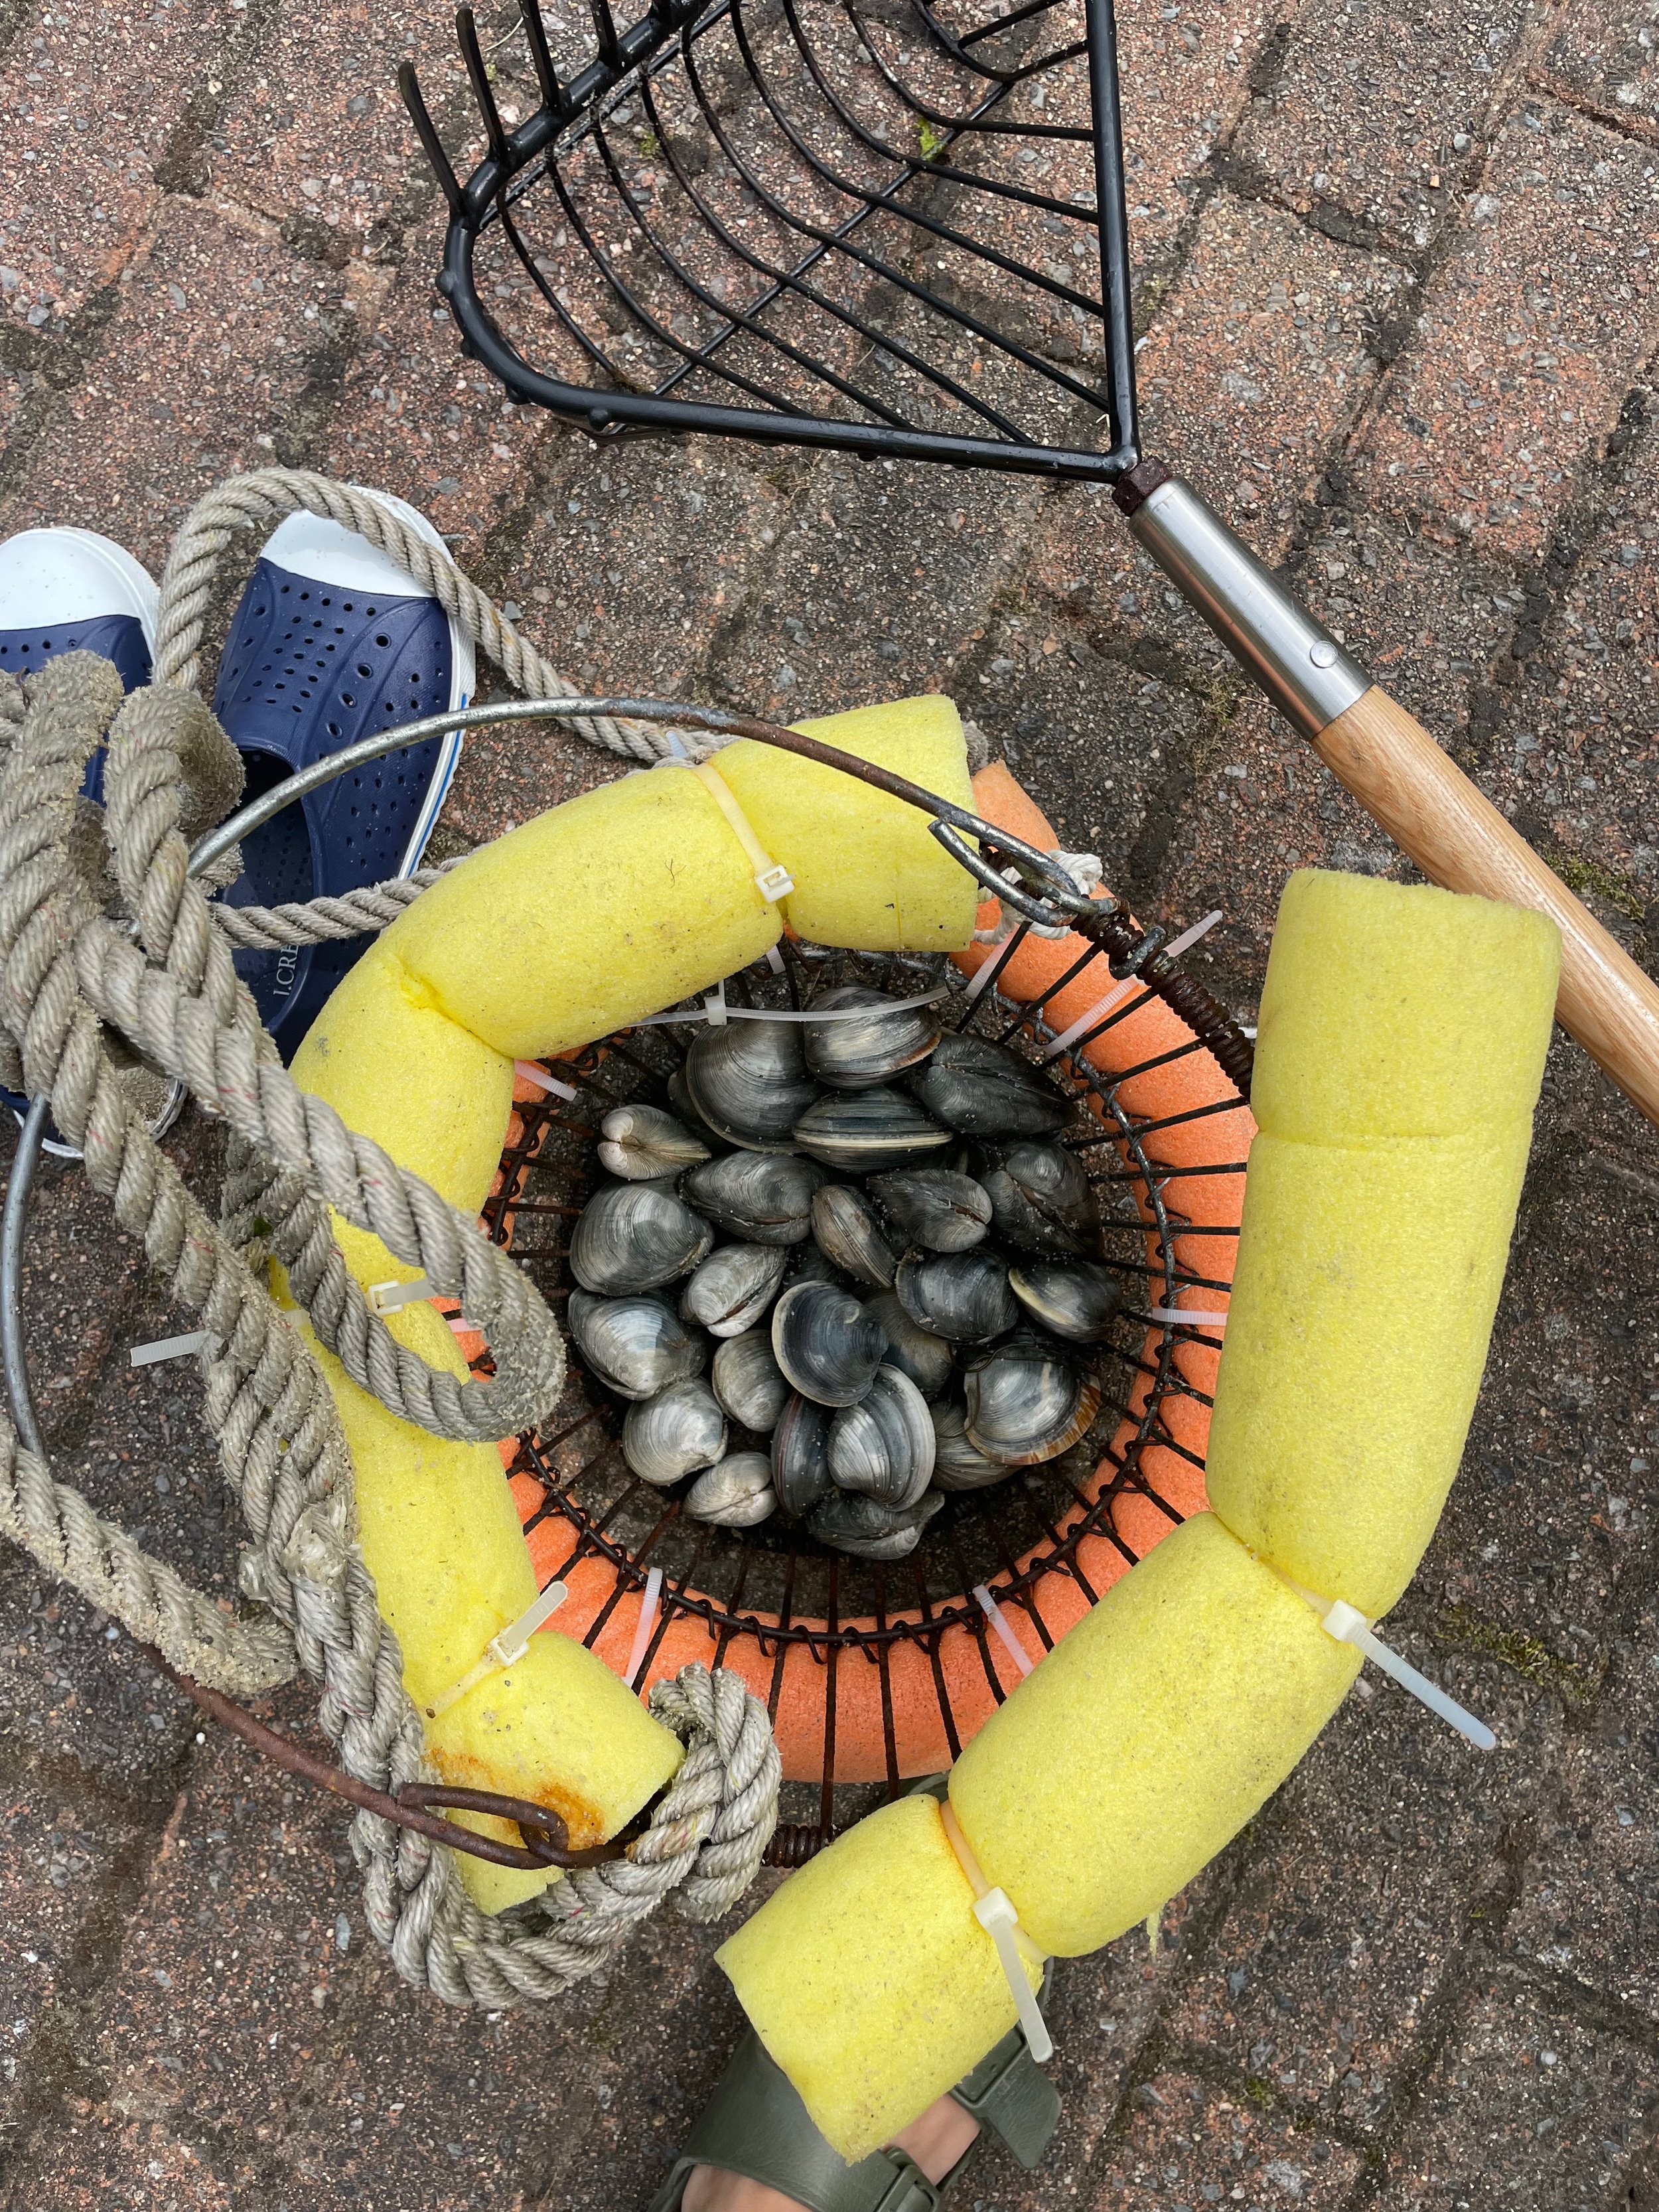
16 small littleneck clams, cleaned
1 pound mussels, debearded and cleaned
Stock, from below
Charcoal
A handful of fruitwood chops (or other wood chips) (optional), soaked in water for at least 30 minutes
2 tablespoons finely chopped parsley

For a quick fish stock:
4 cups clam juice
5 cups cold water
½ yellow onion
Bay leaf
Shrimp shells (from shrimps below)
10 peppercorns
3 parsley stems
One large pinch saffron
Salt
Freshly ground black pepper

Steps:
1. Shell and devein the shrimp. Set shells aside. Refrigerate shrimp.

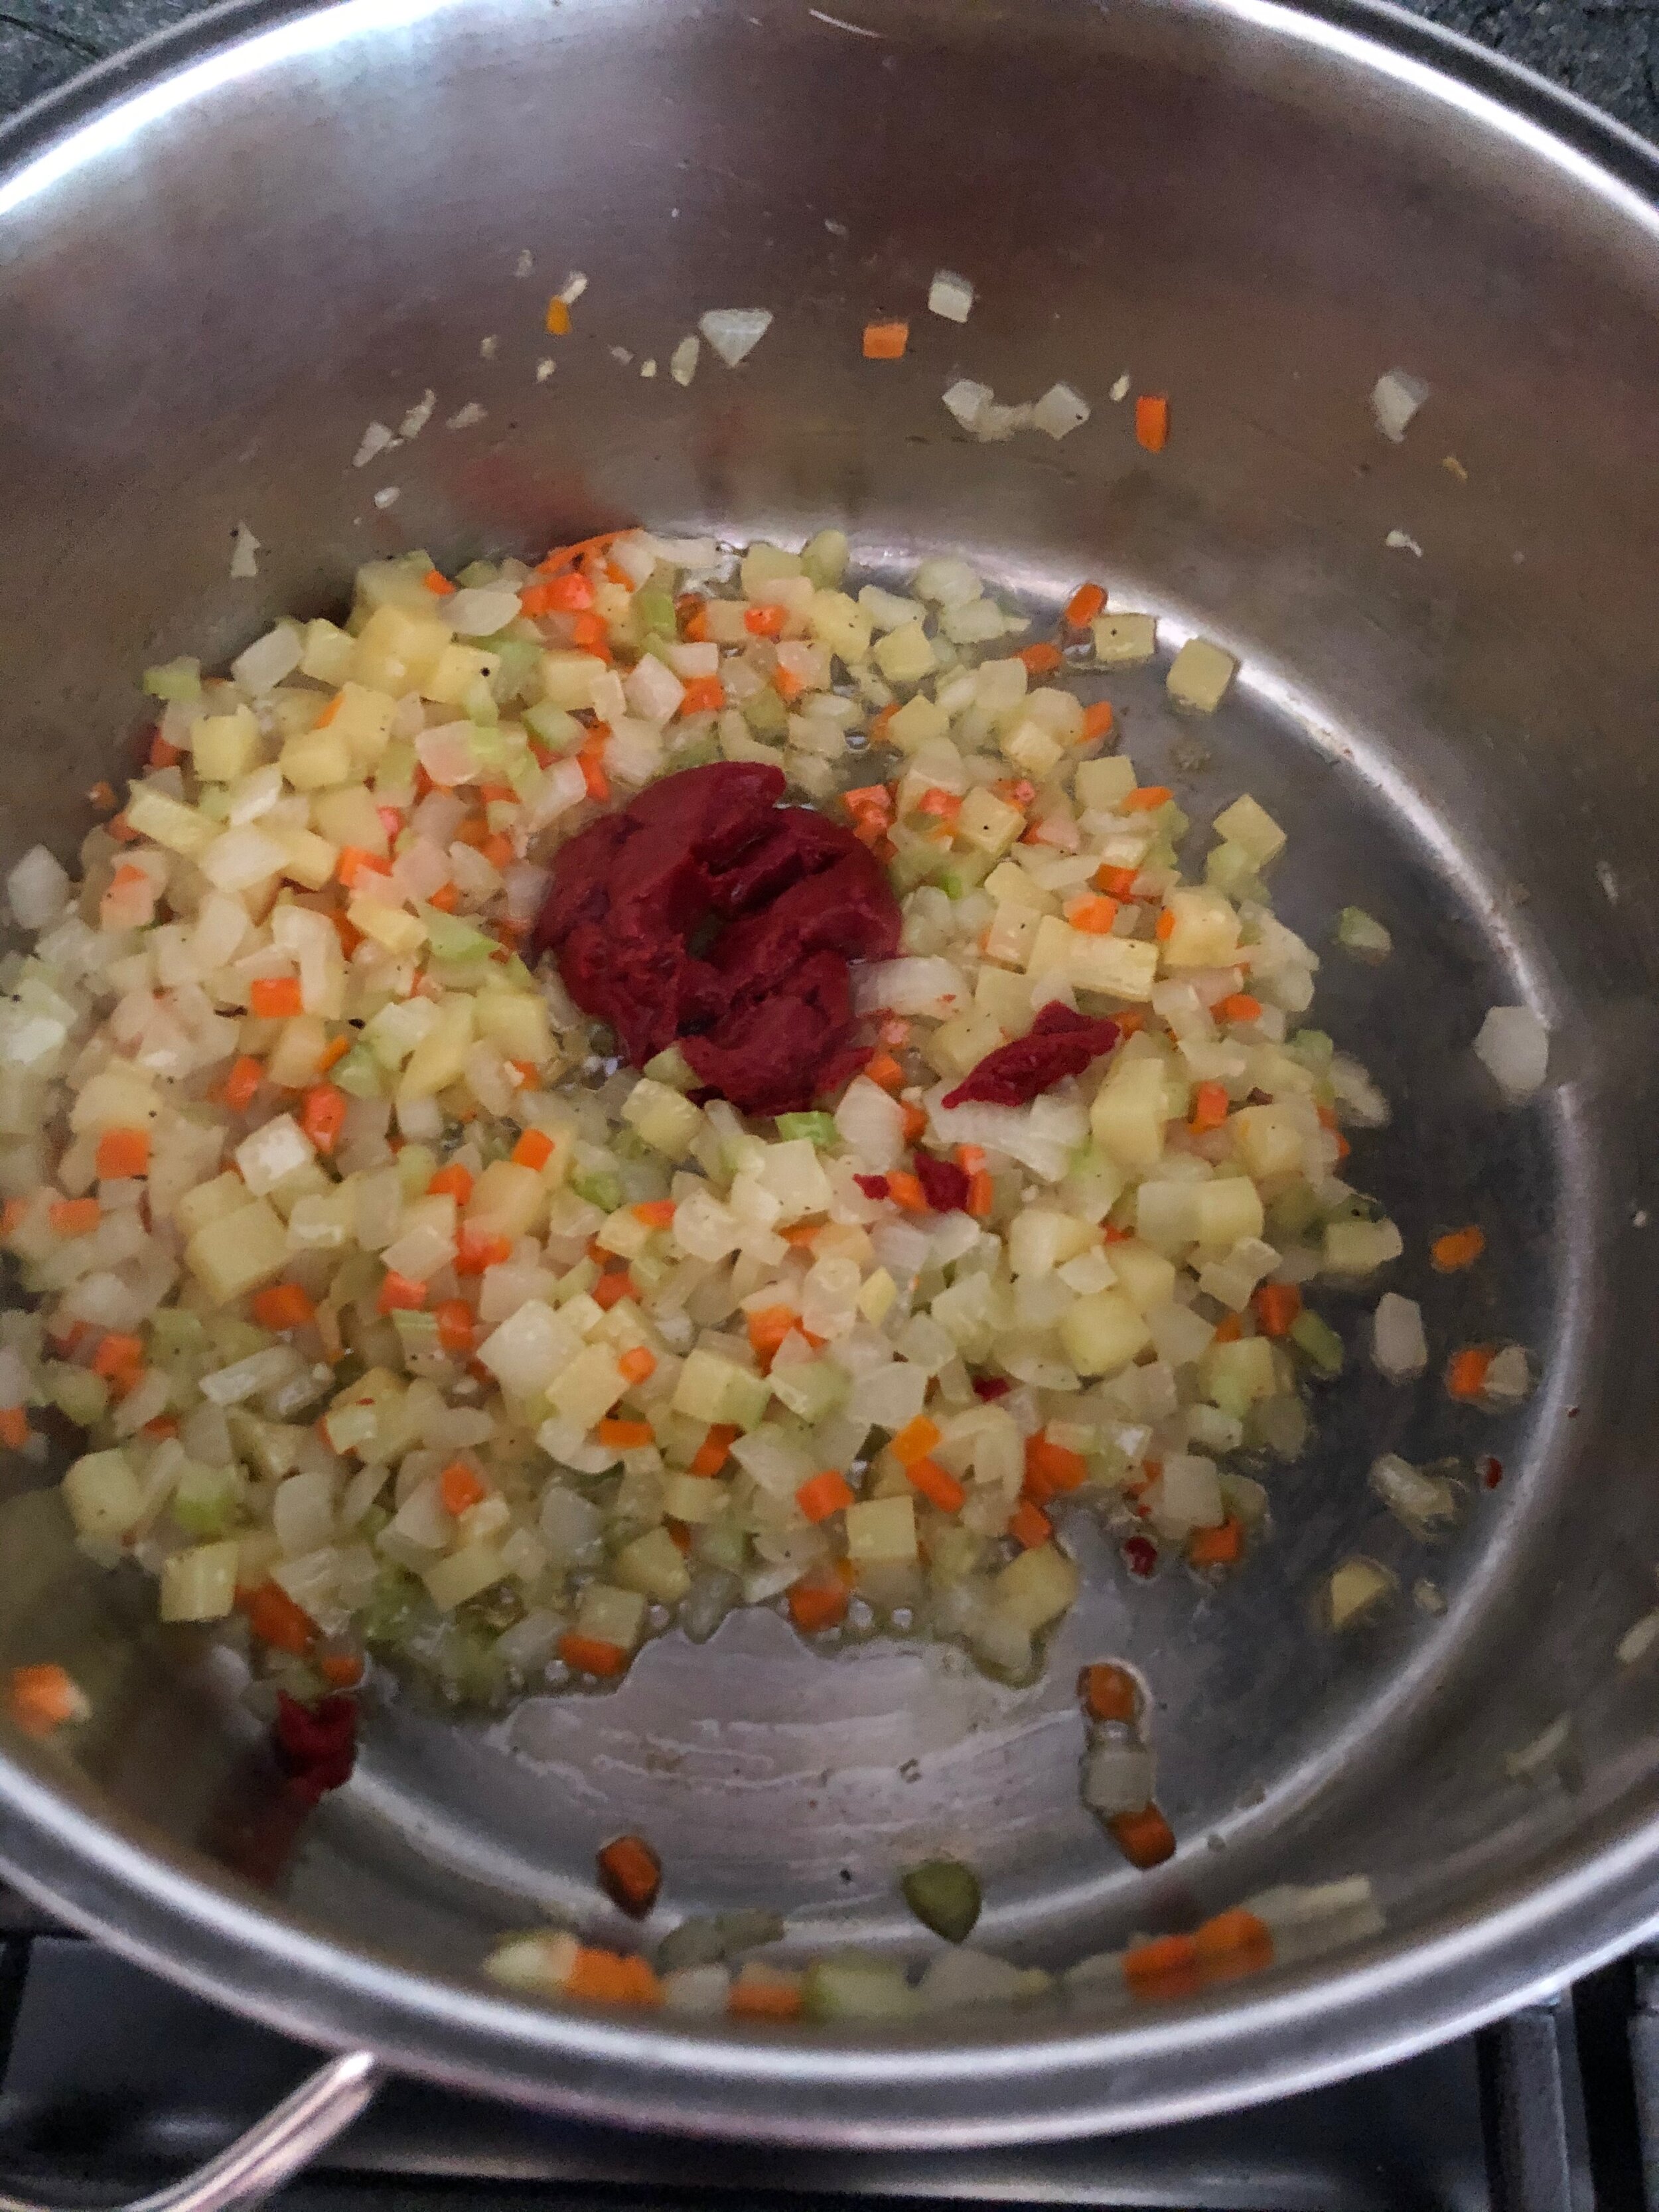
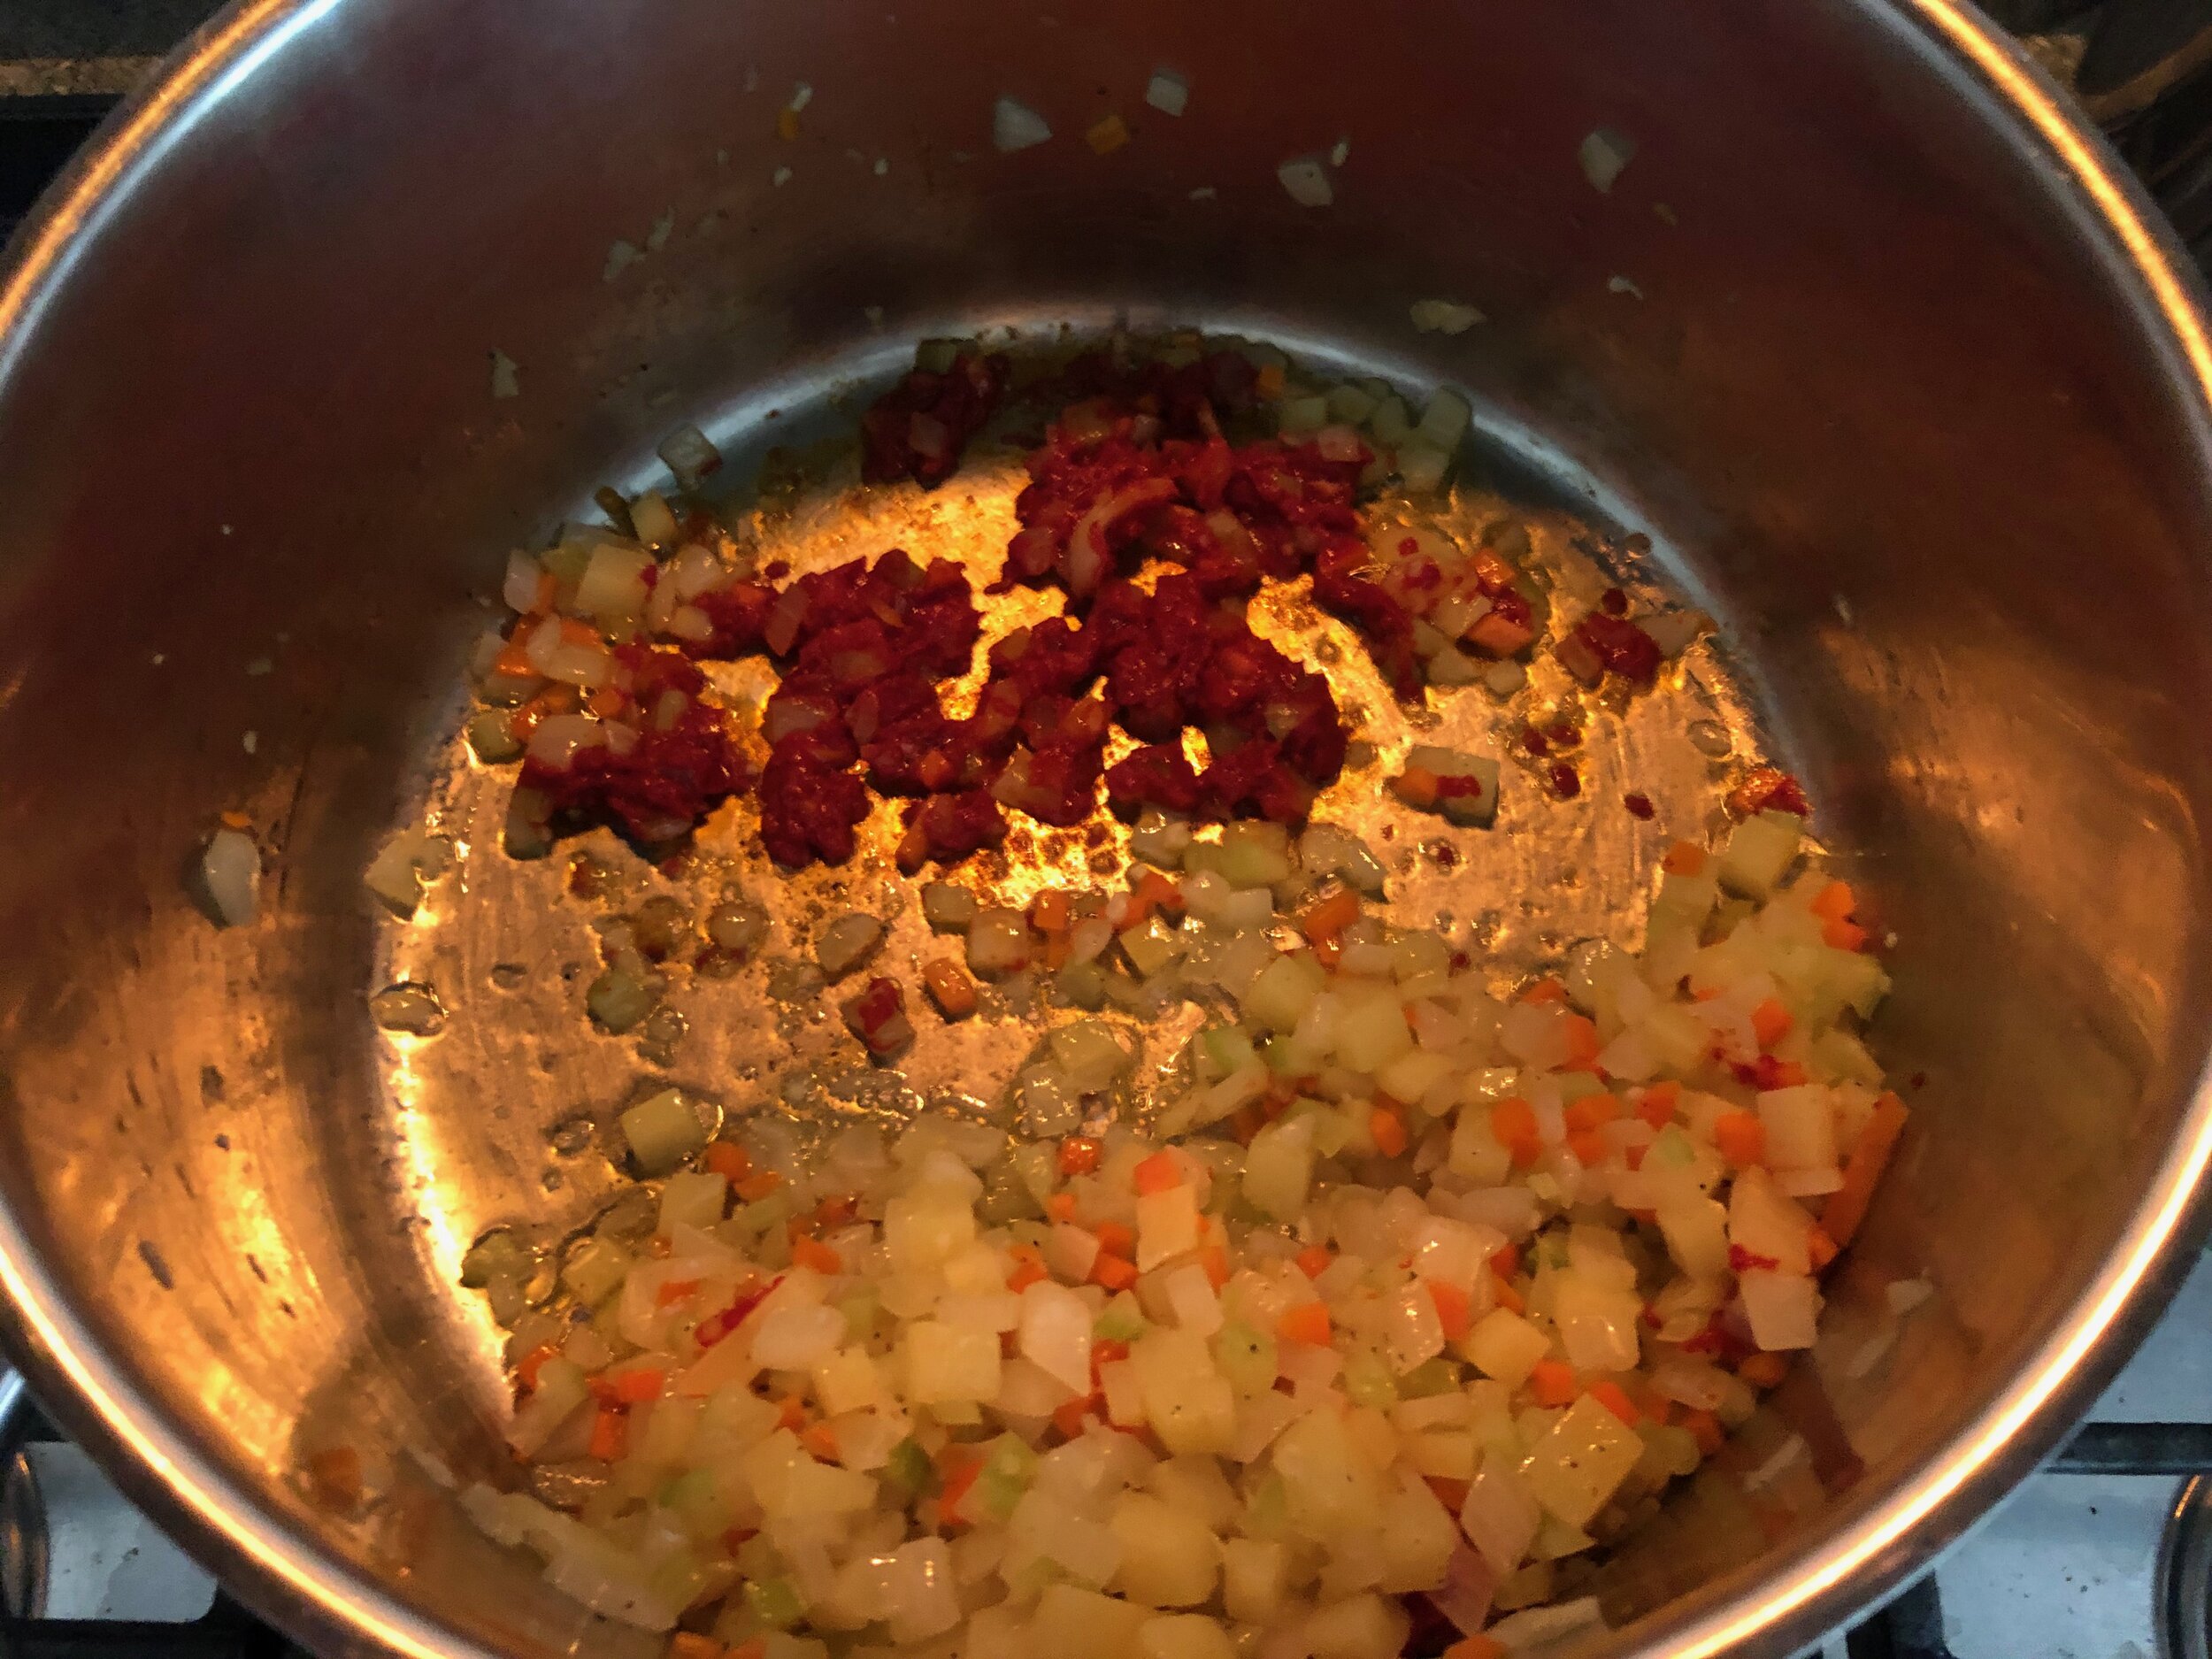
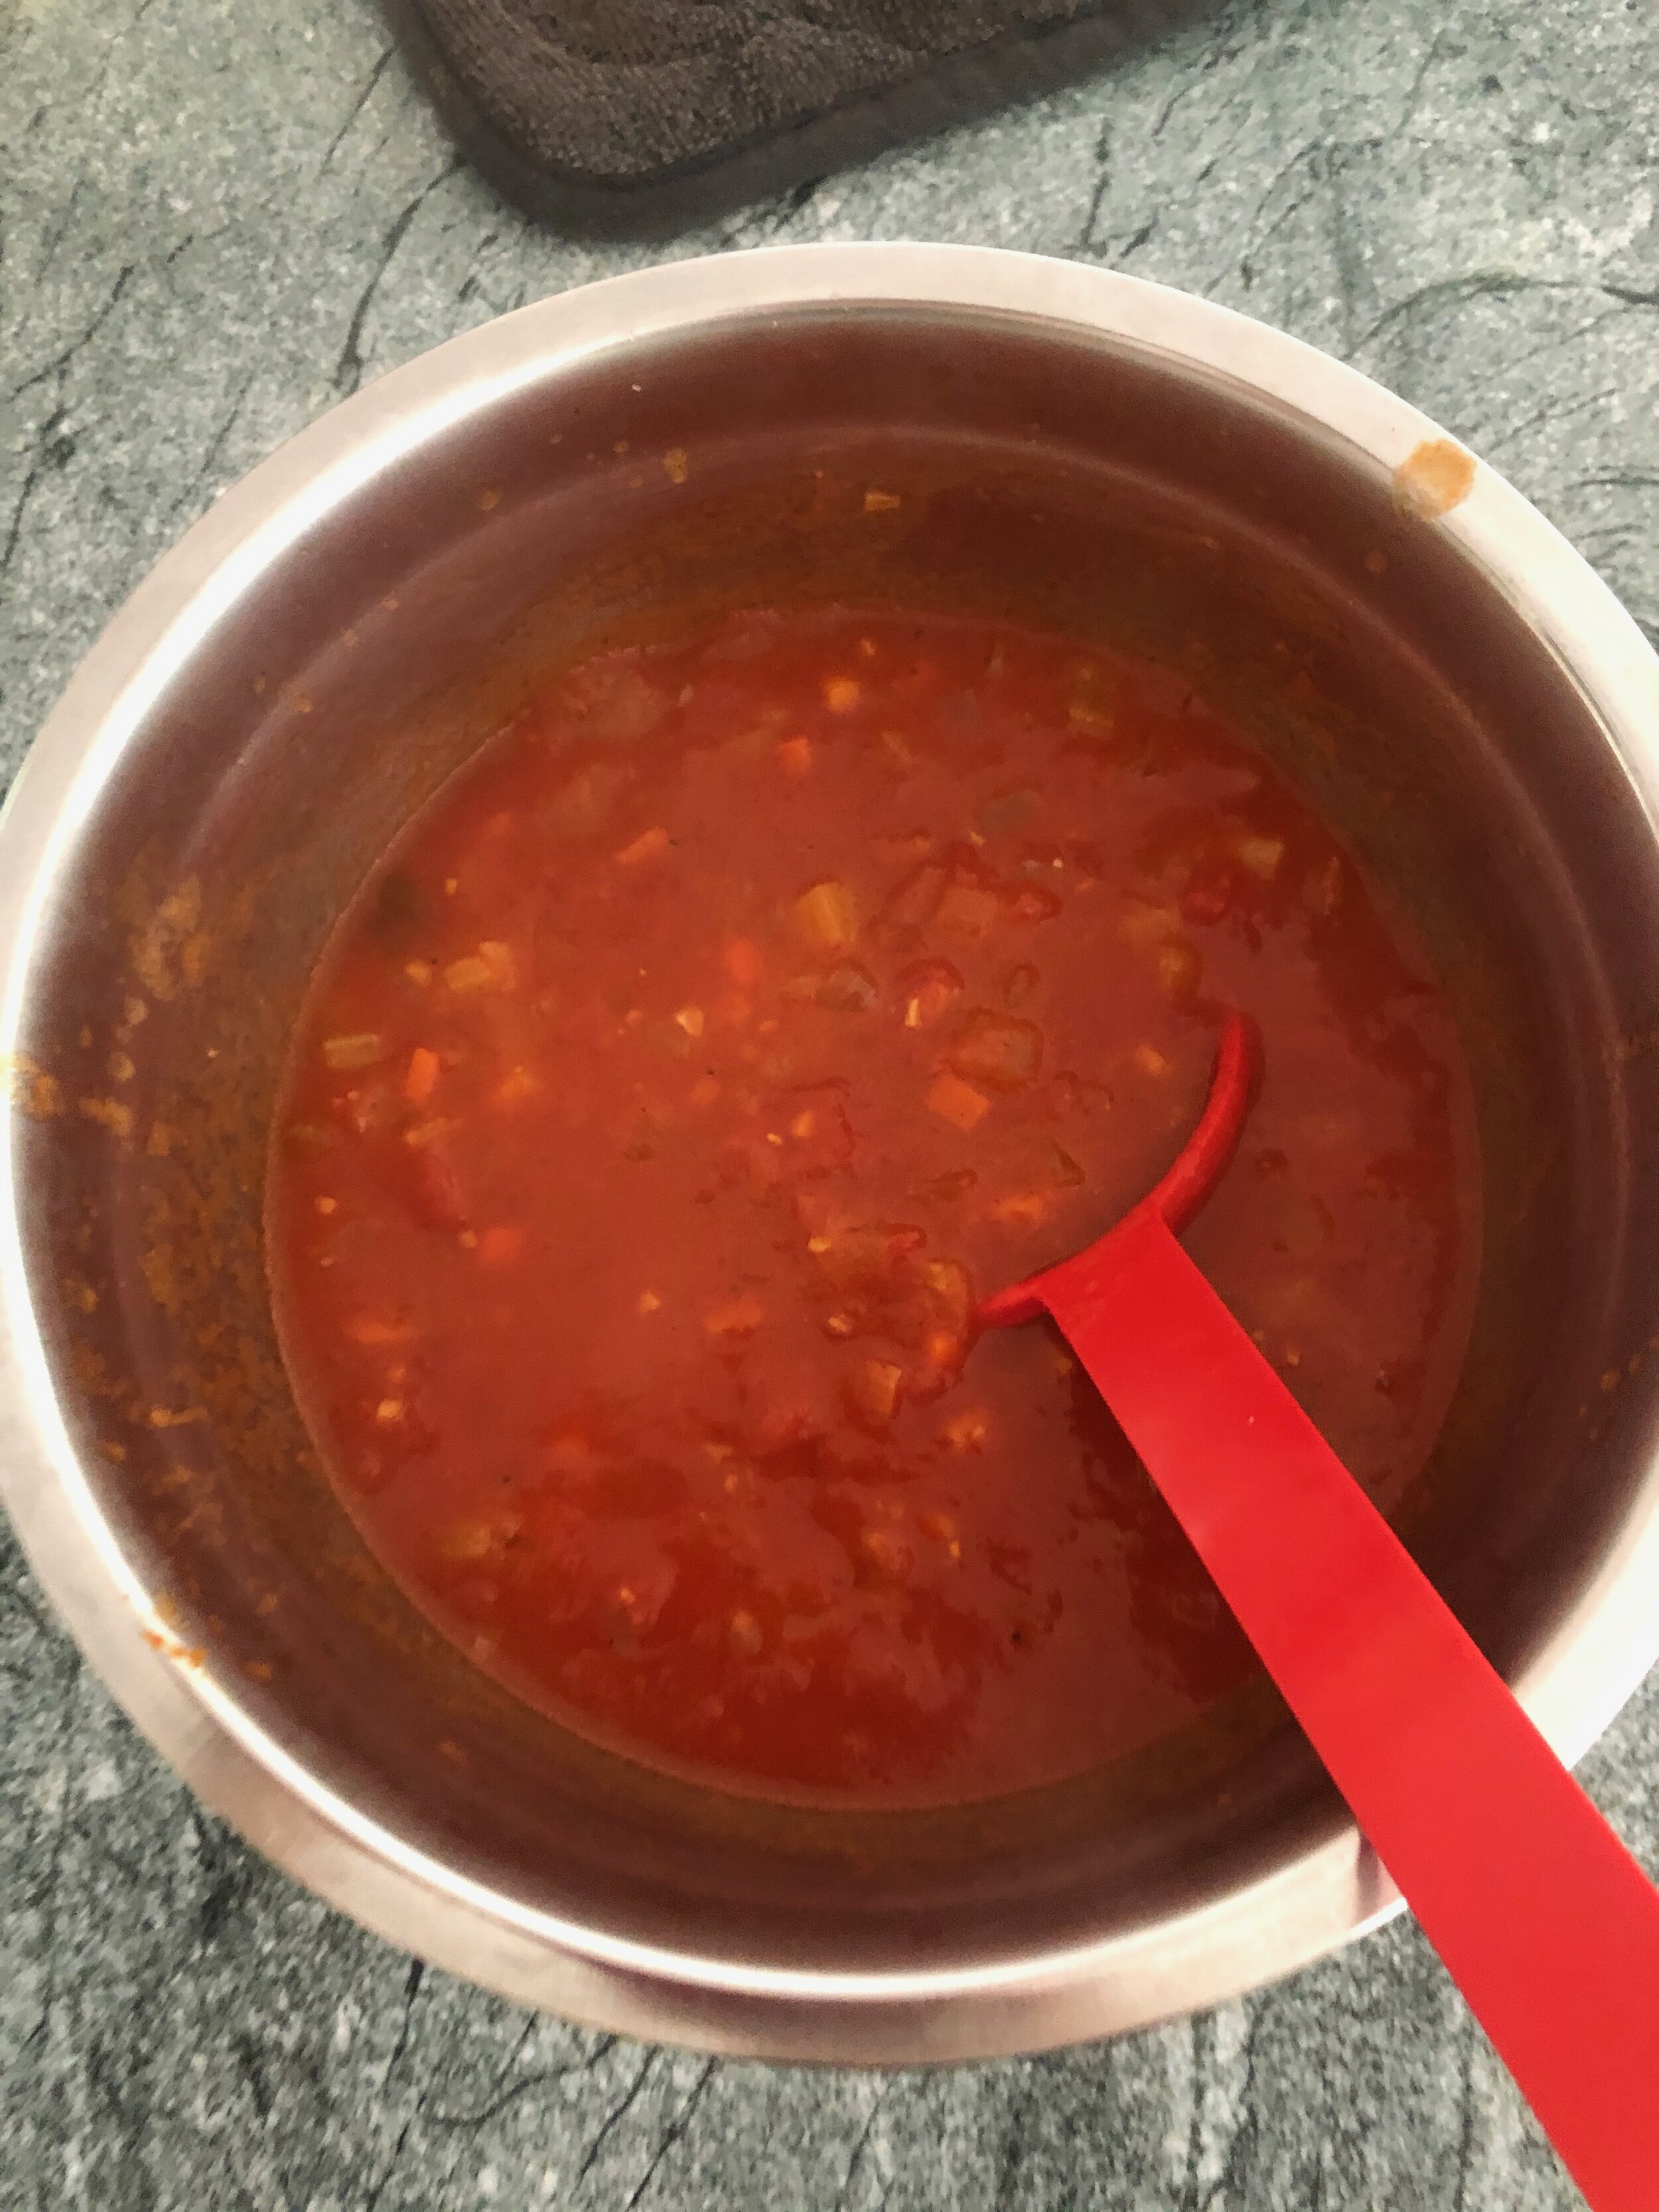
2. Make the stock: In a large pot, bring the clam juice, water, onion, bay leaf, reserved shrimp shells, peppercorns, and parsley stems to a boil, then lower heat and simmer for 30 minutes. Strain. (Alternatively, you can make or buy a fish stock – you’ll want 2 quarts total.) Add the saffron to the stock and simmer for 5 minutes more. Keep the broth warm. Taste and season the stock with enough salt and pepper so that it tastes delicious.

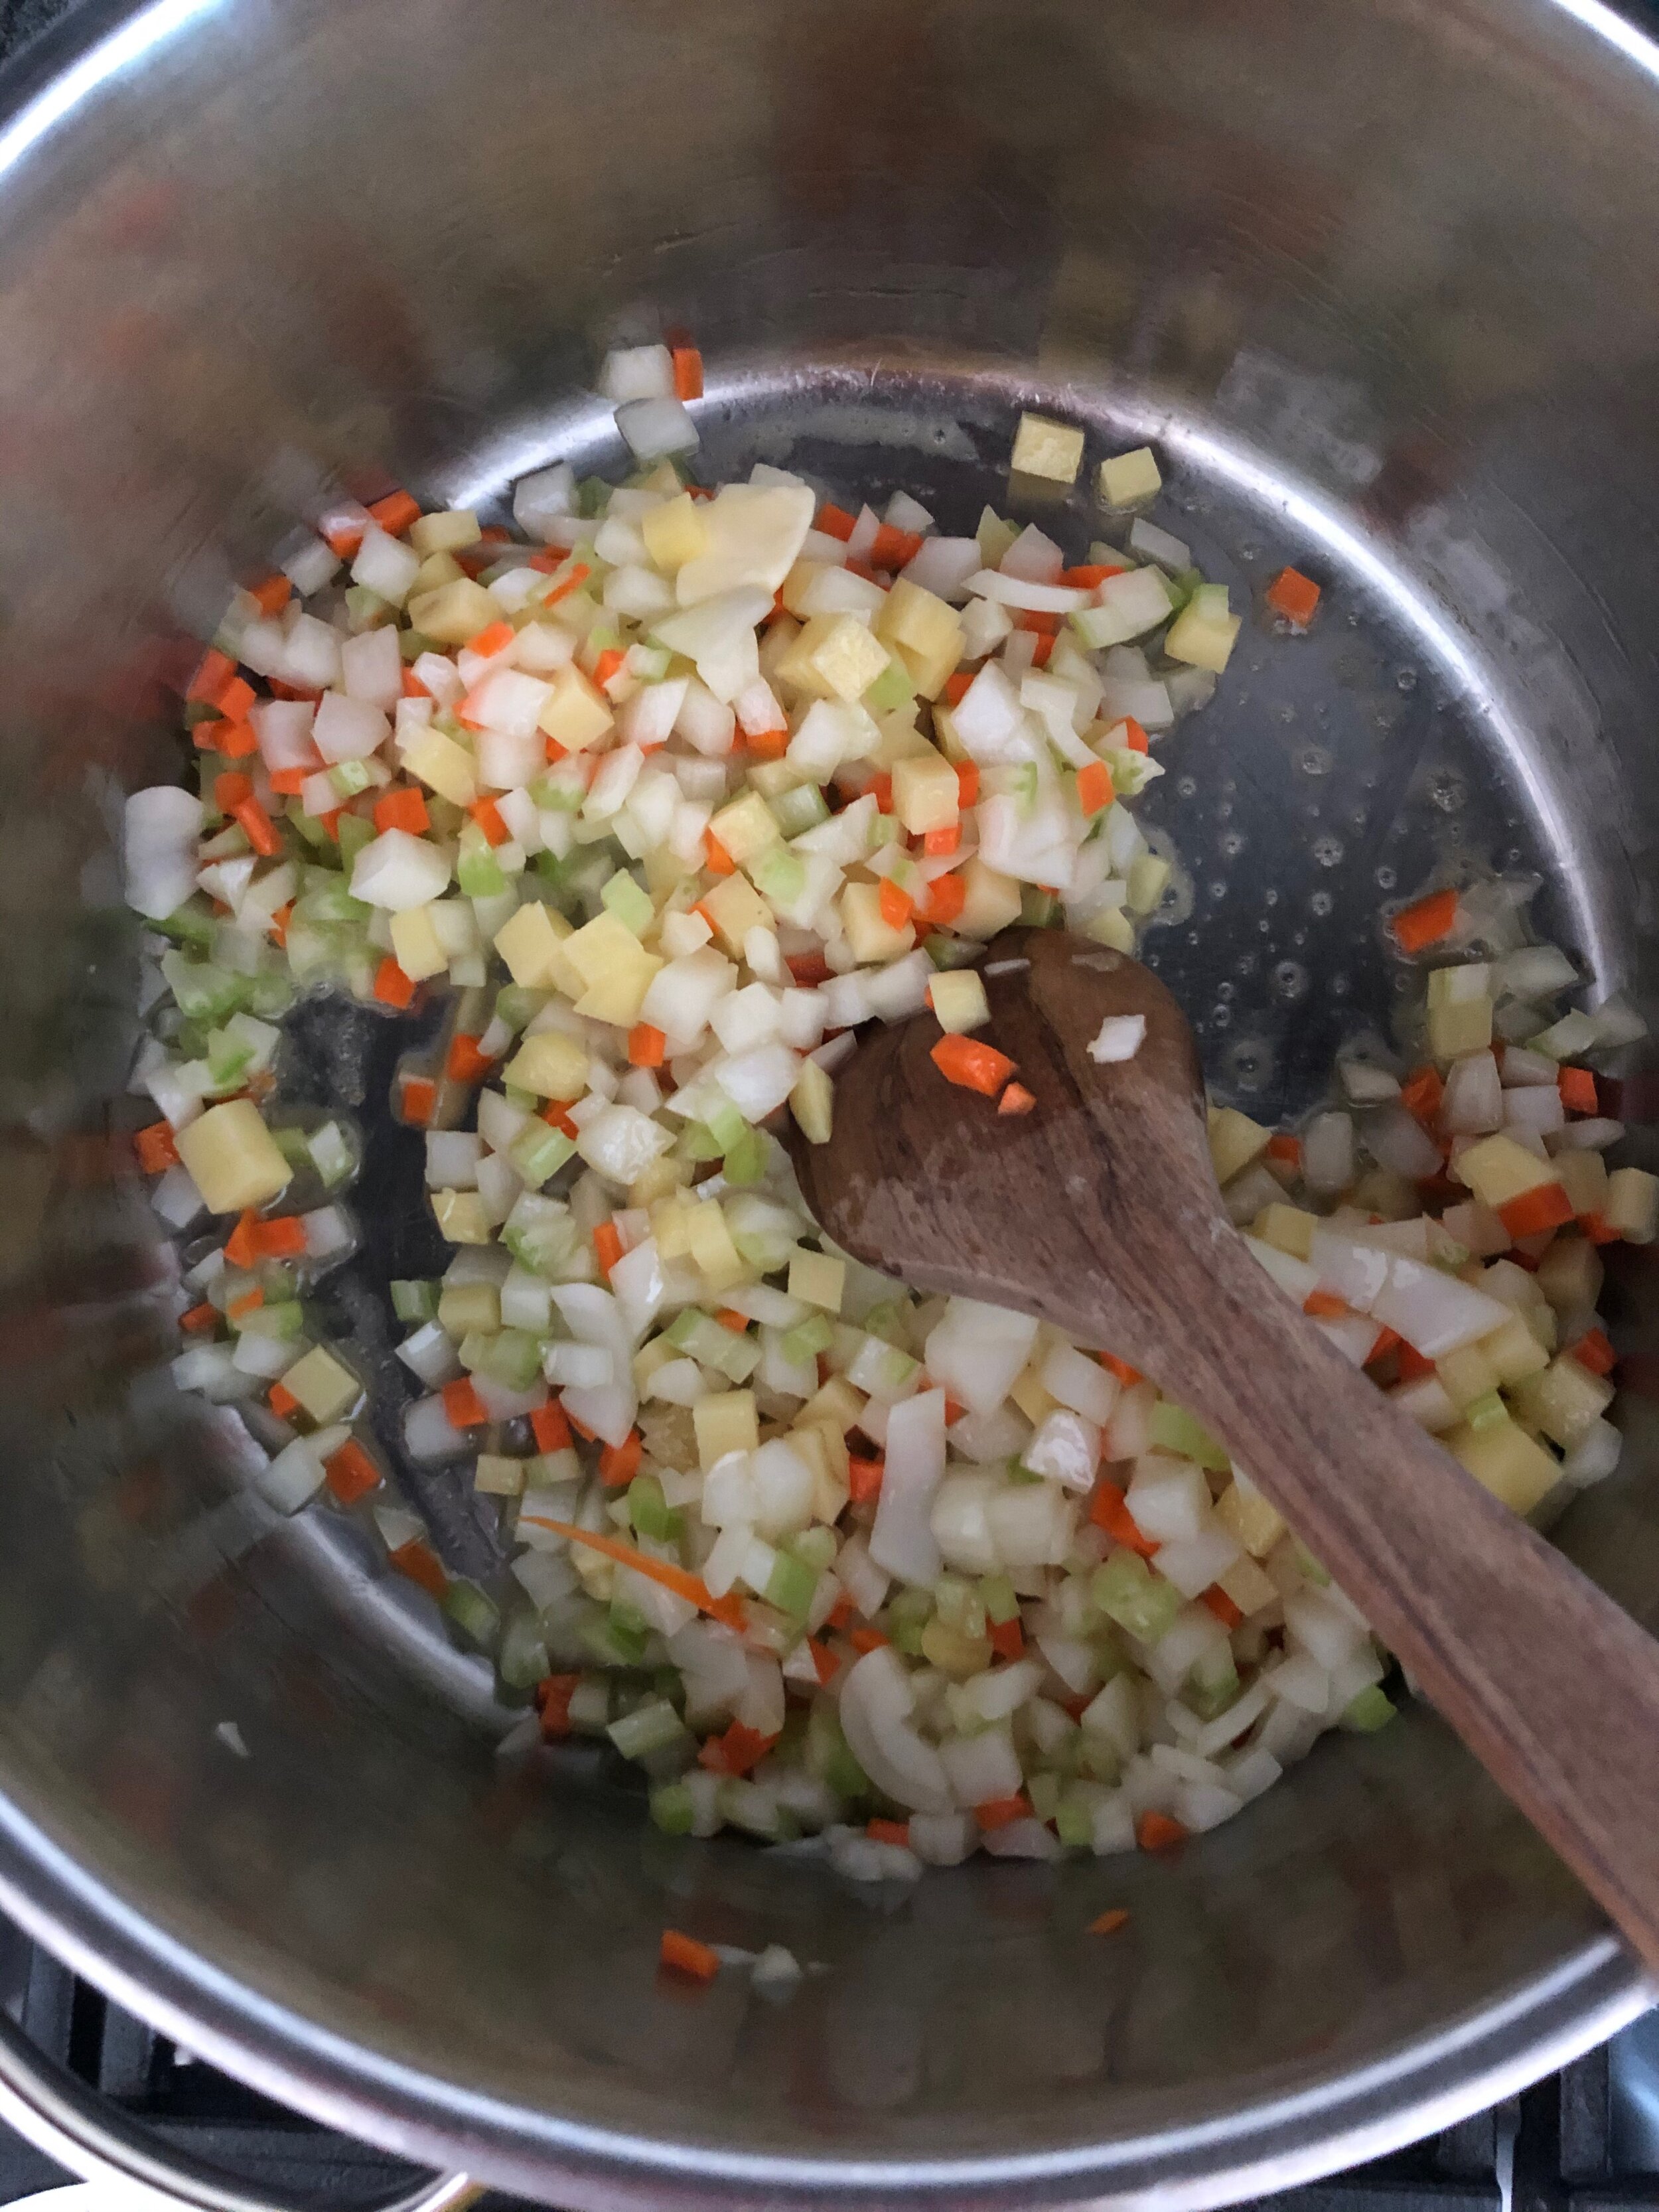
3. Start the paella: Set an 18-to-22-inch paella pan over medium-high heat on the stove top. Add ¼ cup olive oil. Season the chicken thighs all over with salt and pepper and brown on both sides in the hot oil. Transfer to a baking sheet or large platter. Cook the chorizo in the same pan until browned. Transfer to a plate. If needed, add more oil to coat the pan. Add the onion and cook until translucent, about 4 minutes. Season with salt. Add the garlic and stir until fragrant, then add the rice and stir to coat. Toast the rice for 1 to 2 minutes. Add a ladleful of stock, then stir in the peas, chorizo, and chicken pieces, and remove from the heat.

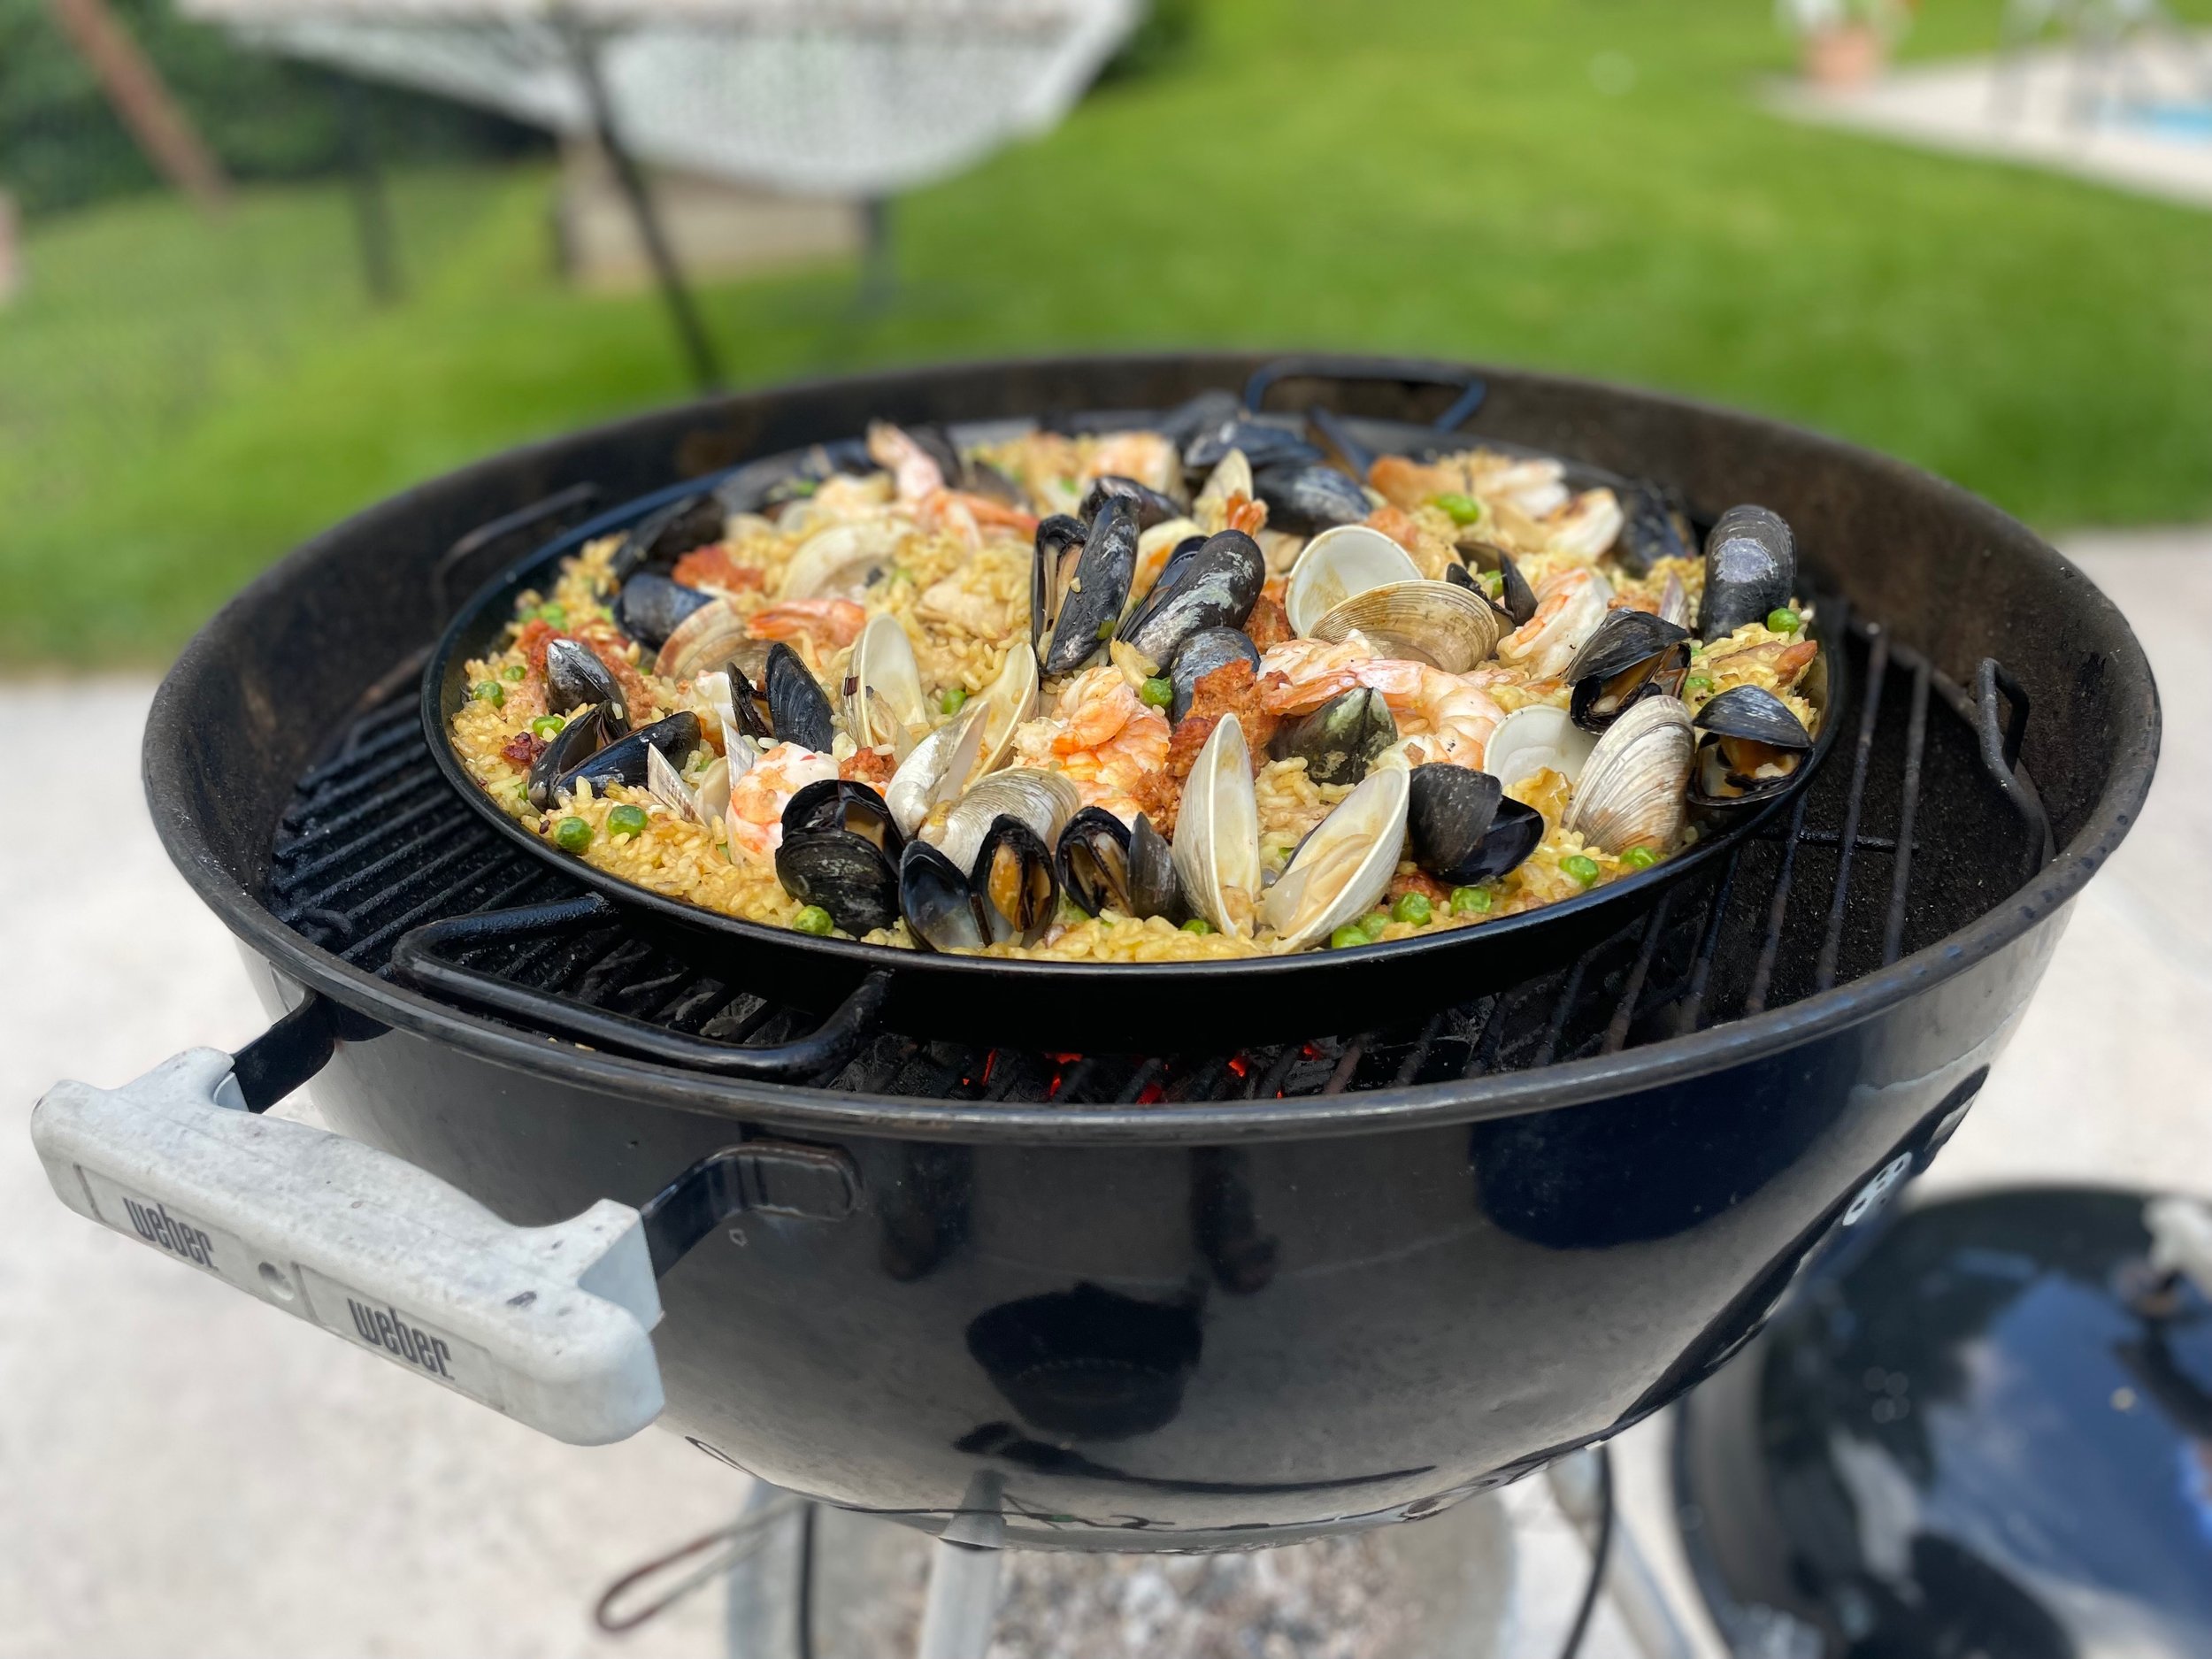
4. Light a charcoal grill. Carry the remaining stock and other ingredients to the grill. Check the fire: it’s ready when the charcoals are orange and gray and you cannot hold your hand over them. If using, pull the wood chips from the water and drop them over the charcoals, set the grill rack over them, then set the paella pan on the rack. Pour the warm stock into the paella pan. Cover the grill and cook the paella for 15 minutes. Remove the lid and nestle the clams and mussels, hinge-side up, into the paella, as well as the shrimp. Continue to cook for 10 to 15 minutes more, until the liquid has absorbed and the rice is dry on top. Season with salt and pepper to taste and top with parsley. Adapted from The New York Times Magazine.

NOTE #1: If you don’t have a paella pan, a large wide shallow saucepan that can go on the grill may be substituted. If you’re gonna make paella a thing, consider buying a pan. You will love it!

NOTE #2: You can swap 2 pounds skin-on, bone-in chicken for the 2 pounds skinless and deboned. And you can leave the shrimp shells on. Bone-in chicken makes for a more flavorful dish, though messier to eat!

NOTE #3: Soaked wook chips add even more smokiness to this dish. They are not needed, but if you remember or have them around, throw them onto the charcoals!


My Best Brownies


Chocolate-Chocolate Brownies
Makes 16 (2x2-inch) brownies

I love brownies! And I’ve finally found my perfect one — fudgey, chocolatey, chewy, and rich.

Brownies are curious little treats. Similar to the “other” American sweet — the chocolate chip cookie — there are several origin-theories out there. Was it the wealthy Chicago socialist, Mrs. Bertha Potter Palmer, who asked her chef at the Palmer House Hotel to create a portable dessert that the ladies could eat while attending the 1893 World’s Columbian Exposition? Fannie Farmer’s 1896 Boston Cooking-School Cook Book seems to have published the first recipe for Brownies, but they contained molasses and no chocolate. That sounds more like a Blondie! The first recipe with chocolate was published in the Service Club of Chicago’s 1904 Cook Book and were called “Bangor Brownies”, which makes us wonder…were they from Bangor, Maine? The theories on their Maine origins are, however, a little murky. If you know something I do not, please email me!

What we do know is that brownies are delicious and there are SO many ways to make them. Most recipes don’t call for a leavener other than egg. But if you want them a little cakey, just add 1/2 teaspoon baking powder to the dry mix of any recipe, including the one below.

Here I offer you my perfect brownie - super rich, fudgey, and SO easy to make. This recipe was designed for kids, so I know you can do it! And I guarantee you, it’s better, than anything out of a box and only take 5 minutes longer.


Ingredients:
Cooking spray oil or butter, for greasing pan 
8 tablespoons (1 stick) unsalted butter, cut into 8 pieces
4 ounces (2/3 cups) bittersweet chocolate (70% cacao), roughly chopped
1 cup all-purpose flour
2 tablespoons natural unsweetened cocoa powder
1/2 teaspoon fine salt
1 cup packed dark brown sugar
2 large eggs
1 1/2 teaspoons vanilla extract
1/2 cup semisweet chocolate chips

Steps:
1. Heat the oven to 350°F and arrange a rack in the middle. Line an 8-inch square baking dish with 2 (8-inch wide by 12-inch long) pieces of parchment paper or aluminum foil and coat pan with cooking spray or butter.

2. Place butter and chocolate in a medium saucepan over medium-low heat, stirring constantly, until melted and smooth (or melt in microwave). Remove from heat to cool slightly. 

3. In a medium bowl, sift together the flour, cocoa powder, and salt; set aside.

4. In a large bowl, vigorously whisk together the brown sugar, eggs, and vanilla until fully combined. While whisking quickly, slowly pour in the chocolate mixture and mix well.

5. Fold the flour mixture into chocolate mixture until just incorporated and no white streaks remain. Fold in chocolate chips.

6. Transfer batter to the dish and bake until a tester inserted in the center of the brownies comes out clean, about 25 minutes. Remove from oven and cool completely before cutting.


Three Sister's Stew

 
IMG_4423.jpeg
 

Last week, the Children’s Food Lab celebrated Thanksgiving. The Thanksgiving story I learned as a child, which involved kindergartners dressing up as either English Pilgrims or a Native Americans so they could reenact the feast of the shared harvest, is one side of the story — the side of Mayflower descendants. We never heard the Native American-side of the story. We are learning more, though, and it’s unfortunately not as benign as we hoped. There was a first Harvest Feast of the English Pilgrims. They were taught by the Native Americans how to grow certain foods. Whether they dined together is questionable; whether atrocities occurred by the English against the Natives is not.

In our class, we discussed what a Thanksgiving meal could have looked like in 1621 (if it did happen), and together we made a Three Sisters Stew in honor of the Native Americans. (Note: This is a non-traditional version of the stew, adapted for the modern home cook.)

This dish can be whipped up in just 25 minutes. My family ate it over three days in three different ways: as is (a vegetarian stew,)  with baked chicken, and with carnitas. The best part of this recipe is that many of the ingredients come from a can or freezer so you can build it on a budget or easily make it while camping in the woods. And best of all, most kids like it. It helps, of course, to serve it with tortilla chips, sour cream, and grated cheese.

Before cooking, we discussed our Thanksgiving holiday. The American version of this legend declared that the new English settlers, called Pilgrims, and the Wampanoags natives, of what is now Massachusetts, peacefully celebrated the English’s first harvest. 

The soil of Cape Cod was rocky and sandy, nothing like the easy-to-till, loamy soil of northern England. The story goes that Tisquantum “Squanto” who was originally of the Pawtuxet tribe, and who spoke English since he had been captured by the British years before, showed the Pilgrims how to work the dry soil of the Massachusetts Bay. The Native Americans taught the English how to plant corn, squash, and beans together, and to fertilize the land with fish carcasses. This method was called Three Sisters Companion Growing. The beans give the soil nitrogen, the squash grow along the ground, keeping moisture in and weeds at bay. And the corn acts as a trellis for the beans, allowing them to grow upwards towards the sun. Together this symbiotic relationship between corn, squash and beans also created a nutritionally balanced meal. The three sisters are family - and families give and take to keep themselves up.

So the 1621 legend says that the Pilgrims and Wampanoag’s celebrated the Pilgrim’s first harvest over 3-days with dinners that looked very different from the meal we know and love today. There was no wheat, butter, sugar, potatoes, or sweet potatoes, and therefore no pies, stuffing, sweet cranberry sauce, or mashed potatoes. Instead there was shellfish, venison, wild birds like ducks, geese, turkey, and other fowl. There was hard flint corn that was ground into cornmeal porridge, and cranberries but not as sweet as the sauce we eat.

The legend doesn’t talk about how the English settlers pushed Native Americans off their land. It glorifies the English people’s arrival and ignores the slaughter of the Native American tribes all over the northeast and beyond. Legend also has it that in 1637 William Bradford declared a day of Thanksgiving after the murder of the Pequot Tribe by the colonists in what is now Stamford, CT.

George Washington declared a day of Thanksgiving to celebrate the birth of the nation (at the cost of so many Native Americans), but the holiday didn’t stick. It was Sarah Josepha Hale, the editor of a popular women’s magazine who spent 40 years trying to convince every American president to make Thanksgiving a national holiday. It finally worked when in 1863, Abraham Lincoln listened to Hale. In an effort to unify the Civil War-torn country, Lincoln declared the last Thursday of the month Thanksgiving day. Why it became a day to declare the English colonist and the Native Americans peaceful and happy, no one can really explain, except that perhaps Americans didn’t want to admit their wrongdoings.

In honor of the Native Americans we made a non-traditional, but perhaps the most traditional of Thanksgiving dishes seen today, a Three-Sisters Stew.


Three Sisters Stew
Serves 4 to 6.

Ingredients:
2 tablespoons vegetable oil (canola, safflower, grapeseed, any veggie oil)
1 large yellow onion, finely diced
1 teaspoon ground cumin
3/4 teaspoon fine salt or Morton’s kosher salt (or 1 1/2 teaspoons Diamond Crystal kosher salt)
1/4 teaspoon ground black pepper
3 garlic cloves, minced
2 cups cubed frozen or fresh, peeled butternut squash (about 1 pound)
1 (15-ounce) can pinto beans, rinsed and drained (1 1/2 cups)
1 (15-ounce) can black beans, rinsed and drained (1 1/2 cups)
1 (14.5-ounce) can chopped tomatoes (1 1/2 cups)
1 1/2 cups fresh, frozen, or canned corn kernels, drained
2 cups vegetable or chicken broth
1/2 bunch fresh cilantro, roughly chopped (optional)
Sour cream, for serving (optional)
Tortilla chips (optional, recipe below)

Steps:
1. Heat oil in a large saucepan over medium-high heat until it shimmers.

2. Add the onion, cumin, salt and pepper and sauté, stirring often and lowering the heat slightly if needed, until the onions are see-through, 5 to 7 minutes.

3. Add the garlic and sauté, stirring constantly, until fragrant, about 1 minute more.

4. Add the squash, beans, tomatoes, corn, and broth, and bring to a boil.

5. Reduce the heat to medium-low and simmer, covered, until the flavors meld and the squash is tender when pierced with a fork, about 20 minutes. Taste and season with salt and pepper, as needed. Serve, topped with some chopped cilantro and a dollop of sour cream, if you choose, and tortilla chips. Recipe by Jill Santopietro.


Homemade Tortilla Chips
Serves 4 to 6.

Ingredients:
2 to 3 tablespoons neutral-tasting oil, like canola, safflower or other vegetable oil
8 to 12 (6-inch) corn tortillas (a mix of corn and flour, or just corn is good - thinner tortillas will cook faster)
Kosher salt

Steps:
1. Heat the oven to 350°F. Place the oil in a cup or small bowl. Dip a pastry brush into the oil, and brush the tortillas on both sides with a thin coating of oil.

2. Stack the tortillas one over the other. Using a large, sharp knife, cut the stack in half, then cut each half again, and each quarter in half again, to make 8 triangular-ish tortilla chip stacks. 

3. Spread the chips out in a single layer on 2 large baking sheets and season them generously with salt. Bake until golden brown and crispy, for about 8 to 20 minutes, depending on the thickness of your tortillas (rotate the sheets top to bottom and front to back half way through the cooking). Recipe by Jill Santopietro


Grilled Cheese & Tomato Soup

When I was a kid, I never liked grilled cheese. I didn’t like cheese. Didn’t like strawberries back then either. So why am I surprised today when my kids refuse to eat beans or avocado?!?

There are some foods that kids just won’t eat — whether for its taste, texture, or look. I think the only thing we can do as parents is to keep introducing these foods again and again without pressuring them to eat it. I’ve found that gentle peer pressure — watching other kids enjoy a food without any nagging from a parent — can work wonders, so try to feed these foods to your kids around other kids. (I know, easier said than done during a social distancing, quarantining pandemic.) Also remember that kids legitimately have many more taste buds than adults do (10,000 instead of the roughly 5,000 that elders have) so foods that taste one way to us may taste like a burst of flavor (good or bad) to them. Same goes for textures.

That said, grilled cheese is usually a kid-pleaser — that iconic American sandwich that is actually French in origin. From 1910 to the 1920s, the croque monsieur moved its way to America, where it was served open-faced and called a “cheese dream” or a “toasted cheese sandwich.” It became popular here thanks to two midwestern inventions — Kraft’s processed cheese and the automatic bread slicer, which made the “cheese dream” easier to create and less expensive, right in time for the Great Depression.

The combo of tomato soup and grilled cheese is as perfect as ketchup and French fries. Dip the sandwich into the soup — the lightly sour yet earthy and sweet tomatoes cut the fatty, richness of the cheese sandwich. After you learn a few basic skills, have fun playing around with different styles of breads and cheese (try gruyere!). Or add some cooked bacon, prosciutto, tuna, smoked salmon, crab meat, sliced tomatoes, or caramelized onions. Pretty much anything you can imagine on a pizza would work in a grilled cheese.

I’m pretty certain that if I had dipped my grilled cheese into this tomato soup as a kid, I would have loved it. Right? Nah, probably wrong again.


A Note on Ingredients

Cooking (less so baking) is pretty forgiving when it comes to ingredients. In the tomato soup, for example, if you don’t have carrots and celery, say, you can omit them. Or you have an extra leek or small onion, you can add it. Or, let’s say you forgot to buy the potato. The potato is there to help thicken the soup and give it body. You can swap it with a small handful of canned, rinsed and drained white beans. Or you can add a bit of cream or sour cream even. Or omit it all together - it will still be delicious.

Don’t have a bay leaf? Sure, they are always great to have in the cupboard - I add them to just about every soup or stock I make for their aroma. And while I recommend you buy some bay at some point, you don’t NEED them. 

The one ingredient that is important are the tomatoes since we’re making tomato soup. The tomato paste offers a deep tomatoey flavor. And when it comes to canned tomatoes, I always buy whole tomatoes and prefer the texture and sweetness that come from DOP San Marzano tomatoes. The “DOP” means that the tomatoes are certified San Marzano variety from Italy, which are sweeter and softer than most others I’ve tried. There are a lot of brands that are even called San Marzano but aren’t actually San Marzano certified tomatoes. So with this ingredient you have to read the labels carefully. 

There are so few ingredients in a grilled cheese, so choosing a good bread and a block of tasty cheese is smart. Grated cheeses often have additives, like anti-caking agents and other preservatives in them. These can affect how they taste and melt. While I use them when in a pinch, I recommend slicing or grating a block of cheese.

Grilled Cheese
Serves 4.

8 slices white loaf or artisan bread 
4 to 6 tablespoons butter, softened 
Salt
1/2 cup mayonnaise
2 teaspoons Dijon mustard, (optional) 
6 ounces sharp or extra-sharp cheddar cheese chunk (depending on who’s eating)
Potato chips, for serving (optional)
Cornichon, for serving (optional)

1. Set two bread slices down on a work surface. Divide 2 tablespoons of mayonnaise evenly on the two bread slices and spread it to coat both sides. If using Dijon, add a thin layer (about 1/2 teaspoon) to one side. Close the slices onto one another. Now butter the top and bottom sides of the sandwich. If using unsalted butter, season each side with salt.

2. Grate the cheese on a thick toothed grater. If you don’t have a grater, thinly slice the block of cheese. Place about 1/3 to 1/2 cup of grated cheese or enough sliced cheese to just cover every section of one of the mayonnaise-d bread slices. Flip the other mayonnaise-d piece over the cheese.

3. Set a cast iron or other skillet over medium heat. Once hot, add some butter. Once it foams, set the cheese sandwich into the pan. Let cook, covering the sandwich directly with a pan lid to help melt the cheese, until the bottom is browned, just a few minutes depending on your stovetop and pan. Use a metal spatula to flip the sandwich carefully over, and sear on the second side, covering with the lid, until browned, just a few minutes more. Transfer to a cutting board, and cut diagonally in half. Serve immediately with potato chips and pickles, if you choose, and tomato soup. 

4. Repeat with remaining ingredient to make 3 more sandwiches. Recipe by Jill Santopietro.


Classic Tomato Soup
Serves 4 to 6.

2 tablespoons olive oil
2 tablespoons butter
1 medium yellow onion, peeled and finely chopped
1 medium carrot, peeled and finely chopped
1 stalk celery, finely chopped
1 small (5-ounce-ish) golden potato, peeled and finely chopped
Salt
Freshly ground black pepper
1 clove garlic, peeled and finely chopped
2 tablespoons tomato paste
1 (28-ounce) can whole peeled tomatoes (preferably San Marzano DOP)
1/2 bay leaf
2 cups water
1/2 teaspoon packed brown sugar or honey

1. Heat a medium pot over medium-high heat. Add the olive oil and butter. When the butter melts, add the onion, carrot, celery, potato and two pinches of salt and a pinch of pepper, stirring often, and lowering the heat to medium so as not to brown the onions. Cook until the onions are translucent, about 9 minutes. Add the garlic and cook for another minute.

2. Move the vegetables to one side of the pan. Add the tomato paste and let sear on the bottom of the pot, stirring slightly, until the color of the paste darkens slightly, about 1 minute. Stir the tomato paste into the vegetables and cook, stirring often, for another 2 minutes. 

3. Meanwhile, transfer the tomatoes to a large bowl, remove any basil leaves, and break up the tomatoes with your fingers.

4. Add the tomatoes, bay leaf and 2 cups of water to the tomato-pasted vegetables, and let gently simmer for 30 minutes.

5. Transfer the soup to a blender and carefully blend, making sure the top is secure and that the blender is not filled too high (do it in batches if it’s too full, as blending hot soup is very dangerous.) Hold the blender lid securely with a hot mitt to make sure it doesn’t explode or splatter. Blend on high for about 1 minutes, or until fully pureed. Transfer the mixture back to the pot, add the brown sugar (or honey) and season heavily with salt and a few pinches of pepper. Serve with a grilled cheese. Recipe by Jill Santopietro.

Fudgesicles!

There is nothing better on a hot summer day than cooling down with an icy treat. And while a trip to the ice cream shop is always a thrill, making frozen sweets at home is fun and easy. These fudgesicles by Alice Medrich are the most popular sweets that I’ve made with kids. Though this recipe calls for popsicle molds, you do NOT need to buy them. There are many clever ways to create some with items already in your house. 

IMG_1712.jpeg

Make popsicle molds by using:

    • Ice cube trays (clean out the trays before using as they often have a freezer taste to them.)

    • Individual baking molds, like these

    • Mini muffin tins

    • Small yogurt cups

    • Small plastic or paper cups, like these Dixie ones

If you’re looking to buy popsicle molds, I have this set from Ikea and really like them. These molds look good, too, though I cannot personally vouch for them

To make popsicle sticks, you can:

    • Cut take-out wooden chopsticks or skewers with a knife into halves or thirds depending on the size of the molds you’re using. If the cut-side of the chop stick is a bit jagged, stick a mini marshmallow on it. 

    • When next at a coffee shop, ask for a few extra coffee stirrers and cut them to size with a knife

    • Use lightweight plastic spoons or thick toothpicks

Or you can buy popsicle sticks like these. Now, for the important stuff….the RECIPE!


Fudgesicles
Makes 10 (3-ounce) fudgesicles

3/4 cup sugar
3/4 cup unsweetened natural or Dutch-processed cocoa powder
1 1/2 tablespoons cornstarch
1/8 teaspoon fine salt
3 cups whole milk (use any kind you like)
1/2 teaspoon pure vanilla extract
Ice pop mold with 10 cavities (or 10 individual molds)

1. Place a rubber spatula near the stove, as well as a large wide bowl to cool the mixture before spooning it into molds.

2. Combine the sugar, cocoa, cornstarch, and salt in a heavy medium saucepan. Whisk in 3/4 cup of milk to make a smooth paste. Once smooth and lump-free, whisk in the remaining 2 and 1/4 cups of milk.

3. Bring the mixture to a simmer over medium heat, whisking constantly and scraping the bottom, sides, and corners of the saucepan. Once bubbles form along the edges, continue whisking and cooking for 2 minutes more.

4. Transfer the chocolate mixture to the large bowl to cool. Whisk in the vanilla. Once slightly cool, refrigerate the mixture to fully cool.

5. Once cooled, transfer the chocolate mixture to a liquid measuring cup or pitcher with a spout. Fill the popsicle molds leaving at least 1/4 inch at the top to allow for expansion. If your mold has a cover with openings for sticks, cover and insert sticks. If not, you can place aluminum foil over each mold, and insert the stick through the foil. Another option is to freeze molds until the mixture is thick enough to hold a stick upright and then insert sticks. Freeze until hard, about 4 hours.

6. When ready to serve, run hot water over the popsicle mold (or dip it into a hot water bath) and tug its stick until the pop releases from the mold.

7. To store, wrap each fudgesicle in a piece of wax paper, put them in a re-sealable plastic freezer bag and freeze until ready to serve. Adapted from Alice Medrich, via food52.com.

Strawberry Granita

IMG_1574.jpeg

Strawberry Granita

This is one of the most refreshing desserts on a hot day. There are different methods for creating the ice crystals. Some folks like to scrape the chilled mixture with a fork every 30 minutes to release the crystals. Others, like me, prefer to let it freeze into a block of flavored ice and then scrape it with a fork all at once. I find that when you scrape it every 30 minutes, the crystals tend to be bigger, especially if you miss a 30-minute interval.

Serves 4 to 6.

1 pound strawberries
1/4 cup granulated sugar
1/2 cup cold water
1 teaspoon fresh lemon juice
1/8 teaspoon balsamic vinegar
1 pinch salt
4 to 6 sprigs mint or small strawberries, to garnish (optional)

1. Place a non-reactive shallow metal or glass baking dish (like a lasagna pan) flat in a freezer.
2. Rinse the strawberries, then hull them (or cut off the green tops) and slice them into quarters. Place the strawberries, sugar, water, lemon juice, vinegar, and salt in a blender and pulse a few times to get it going, then blend until fully pureed, for about 30 seconds. Taste to make sure you’re happy with it. If not, add a little more lemon juice and check its taste again. Pour the strawberry mixture into the chilled pan in the freezer. Let freeze solid for 4 hours.
3. Using a fork, scrape the strawberry ice block to release the tiny shaving of frozen Italian ice. Serve immediately.

My Best BLT Sandwich

 
IMG_5732.jpeg

The Bacon Lettuce and Tomato Sandwich, aka “The BLT,” first appeared in the early 1900s, and then grew in popularity after World War II, when supermarkets started offering tomatoes and bacon year round. Today they are one of the most popular sandwiches in the UK and United States after the ham sandwich. If BLTs were served during the summer months only, when tomatoes are at their peak, I’d guess they’d quickly surpass the ham sandwich.

Since there aren’t many ingredients in a BLT, selecting the right ones is important. Here are a few tips:

The Bread
- It’s a matter of taste. I’ve made BLTs with brioche burger buns, French white pullman loaves, thin ciabatta buns, heroes, and Martin’s potato loaf bread. You name it! Pick a bread that you like, and that isn’t too hard to bite through. Some say that it should have two toast-able sides. But I’m happy with both classic slices and buns, as long as they are toasted.

The Tomatoes - The tomatoes, in my opinion, are the #1 most important ingredient in a BLT because a perfectly ripe tomato is hard to find. For one, the season is short - end of July, August, and September. A farmer’s market is a great source for ripe summer tomatoes. At a grocery store look for tomatoes that smell like, well, ripe tomatoes and feel heavier than normal. Beefsteak tomatoes at summer’s peak are wonderful. Heirlooms are usually superior in flavor, but often prohibitively expensive. That said, if this is the other “meat” of your sandwich, so to speak, then spending a little more on them might be worth it.

The Bacon - As far as bacon goes, I usually look for products with no hormones, no nitrates, all vegetarian feed. I like Applegate and D’Artagnan brands. Some say that Whole Foods bacon from the deli department is great, and others love the gold standard of grocery store bacon - Oscar Meyer. Really, any grocery store bacon will do. Thin or thick? Some like thinner slices and others like meatier thick slices. Bacon that’s too thick, though, can be hard to bite through, so somewhere in the middle is best. Again, it’s a matter of taste. 

The Lettuce - Iceberg or Romaine? Sliced or shredded? It doesn’t really matter. What matters is that it lends a refreshing, watery, crisp texture to your sandwich. That’s it! I like slices of Romaine hearts (the inside, lightest green part of the romaine) or butter lettuce. I use one or two leaves. I think shredded lettuce falls out too easily and doesn’t offer enough crunch, but that’s me!

The Mayo - Some folks don’t like mayo on a BLT. I do! I think the sandwich needs this creamy, sweet, sour and salty condiment, especially when it comes in contact with the tomato. What type to buy? There is only one store-bought mayo for me, and it’s Hellman’s, also know as Best Foods mayonnaise (west of the Rockies,) or a homemade one. I recently bought Hellman’s organic mayo and was disappointed. Something in their formula must have changed when they added those free-range eggs, cause it wasn’t nearly as good. People from the South swear by Duke’s mayonnaise. Choose one you like.

Now for the recipe!


The BLT Sandwich

Serves 4.

12 slices thin-to-medium-cut bacon
2 of the largest and ripest beefsteak tomatoes
4 large or 8 small slices of hearts of romaine lettuce
8 slices white loaf bread 
Salt
Pepper 
1/2 cup mayonnaise
Avocado slices or fried egg (optional)|
Potato chips, for serving (optional)
Cornichon, for serving (optional)

1. Preheat the oven to 400°F. Cut the bacon crosswise (each strip into two pieces.) Lay the strips on a rimmed baking sheet lined with parchment paper or aluminum foil. Bake in the oven until browned and crisp, 20 to 30 minutes, depending on the thickness. Transfer to a paper-towel-lined plate to soak up excess fat. If you choose, reserve excess bacon fat from the pan, for coating bread slices in it.
2. Using a serrated knife, cut the tomatoes into 1/3-inch thick slices. Arrange on a plate in a single layer. Set aside. 
3. Break the lettuce leaves so they fit nicely on a slice of bread, flattening the spine of the Romaine if it’s too bulky; set aside. 
4. Now, place bread slices on another baking sheet, brushing them with melted bacon fat before, if you choose. Place them under a broiler or in a hot skillet or griddle until just toasted.
5. Time to build your sandwich: season the tomatoes generously with salt and pepper. Set two bread slices, toasted-sides down, on a work surface. Divide 2 tablespoons of mayonnaise evenlsy on the two bread slices and spread it to coat both sides. Next place 6 small pieces of bacon on one slice, then tomatoes over the bacon, then lettuce over the tomatoes. (If making a BLAT or a BELT, add avocado slices or fried egg, topped with salt and pepper, now!) Top with the other slice of toasted, mayonnaise-d bread. Serve immediately with potato chips and cornichon, if you choose. Repeat with remaining ingredient to make 3 more sandwiches. Recipe by Jill Santopietro.


Aperol Spritz

IMG_1158.jpeg

Recently mixologists have voiced their contempt of the Aperol Spritz, finding the Aperol and Prosecco both too sweet and too cheap. But when made properly, an Aperol Spritz is a fine way to end a humid day. The key is a good Prosecco — not the highest quality (‘cause why dilute a fine bubbly) but not too cheap or sweet either. Try to find a mid-range, brut (a.k.a. lower sugar) Prosecco. Make sure it’s super cold, and open the bottle just before mixing up the spritz. Make enough for a crowd, because once the bubbles settle, it’s just not as delicious.

A good spritz is made using a 3:2:1 formula:
3 ounces bubbly, 2 ounces bitter, and 1 ounce soda water. If you don’t have Aperol, you can use Vermouth, Cappelletti, Gran Classico or the French Lillet. Experiment with other bitters until you find your perfect spritz.

The spritz recipe on the back of an Aperol bottle and on many websites calls for equal parts Aperol and bubbly. That’s way too sweet! Trust me on this one, keep it classic, and your aperitf will be perfetto.

Aperol Spritz
Makes 1 drink

Ice
3 ounces Prosecco (brut, cold, and newly opened)
2 ounces Aperol
1 ounce soda water
Orange slice

Fill a white wine glass up half way with ice. Add the Prosecco, Aperol, and soda water. Give it a few stirs to mix. Serve immediately with an orange slice.

Strawberry Rhubarb Galettes

Strawberry Rhubarb Galettes

Makes 2 (10-inch) tarts.

IMG_0806.jpeg

You can use any combo of strawberry and rhubarb, but know that if you use more rhubarb than strawberry, you may want to increase the sugar by a few tablespoons. Likewise, if you go heavier on strawberries - you can lower the sugar. 

I’ve made this as two small galettes and one giant one, and I recommend two smaller ones - the ratio of crust to filling is just right. Though, if you want to make it into one large one, it works just fine. This dough freezer well, so if you want to make just one small galette at a time, halve the filling, and save the extra dough for another day.

For the dough:
2 cups all-purpose flour
2 teaspoons sugar
1/2 teaspoon salt
3/4 cup (1 1/2 sticks) butter, cut into 1/2-inch pieces and chilled

For assembling galettes:
2 tablespoons flour
1/4 cup ground almonds
4 cups chopped rhubarb (cut into 1/2-inch pieces)
2 cups chopped strawberries (hulled and cut into 1/2-inch-thick slices)
1 cup sugar (plus 2 tablespoons more, to sprinkle over dough)
1 tablespoon cornstarch
Zest of 1 lemon
2 tablespoons butter, melted
Vanilla ice cream (optional).

1. Make the pastry dough: whisk together the flour, sugar and salt in a large mixing bowl. Using a fork or pastry cutter, work half of the butter into the flour until it turns into the texture of coarse oatmeal. Quickly work the rest of the butter into the dough until the biggest pieces are the size of lima beans. Drizzle up to 1/3 cup ice water into the dough in several additions, tossing and mixing between each. (Depending on the humidity of your kitchen, you may not need the entire 1/3 cup.) Don’t try to dampen all of the dough evenly. It should look rather ropy and rough, and stop adding water when there are still a few bits of dry flour remaining in the bottom of the bowl. Gather the dough into 2 equal balls and wrap each tightly with plastic wrap, pressing down to flatten into a thick disk. Freeze for at least 30 minutes or refrigerate overnight. (The dough may be frozen for a few weeks.)

2. On a lightly floured surface, roll each dough ball into a circle, about 1/8-inch thick. (I like to place the dough rounds between two long pieces of plastic wrap and roll it out between them. That way there is no breaking.) The rounds will be about 10 to 12 inches in diameter. Refrigerate for at least 30 minutes before assembling. 

3. Assemble the galettes: preheat the oven to 400 degrees. Place the rolled doughs on a buttered or parchment paper-lined baking sheet.

4. When the oven has reach 400 degrees and the dough is ready, prepare the filling: in a small bowl, combine the flour and ground almonds. Sprinkle it evenly over the two rounds of dough but leaving a 2-inch border on each. In a large bowl, combine the rhubarb, strawberries, sugar, cornstarch, and lemon zest. Immediately divide the mixture among the galettes. Working quickly, fold the exposed (almond/sugar-less) border onto itself, crimping to make a pastry rim around the fruit. Brush the rim with melted butter and drizzle with a little sugar. Bake in the lower third of the oven for 45 to 50 minutes or until the fruit is tender and the crust has caramelized. Let the tarts cool slightly. Serve warm with vanilla ice cream, if you choose.

Churros y chocolate

11704EBD-E3B0-44A4-B7B6-59D4B9429F69_1_201_a.jpeg

When my daughter, Liv, asked if we could go to Mexico, I thought, “that’s sweet! She wants to visit Grandma” who recently moved to Pátzcuaro in the Michoacán. Liv then explained that it wasn’t to visit Grandma, whom she does love very much, but rather to eat churros and chocolate.

When we visited Pátzcuaro a year and a half ago, the kids would wait in the main plaza for the churros vendors to arrive. Liv was their best customer. She says she especially loves the taste of the cinnamon-sugar that dusts them, and their pink interior. Pink? That caught my attention. But after I thought more about it, I remembered that these foot-long donut sticks did have a faint pink color to their dough. Does anyone know why they are pink?

My introduction to churros was far less cultural. I was at Disney World when I was about ten, and bought them at a food stand at the “Honey I Shrunk the Kids” exhibit. They were delicious. But I don’t think I learned that they were Mexican until several years later.

I told Liv that though we can’t go to Mexico right now, we can make churros at home. I didn’t realize it at first but churros are essentially a choux pastry dough - the same dough that makes profiteroles, eclairs, and gougères. It’s a fun dough to make, and pretty straight forward. The messy step in this recipe is in the frying. These churros are delicious with just their cinnamon-sugar coating, so making the chocolate sauce is completely up to you. But if you have a kid like Liv, you‘d better plan on the chocolate sauce. To watch us cooking churros, go to our Instagram video.


Churros and Chocolate

Makes about 18 (3-inch) churros.

For the chocolate sauce (optional):
3 ounces bittersweet chocolate, finely chopped (about 1/2 cup)
Pinch of salt
1/2 cup heavy cream
1/2 tablespoon butter, at room temperature, cut into pieces

For the churros:
1 1/2 teaspoons cinnamon
1 cup sugar
6 tablespoons unsalted butter
1 cup whole milk
1/2 teaspoon vanilla extract
1/4 teaspoon fine salt
1 cup all-purpose flour
2 large eggs
2 quarts canola or vegetable oil, for frying

1. If you choose, make the chocolate sauce: Place chocolate in a medium bowl; set aside. In a small saucepan, heat the cream and salt until it just comes to a boil. Pour the cream over the chocolate. Let it melt for 1 minute. Stir with a spatula in tight circles from the center outward until combined. Stir in the room temperature butter until combined; keep warm.
2. Prepare the churros: in a shallow bowl, combine the cinnamon and sugar; set aside. In a small saucepan, melt the butter with the milk, vanilla, and salt over medium heat and bring to a boil. Reduce the heat to the lowest setting, add the flour and cook, stirring constantly, until a dough forms and pulls away from the sides of the pan, about 3 minutes.
3. Transfer the dough to the bowl of a standing mixer or large mixing bowl. Using the paddle attachment or a hand mixer, mix the dough for a few turns about every 30 seconds to release steam until the dough is slightly cooled, for about 4 minutes total. With the mixer on low, add the eggs, one at a time, making sure each egg is incorporated before adding the next. (The dough will separate each time an egg is added but it will come back together.)
4. Fill a pastry bag fitted with 5/8-inch star tip with batter. (A star tip helps create those beautiful ridges, which cooks the dough more evenly. If you don’t have one, use a regular tip. And if you don’t have a piping bag, use a Ziploc bag, and cut a 1/2-5/8 inch slit at the end - then make some small zig zag slices on the cut area to simulate the star tip and to create a more circular dough when you pipe it.)
5. In a medium pot, heat about 3 inches of oil to 350°F. Hold the pastry bag several inches above the oil, squeeze out the batter and snip it with kitchen shears when it reaches 3 inches long. Fry in batches, turning once, until deep golden brown, about 4 minutes. (It will look nicely browned by 2 minutes but the batter inside will still be raw. Continue cooking for 2 more minutes - the outside will be deep brown in color - it’s okay!’s) Using a slotted spoon, transfer to a paper-towel-lined plate to drain. While still hot, roll in the cinnamon sugar. Can be made ahead and kept warm in low-temperature oven. If you choose, serve with chocolate sauce. By Jill Santopietro. 

The Perfect Brooklyn

Perfect Brooklyn.jpg

Since NYC’s quarantine began, I’ve been drinking my go-to cocktail — a Perfect Manhattan, which contains only a few ingredients — rye whiskey, dry and sweet vermouth, and angostura bitters. I was no longer at home, didn’t have access to a full bar, and was trying not to buy other liqueurs. (Time to be thrifty!)

Two weeks later, just as I was starting to tire of my perfect Perfect, a bottle of maraschino showed up. (I guess not so thrifty anymore.) It was time to play with my Manhattan recipe. I looked up maraschino-whiskey cocktails, and found the Brooklyn, which is like a Manhattan — with the rye, dry vermouth, and angostura, plus a touch of maraschino and Amer Picon. Well, I didn’t have Amer Picon, so I made a perfect Manhattan with a touch of maraschino and landed on what I’m calling, the Perfect Brooklyn. There are a lot of “Quarantini” cocktail recipes out there now; this one’s my submission! To watch us mix it, go here.

Perfect Brooklyn
Makes 1 drink.

Ice cubes
2 ounces rye whiskey
1/2 ounce sweet vermouth, preferably Carpano Antica Formula
1/2 ounce dry vermouth, preferably Dolin
1/4 ounce maraschino liqueur
Large cube of ice or several cubes, for the glass
1 maraschino cherry or orange peel (optional)

1. Place an Old Fashioned or rocks glass in the freezer until chilled, at least 5 minutes.
2. Fill a pint glass or cocktail mixer two-thirds of the way with ice. Add rye, both vermouths, and maraschino and stir vigorously with a cocktail spoon until chilled, about 30 seconds. Remove the glass from the freezer, add a large cube of ice or several cubes, and strain the drink into the glass. Add the cherry or orange peel.
–Jill Santopietro

Ashkephardic Charoset

Ashkephardic Charoset
Makes 3 cups.

I’m not Jewish. But sometimes I kind of feel like I am. My closest friend is, and over the twenty five years of our friendship I have followed her to Hillel dinners, Purim parties, and her parents’ Seders. She has taught me that religion can be inclusive and beautiful — that rituals can exist without arcane rigidity. Years ago, with Hilary in mind, I developed this charoset recipe, mixing the best of two worlds: the tart apples of the Ashkenazi version with the dried fruits and orange zest of the Sephardic version. This Passover condiment is delicious on matzo, store bought or, even better, homemade. Or, after the holiday, try it with cheese and crusty bread. It’s non-traditionally traditional, kind of like my friend Hilary.

1½ cups toasted walnuts
2 small tart apples (such as Granny Smith,) peeled, cored, and cut into large chunks
Juice of 1/2 lemon
¾ cup dates, pitted and quartered
¾ cup dried figs, stemmed and quartered
1/3 cup kosher-for-Passover brandy
½ teaspoon ground cinnamon
½ teaspoon finely grated orange zest
Salt
Freshly ground black pepper
Matzo, for serving

1. Place walnuts in the bowl of a food processor fitted with a blade attachment and pulse until finely chopped (but not a paste,) about 20 (1-second) pulses. Transfer to a large bowl.
2. Place apples and lemon juice in the food processor and pulse until finely chopped, about 25 (1-second) pulses. Transfer to the bowl with the walnuts; set aside.
3. Place dates and figs in the food processor and pulse until finely chopped, about 30 to 40 (1-second) pulses. Set aside.
4. Place brandy in a small saucepan and bring to a boil over medium heat (be careful not to let the brandy drip into the flame if you have a gas stove.) Remove from heat, and stir the date-fig mixture, cinnamon, and orange zest into the saucepan. Let sit for 10 minutes.
5. Once cool, stir fig mixture into the reserved apple-walnut mixture until combined. Taste and season with salt and pepper. Serve with matzo. By Jill Santopietro for CHOW.com


Best Ever Egg Salad Sandwich

 
0.jpg
 

Best Ever Egg Salad Sandwich
Makes 4 sandwiches.

Egg salad sandwiches never sounded, nor tasted, delicious, to me until I tried the one from Il Cane Rosso, the now closed café in SF’s Ferry Building. The sandwich was open-faced, the egg was still warm, the mayo was homemade, and the focaccia was thin and crispy enough to compliment the texture of the salad. I’ve adapted this recipe a bit to speed things up – because the café version is too time-consuming. If you do want to try the fancier version, make a bagna cauda butter and homemade mayo, the recipes for which are below the main recipe. 

8 eggs
1 tablespoon finely chopped shallots or red onion
2 tablespoons vinegar (apple cider, white wine or red wine)
½ cup mayonnaise, preferably Hellman’s (Best Food) brand (for homemade mayo, see below*)
Zest of ½ lemon
1 teaspoon lemon juice
1/8 teaspoon grated garlic
Salt
Freshly ground black pepper
2 tablespoons finely chopped parsley
1 tablespoon finely chopped tarragon
1 tablespoon finely chopped chives (can substitute with more tarragon)
2 tablespoons capers
2 hero loaf breads, halved and toasted (or 4 slices of any bread)
4 tablespoons salted butter, softened (for fancy butter see below*)
4 slices provolone, cheddar or any cheese 

1. Boil the eggs: Fill a large saucepan 2/3 full with water and bring it to a boil. Add the eggs, and boil them for 10 minutes. Using a slotted spoon, transfer the eggs to a
bowl full of ice water. Crack the eggs on a hard surface and return them to the ice water mixture to allow the cold water to seep under the shells. Peel the eggs, then roughly chop them and place them in a large bowl. Set aside.
2. In a small bow, combine the shallots or red onion with the vinegar and set aside to macerate for a few minutes.
3. In another small bowl, mix the mayonnaise, lemon zest and juice, garlic and a pinch each of salt and pepper. Taste and adjust seasoning.
4. Drain the shallots or onions from the vinegar. Add them to the large bowl of eggs, along with the parsley, tarragon, chives, capers, and 1/4 cup of the mayonnaise, and mix until combined. Taste and adjust seasoning with more salt, pepper and mayonnaise as needed.
5. To serve: Set the oven to broil. Toast the bread slices and butter one side of each slice. Place the bread slices on a baking sheet, divide the egg between the four slices, top with cheese and broil until the cheese has melted. Serve with a green salad.

* For a fancier version: add ½ teaspoon minced garlic and ½ teaspoon minced and mashed anchovy to the butter. Swap the mayonnaise for this homemade aioli.

Homemade English Muffins

 
C16FBD75-FF5C-45F8-A674-6CECDA1E22E9.jpg
 

I cannot get enough of these English muffins. I often wake with scrambled eggs and toasted, buttered English muffins on my mind. And by English muffins, I’m not talking about Thomas’. I’m talking about Roberta’s homemade English muffins, which I tested back in 2012 for the Roberta’s Cookbook. At the time, I didn’t know it was possible or easy to make English muffins at home. The recipe reads long, but it’s quite simple and straight forward, if a bit messy.

I now make these English muffins with young kids in my Food Arts and Sciences class. The children cut out their muffins, placed them on a cornmeal coated baking sheet (for that signature EM texture and taste) and seared them (with my help) on a flat top. This is the bread dough to make on hot summer days, when the idea of heating up an oven feels oppressive. The yeast’s aroma, which store-bought English muffins lack entirely, permeates the house. And that is the scent I dream of on those lazy weekend mornings.


English Muffins

Makes 14 muffins.
Using a scale is easiest and cleanest, and always more accurate, when making this dough. But if you don’t have a scale, volume measurements work fine, too.

For the starter dough:
1.5 grams (1/3 teaspoon) active dry yeast
300 grams (2 cups, plus 2 heaping tablespoons) all-purpose flour
300 grams (1 1/3 cups) room temperature water

For the rest of the dough:
380 grams (1½ cups plus 1 tablespoons) whole milk, warmed to 80 degrees
10 grams (1 tablespoon) active dry yeast
20 grams (1 tablespoon plus 2 teaspoons) sugar
25 grams (2 tablespoons) distilled white vinegar
12 grams (2½ teaspoons) canola or other neutral oil
600 grams (4 1/3 cups) all-purpose flour
15 grams (1 generous tablespoon) baking powder
12 grams (1½ tablespoons) kosher salt
Cornmeal, for dusting
Butter, for greasing pan


1. Make the starter dough: In a medium bowl, mix the first three ingredients together until there are no dry bits. Place in a container that will allow the mixture to expand three times in volume and let rest, covered with a kitchen towel, at least 8 and up to 12 hours at room temperature.

2. Complete the rest of the dough: After this time, in a large mixing bowl, whisk together the warmed 80°F milk, yeast, sugar, oil, and vinegar. Add the starter to this mixture and whisk to combine.

3. In a separate bowl, whisk 600 grams of flour (4 1/3 cups) with the baking powder and salt. Using a wooden spoon, mix the dry and wet ingredients together. Cover with a kitchen towel and set aside in a warm spot to rise until doubled in volume, about 3 hours.

4. Turn the dough out onto a floured surface, and pat it down with floured hands until it’s about 1 inch thick. Use a 3-inch round cutter to cut muffins out of the dough. Use excess dough to roll out more muffins. Place the muffins on a sheet pan lined with parchment paper and dusted with cornmeal. Let the muffins sit for 10 to 15 minutes.

5. Ideally, cook the muffins on an electric griddle set to 350°F. If you don’t have one, use two large nonstick sauté pans or two cast-iron skillets set over medium heat. Whatever you use, grease the cooking surface lightly with butter and dust it with cornmeal. Cook the muffins for 5 to 8 minutes per side, turning them when the first side is done—each side should be a deep golden brown. Stored in an airtight container at room temperature, the muffins will keep for a week. They freeze well, too. Just cut them first, wrap them in plastic and freeze for up to a month. Adapted from “Roberta’s Cookbook.”

Homemade Butter

 
IMG_0760.JPG

Do you remember being a kid at one of those colonial villages where a lady dressed in traditional attire churned cream into butter before a crowd of visitors?  She’d moved the large wooden stick up and down like she was some of sort witch working with her caldron. And the resulting potion was pretty magical. Butter!

But looking back, I had no idea what was actually happening, nor could I see the transformation behind the wooden barrel. 

This is one of a few reasons why the first lessons in my Food Arts and Sciences course is learning to make butter by simply shaking heavy cream in a sealed Ball jar – the transformation should be observed through glass and tasted as you go.

Another reason we discuss milk and cream early on is because they are ubiquitous food around the world – that contain the staff of life – a complete protein, fat, and carbohydrate all in one. Various animals, not just cows, are milked – yaks in Nepal and Tibet, moose in Scandinavia, Canada and Russia, camel in Asia, reindeer in Sweden and Mongolia, horse in Central Asia, and donkey all over the globe.

And since kids need to move their bodies more during the school day, what better way to work up a sweat than as you create a delicious, natural food that can be immediately spread on toast and enjoyed?

Shaking the jars takes time – give your class at least 15 minutes. When the cream goes from soft to stiff peaks, it’s cool to stop and let your students take a lick. Put the lid back on and continue shaking until it doesn’t feel like you can possibly shake anymore. Just when you’re about to give up, the whipped cream suddenly turns yellow and the white buttermilk starts splashing around. Strain the buttermilk out, making sure to let the students sample it. It tastes like delicious milk. The transformation of cream into butter also teaches us the science behind why dishes can break – think mayonnaise or chocolate. Tiny fat molecules are held in suspension and when heated or agitated can be separated out. Once separated they cannot be easily put back together. Below is the homemade butter recipe, which can also be made using a stand or hand mixer. While this is certainly less physical work, try making it in a jar at least once.


Homemade Butter

This recipe calls for a mixer, but you don’t need one. In class we made butter by placing 2 cups of cream in a quart-sized sealed jar and shaking it for about 15 minutes. It’s a workout but pretty fun!

4 cups heavy cream
Kosher salt
Maldon salt, for sprinkling on top

1. Place the cream in the bowl of a stand mixer fitted with a whisk attachment. Place plastic wrap around the top of the mixing bowl, sealing it to the top of the mixer, so that the cream, and later the buttermilk, doesn’t whip out of the bowl and all over the kitchen.
2. Whip on medium speed to thicken. Then whip on medium-high until suddenly the mixture thickens into yellow butter solids and a translucent liquid or buttermilk, roughly 5 to 8 minutes more.
3. Set a strainer over a bowl. Pour the butter and buttermilk into the strainer. (Save the buttermilk and use it in place of water in soups, breads, or smoothies.) Knead the butter on a cutting board or wrap in cheese cloth and squeeze to remove excess buttermilk. (You can dunk the butter in ice water to rinse off the excess buttermilk.) Sprinkle with salt and knead to combine. Place butter into container and top with Maldon sea salt. Butter will keep for about 1 week in the refrigerator. Makes about 1 1/3 cups.


Crackers

YpZpjmbDS1aA6HE7b6bm7g.jpg

Cooking is magical - it transforms inedible seeds (wheat berries) into delicious crackers through a fairly simple process. We grind the seeds, sift the resulting flour even finer, then add water to that flour and apply some heat to it. Thanks to the kind folks at King Arthur Flour and other notable mills, we can skip the first two steps and it becomes even simpler.

The first time I made these crackers, I was testing recipes for the New York Times Magazine, using white spelt flour instead of all-purpose. The excitement I got and still get when I see kids and adults make them for the first time is the reason I love to cook and teach.

Today, with all the stress and screens and impersonal correspondences in our lives, we all could use a little hands-on, delicious, inexpensive magic.

Crackers

1/2 teaspoon fine sea salt
1/2 cup cold water
1 tablespoon extra-virgin olive oil
1 1/2 cups all-purpose flour, plus more for flouring surface
Coarse sea salt, any kind of seeds (sesame, poppy) or herbs (rosemary), for topping crackers (optional)

1. Preheat the oven to 400 degrees. In a large bowl, dissolve the salt in the cold water. Add the olive oil. Using a wooden spoon, stir in the flour until combined. Knead the dough a few turns until a ball forms. Divide the dough into two equal rounds.
2. Flour an overturned 12-by-17-inch baking sheet and roll the dough out on top of it, using as much flour as needed to prevent sticking, until the dough stretches as thin as it can – nearly the size of the baking sheet.
3. Using a pastry brush and a bowl of cold water, lightly brush the stretched dough with a little water to give it a glossy finish. Prick the dough all over with a fork. If you choose, sprinkle with sea salt or seeds. For neat crackers, score the dough into grids with a chef knife.
4. Bake until the dough is crisp and golden and snaps apart, 15 to 20 minutes. (Check after 10 minutes to make sure it doesn’t overcook.) Break into pieces and serve. Repeat steps 2 through 4 with remaining dough round. Makes 2 cracker sheets.

Note: You can substitute white spelt flour for all-purpose flour. Use 1 1/2 cup plus 1 tablespoon instead.