Do you remember being a kid at one of those colonial villages where a lady dressed in traditional attire churned cream into butter before a crowd of visitors? She’d moved the large wooden stick up and down like she was some of sort witch working with her caldron. And the resulting potion was pretty magical. Butter!
But looking back, I had no idea what was actually happening, nor could I see the transformation behind the wooden barrel.
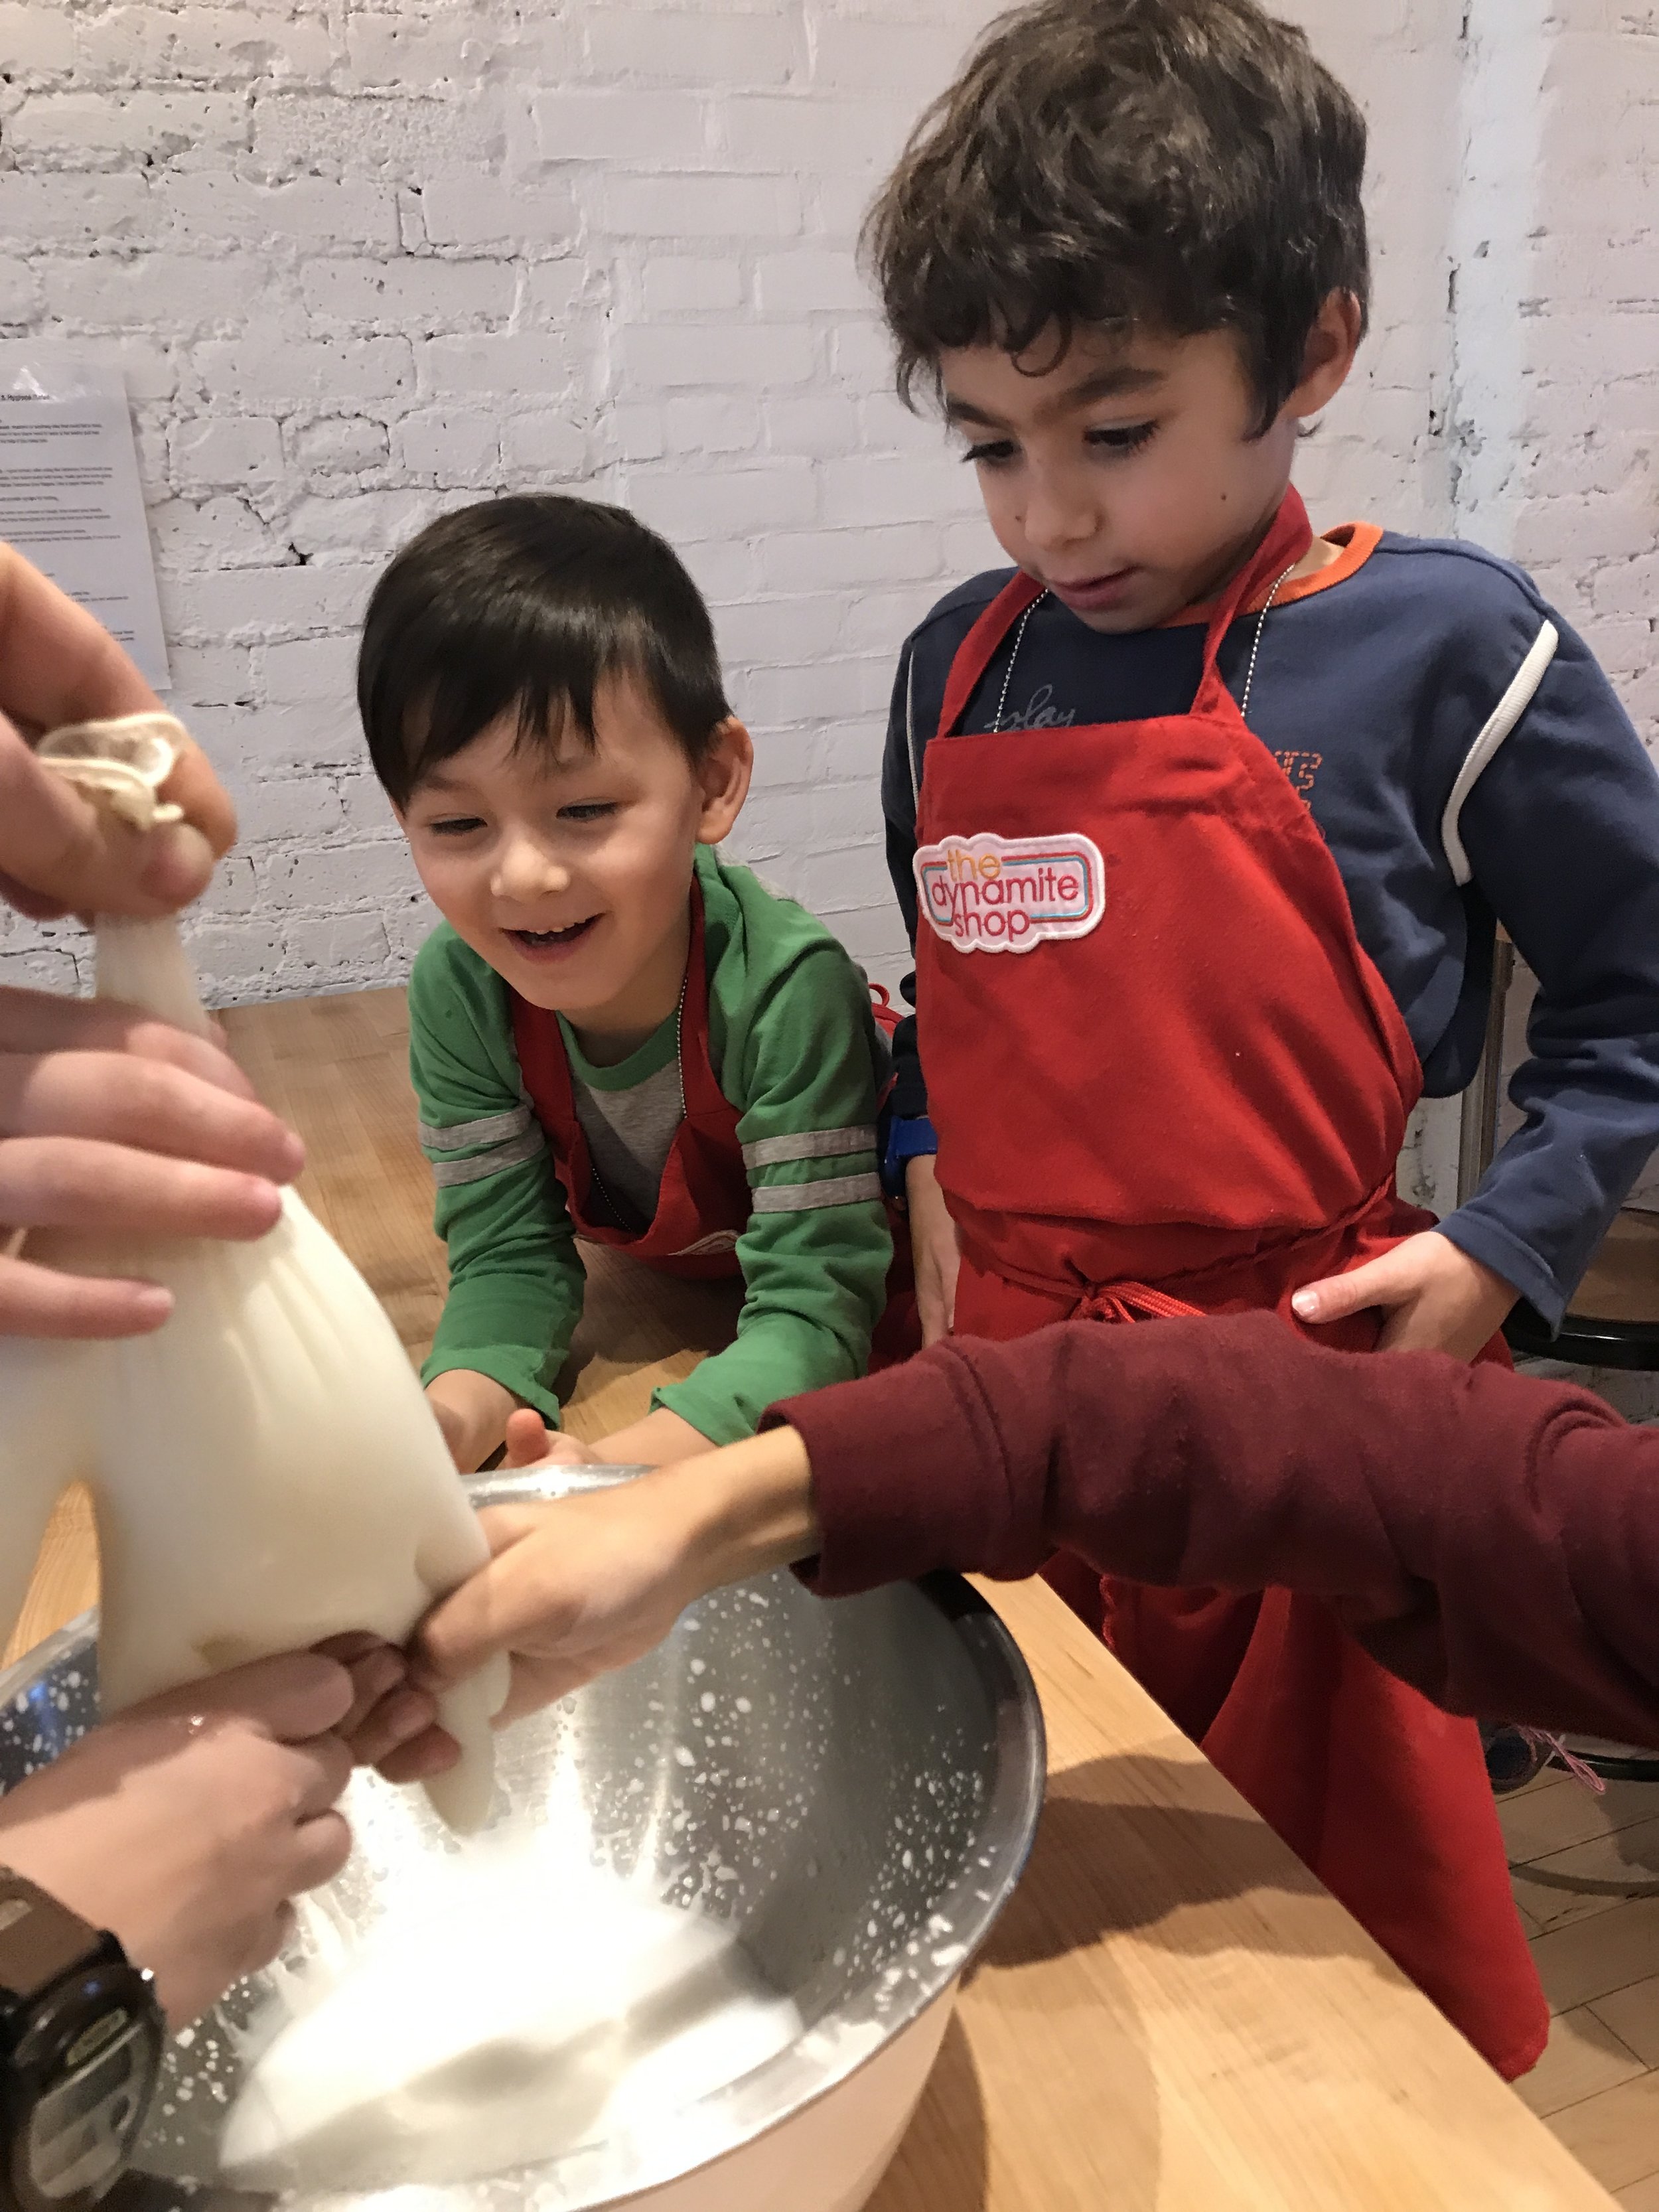
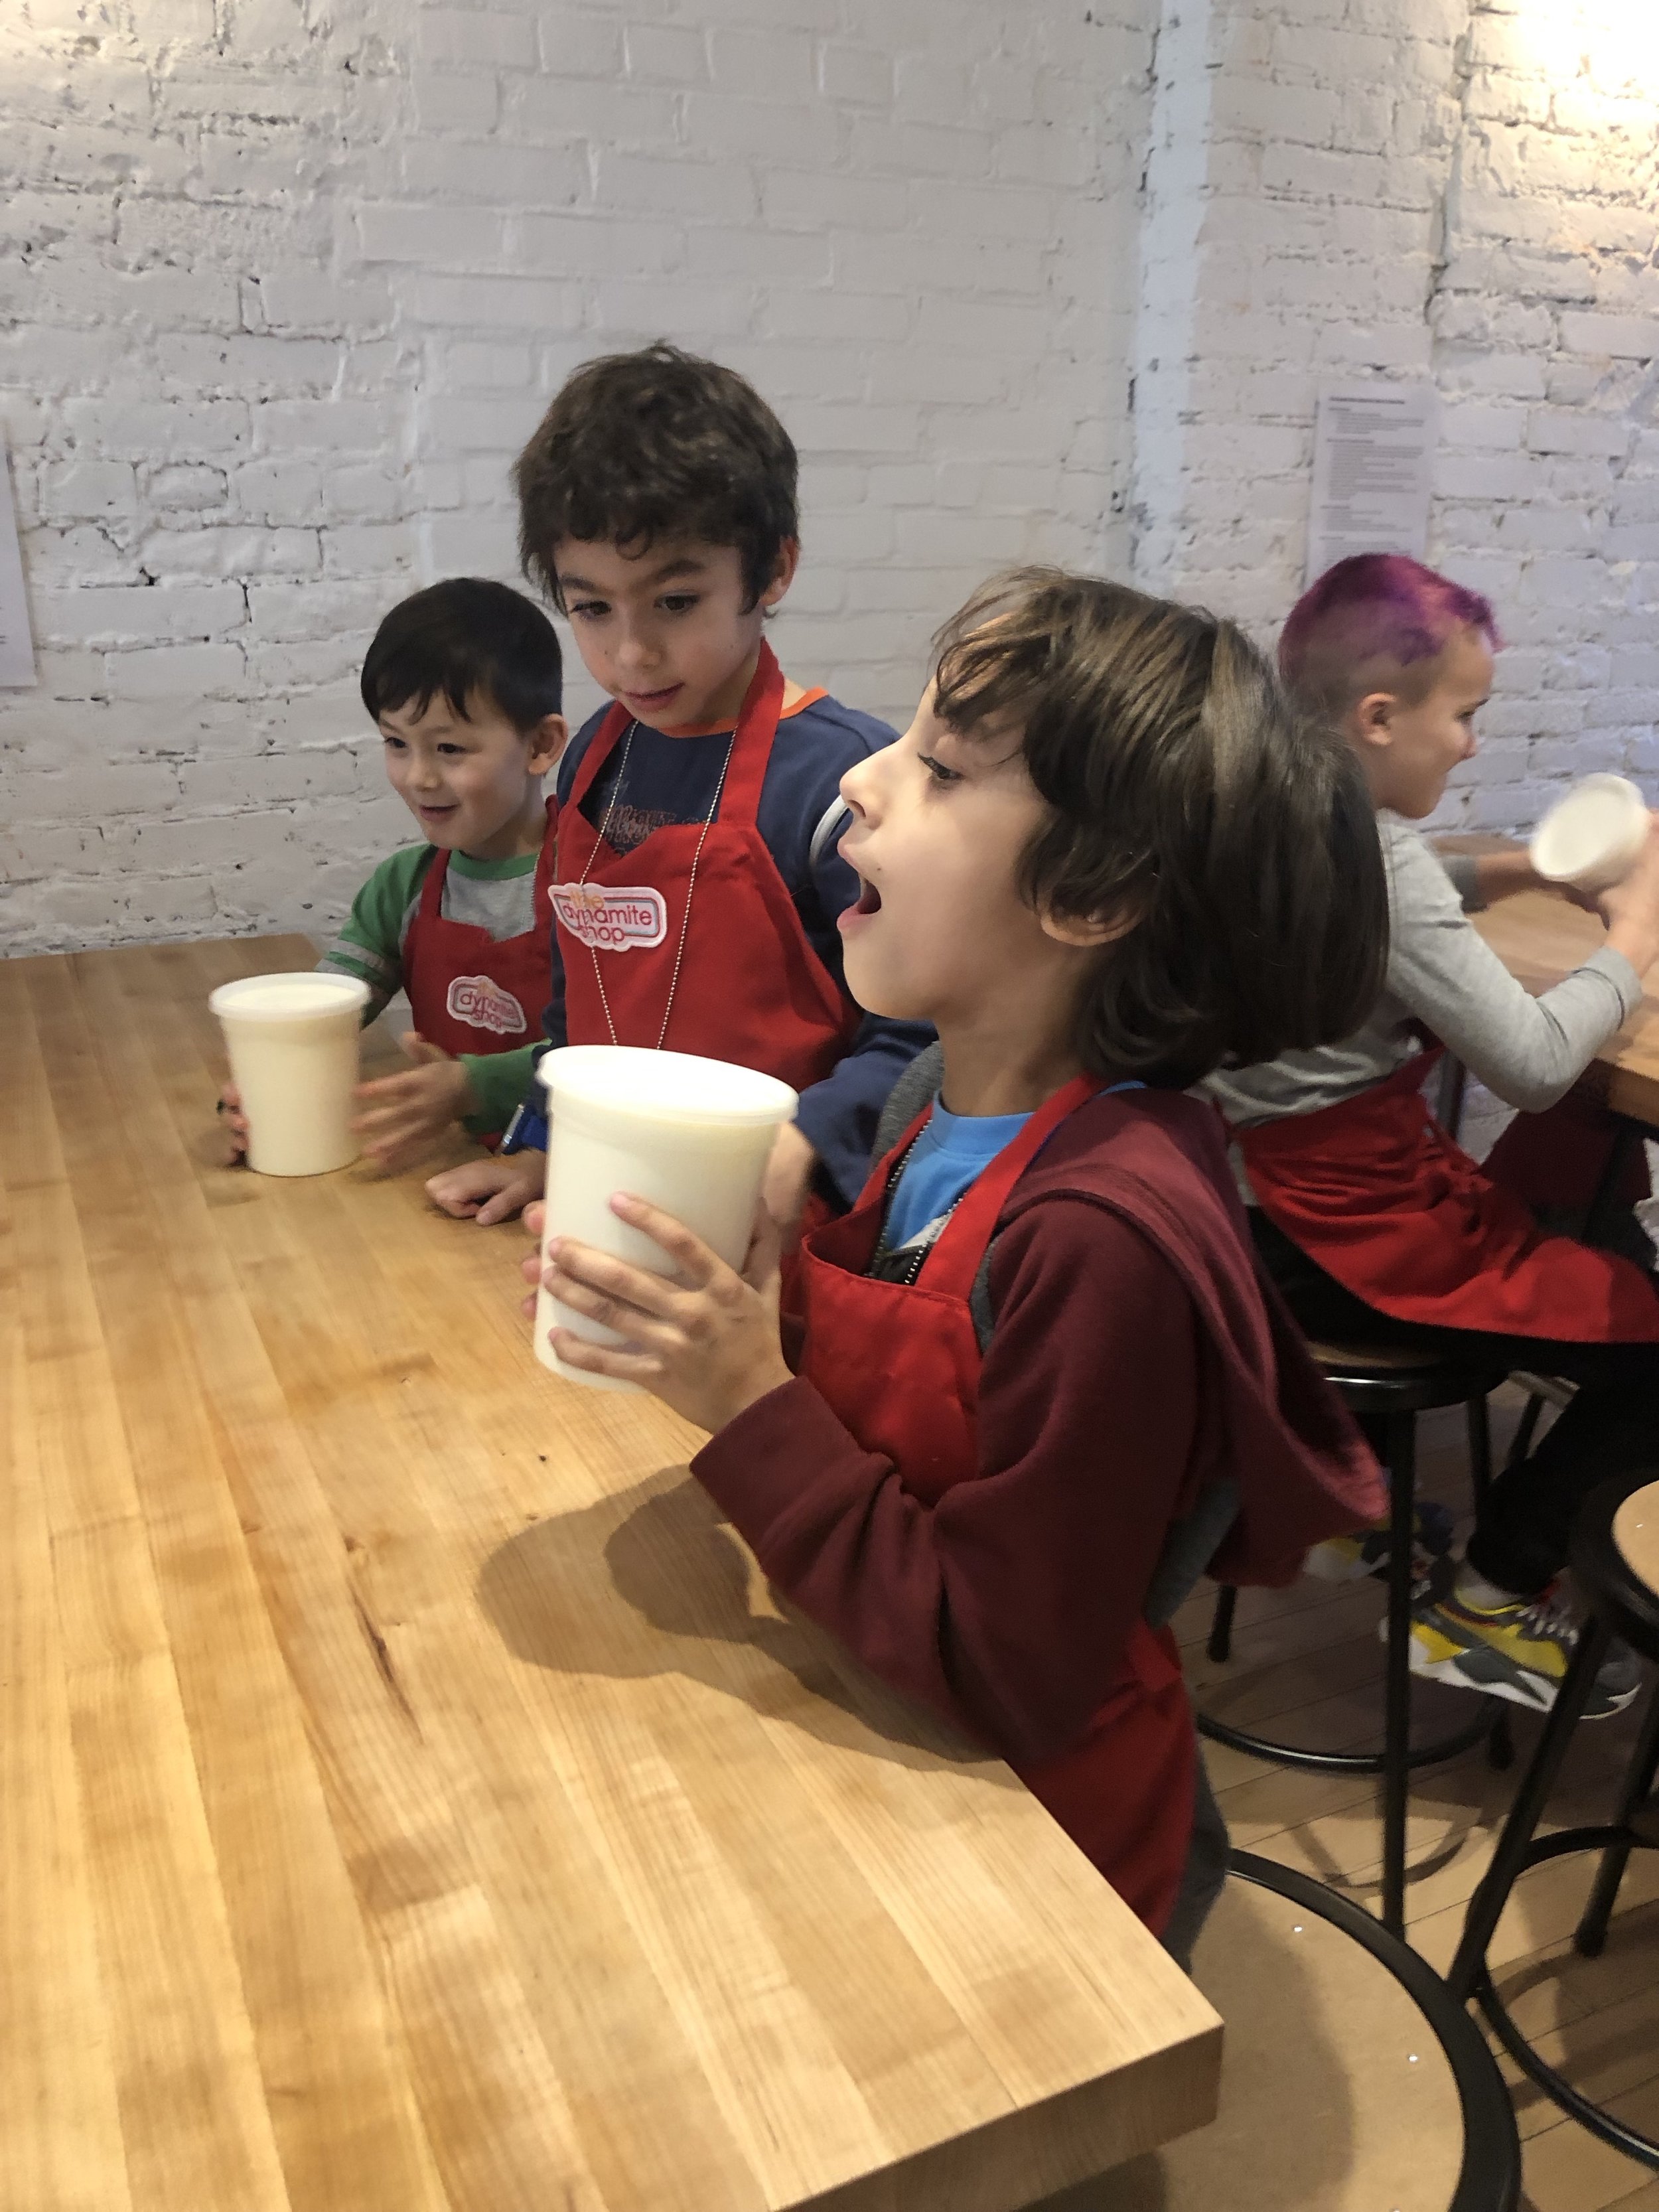
This is one of a few reasons why the first lessons in my Food Arts and Sciences course is learning to make butter by simply shaking heavy cream in a sealed Ball jar – the transformation should be observed through glass and tasted as you go.
Another reason we discuss milk and cream early on is because they are ubiquitous food around the world – that contain the staff of life – a complete protein, fat, and carbohydrate all in one. Various animals, not just cows, are milked – yaks in Nepal and Tibet, moose in Scandinavia, Canada and Russia, camel in Asia, reindeer in Sweden and Mongolia, horse in Central Asia, and donkey all over the globe.
And since kids need to move their bodies more during the school day, what better way to work up a sweat than as you create a delicious, natural food that can be immediately spread on toast and enjoyed?
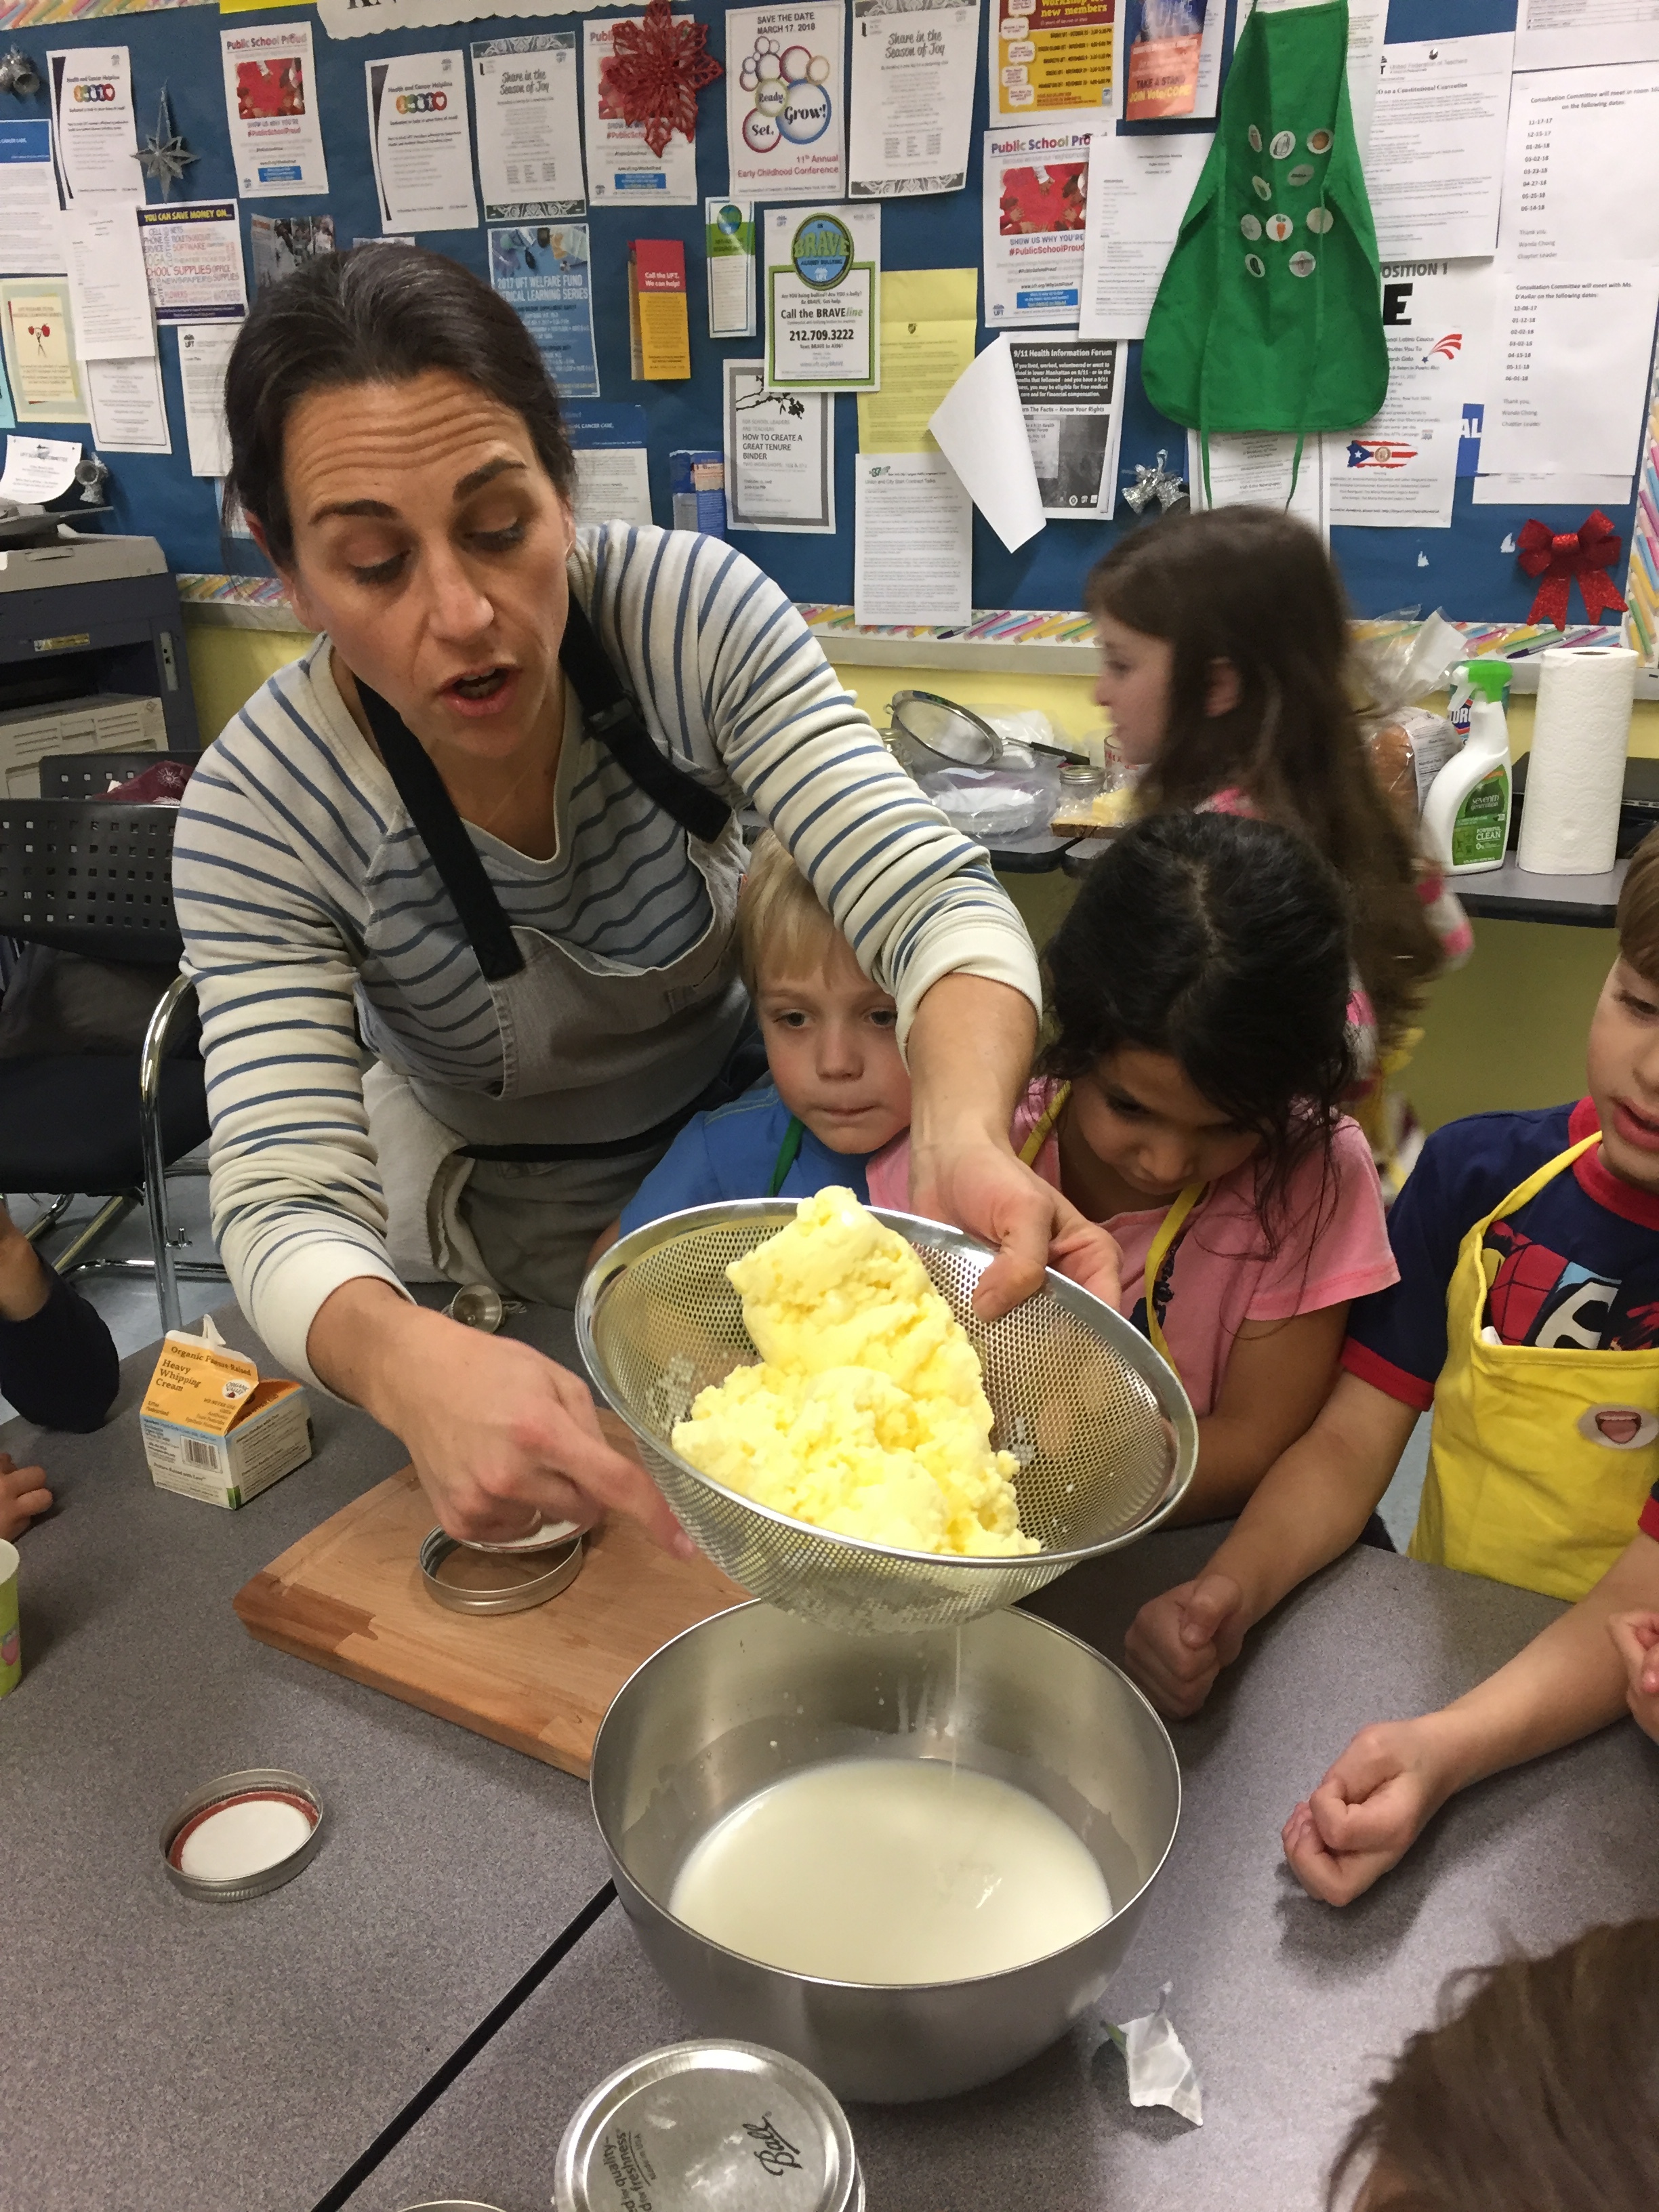
Shaking the jars takes time – give your class at least 15 minutes. When the cream goes from soft to stiff peaks, it’s cool to stop and let your students take a lick. Put the lid back on and continue shaking until it doesn’t feel like you can possibly shake anymore. Just when you’re about to give up, the whipped cream suddenly turns yellow and the white buttermilk starts splashing around. Strain the buttermilk out, making sure to let the students sample it. It tastes like delicious milk. The transformation of cream into butter also teaches us the science behind why dishes can break – think mayonnaise or chocolate. Tiny fat molecules are held in suspension and when heated or agitated can be separated out. Once separated they cannot be easily put back together. Below is the homemade butter recipe, which can also be made using a stand or hand mixer. While this is certainly less physical work, try making it in a jar at least once.
Homemade Butter
This recipe calls for a mixer, but you don’t need one. In class we made butter by placing 2 cups of cream in a quart-sized sealed jar and shaking it for about 15 minutes. It’s a workout but pretty fun!
4 cups heavy cream
Kosher salt
Maldon salt, for sprinkling on top
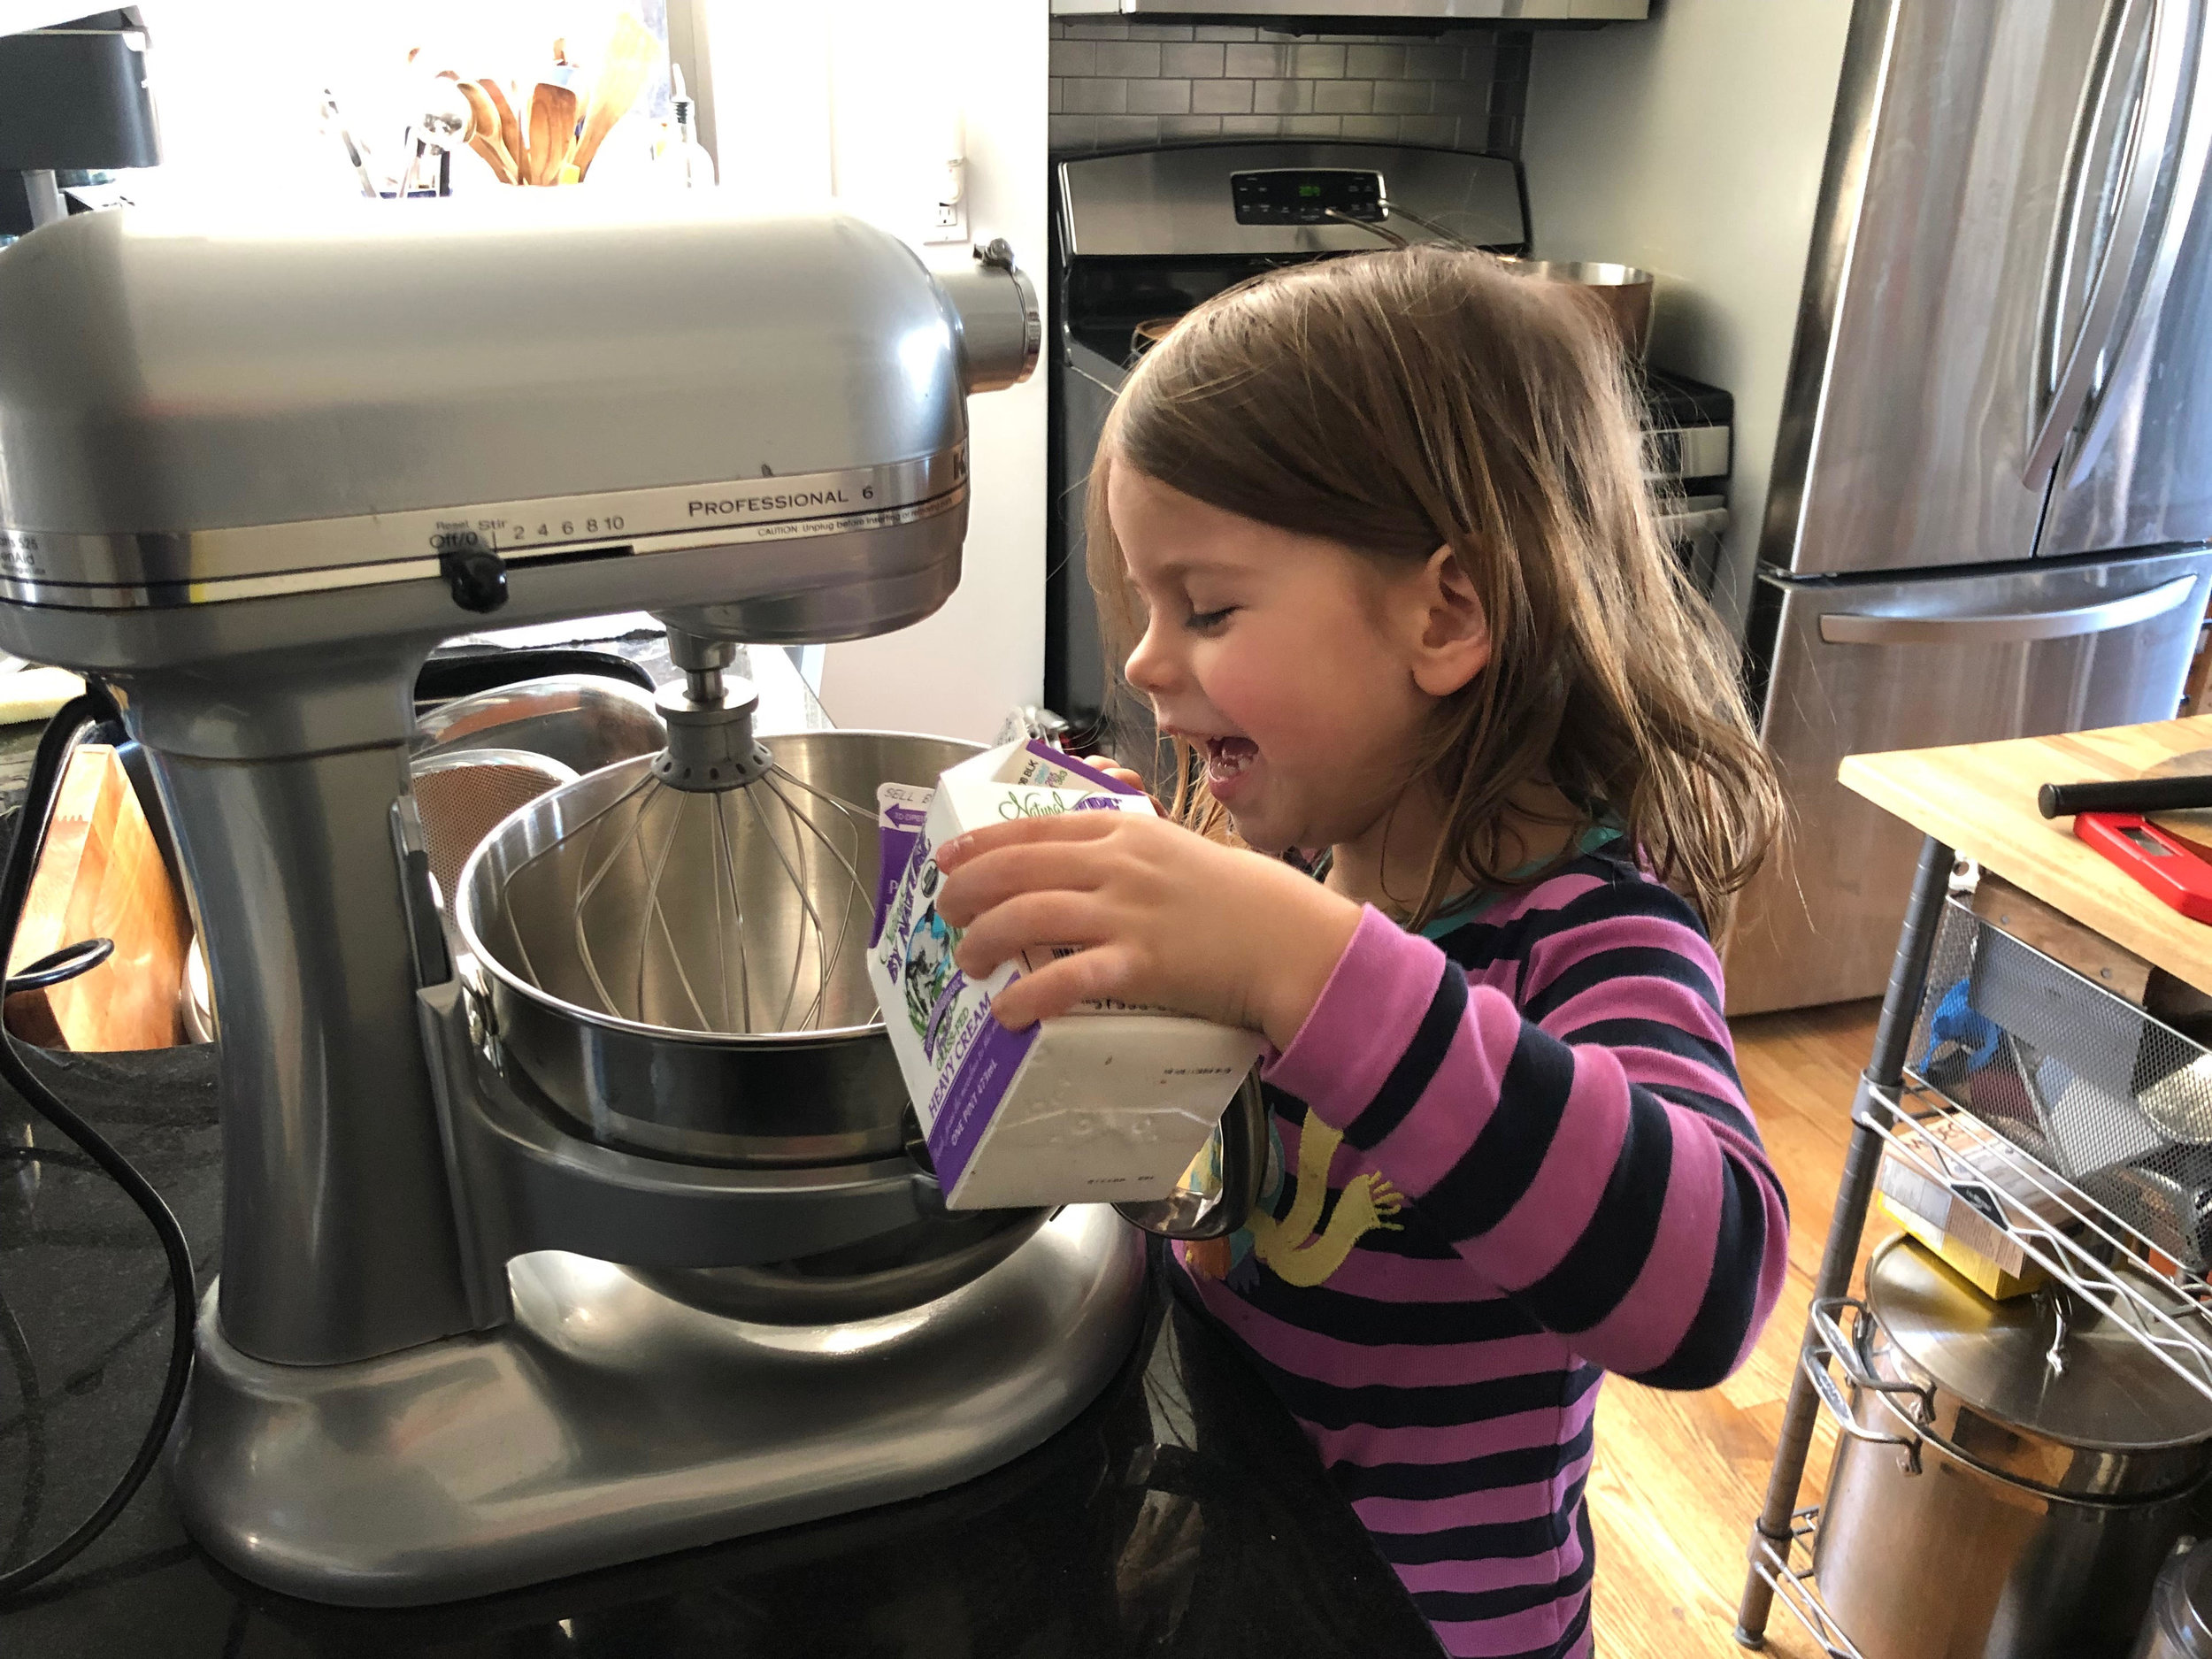
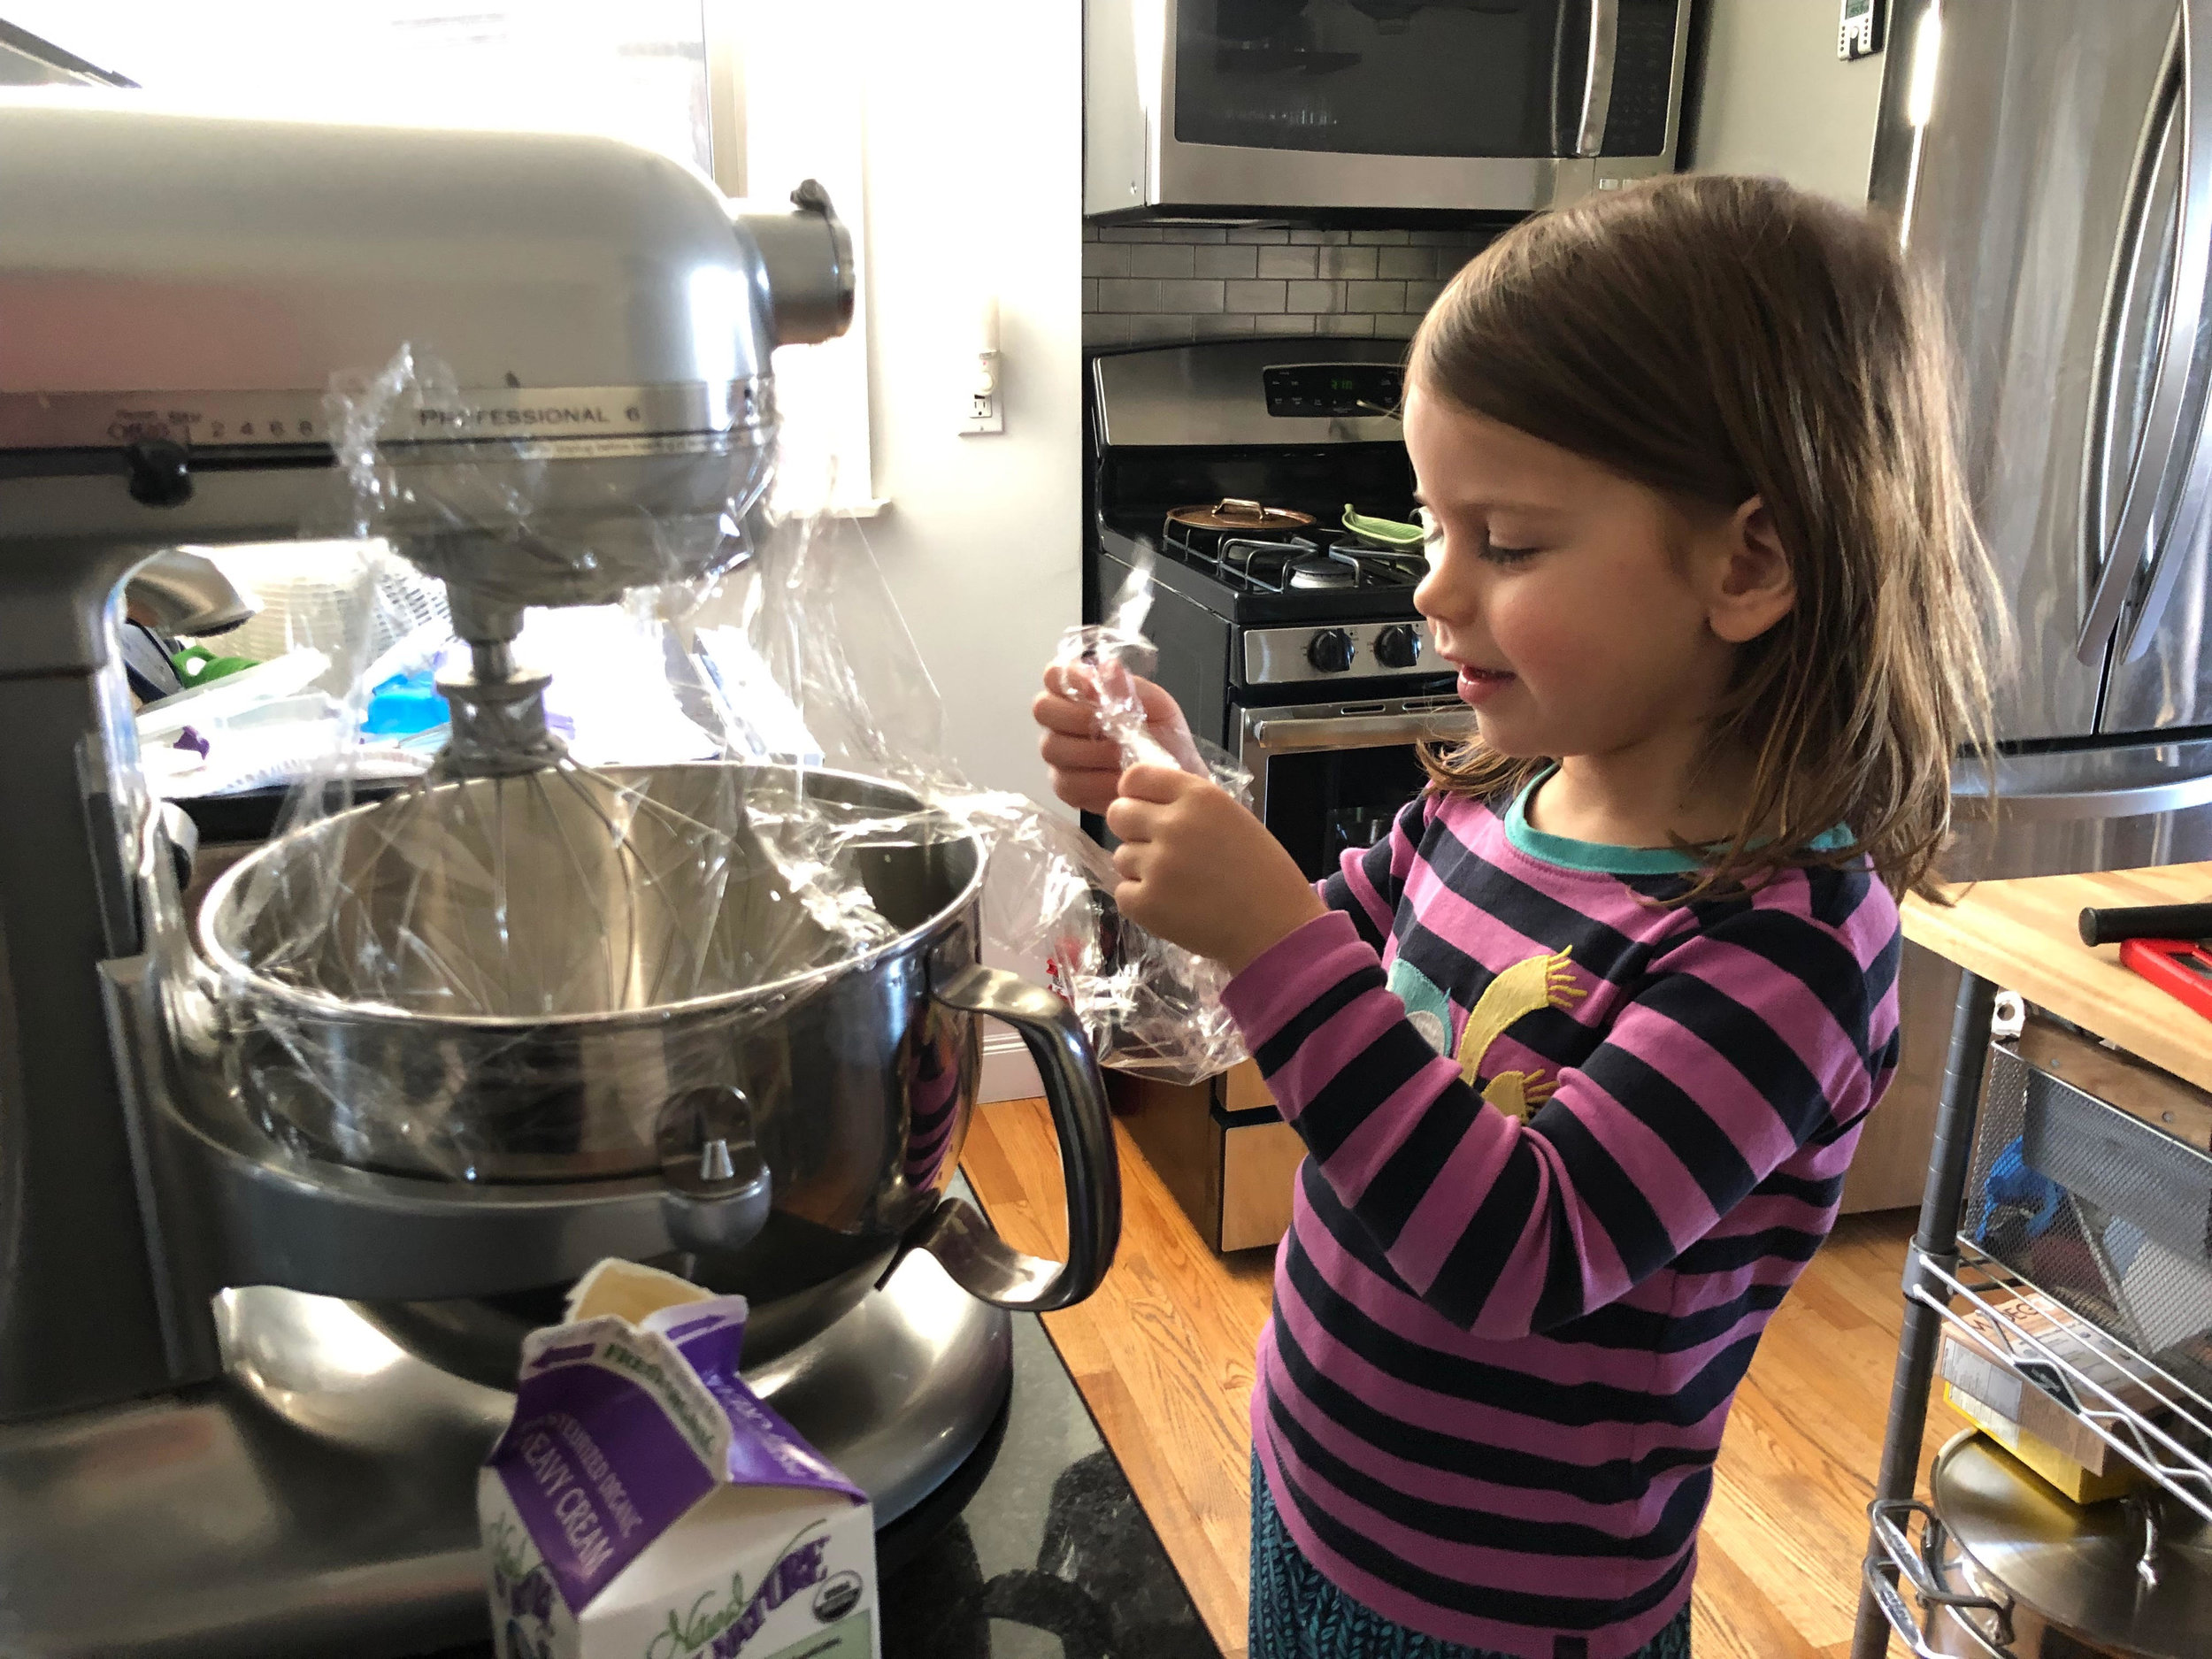
1. Place the cream in the bowl of a stand mixer fitted with a whisk attachment. Place plastic wrap around the top of the mixing bowl, sealing it to the top of the mixer, so that the cream, and later the buttermilk, doesn’t whip out of the bowl and all over the kitchen.
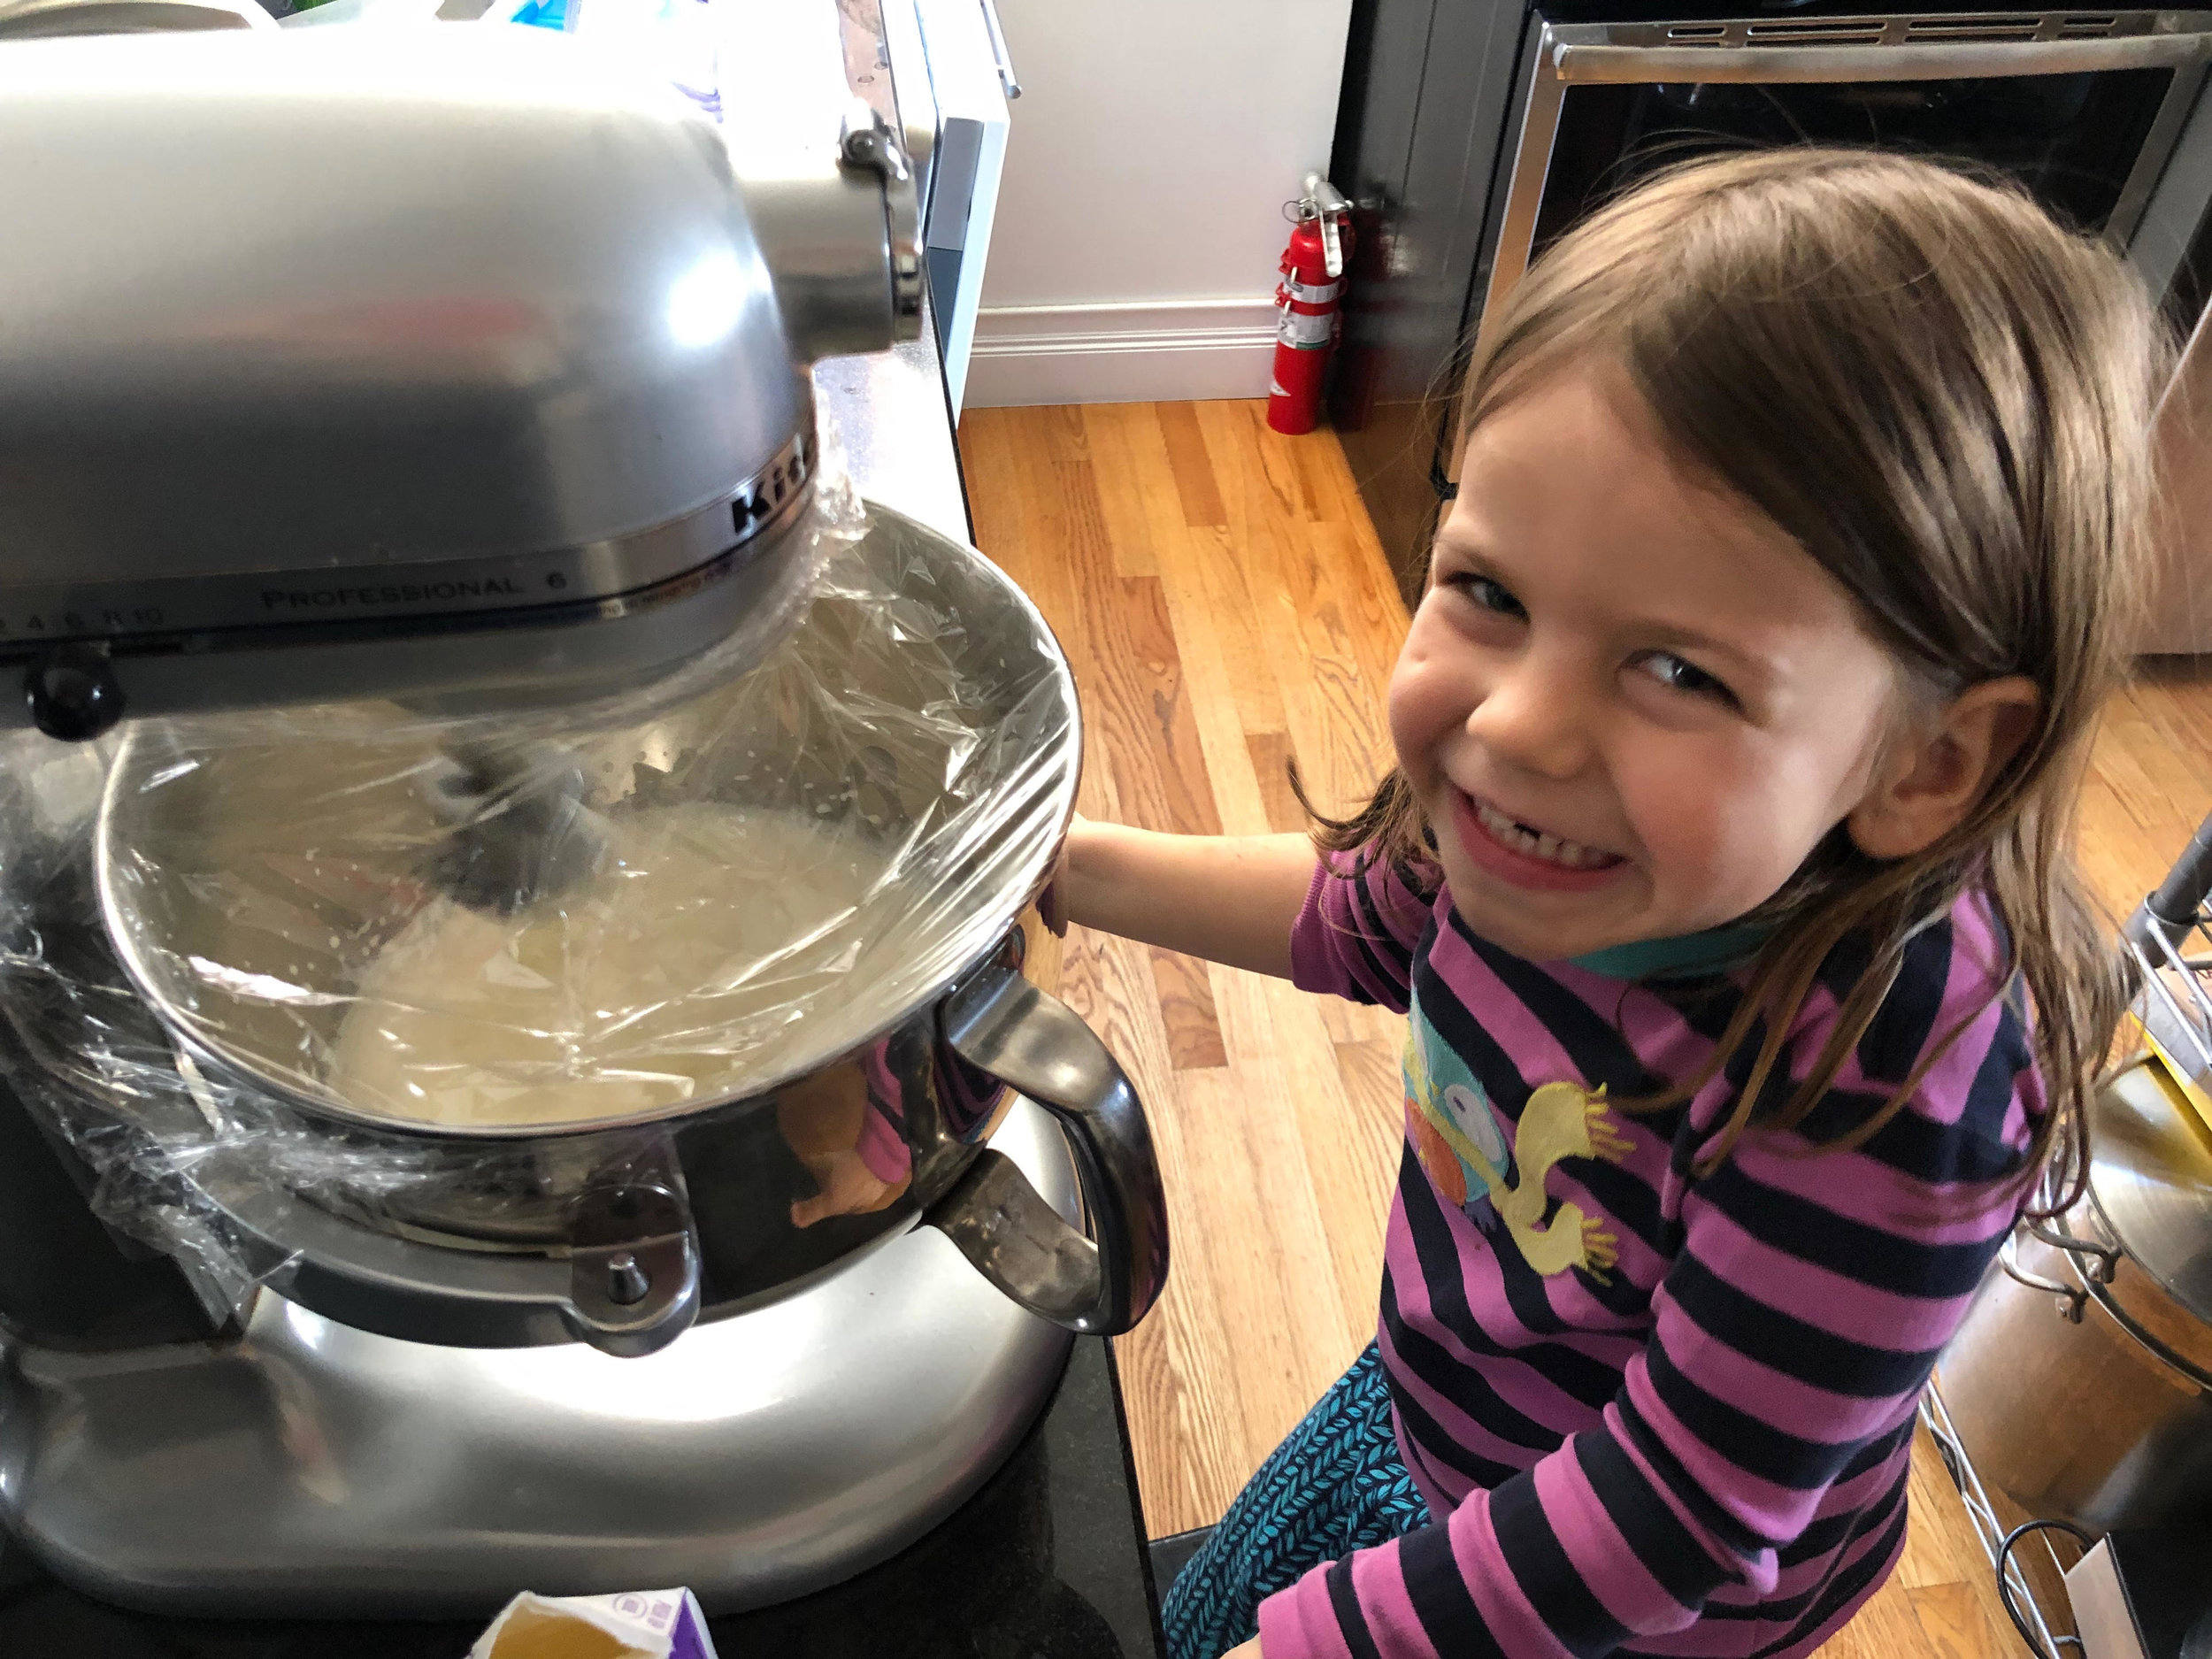
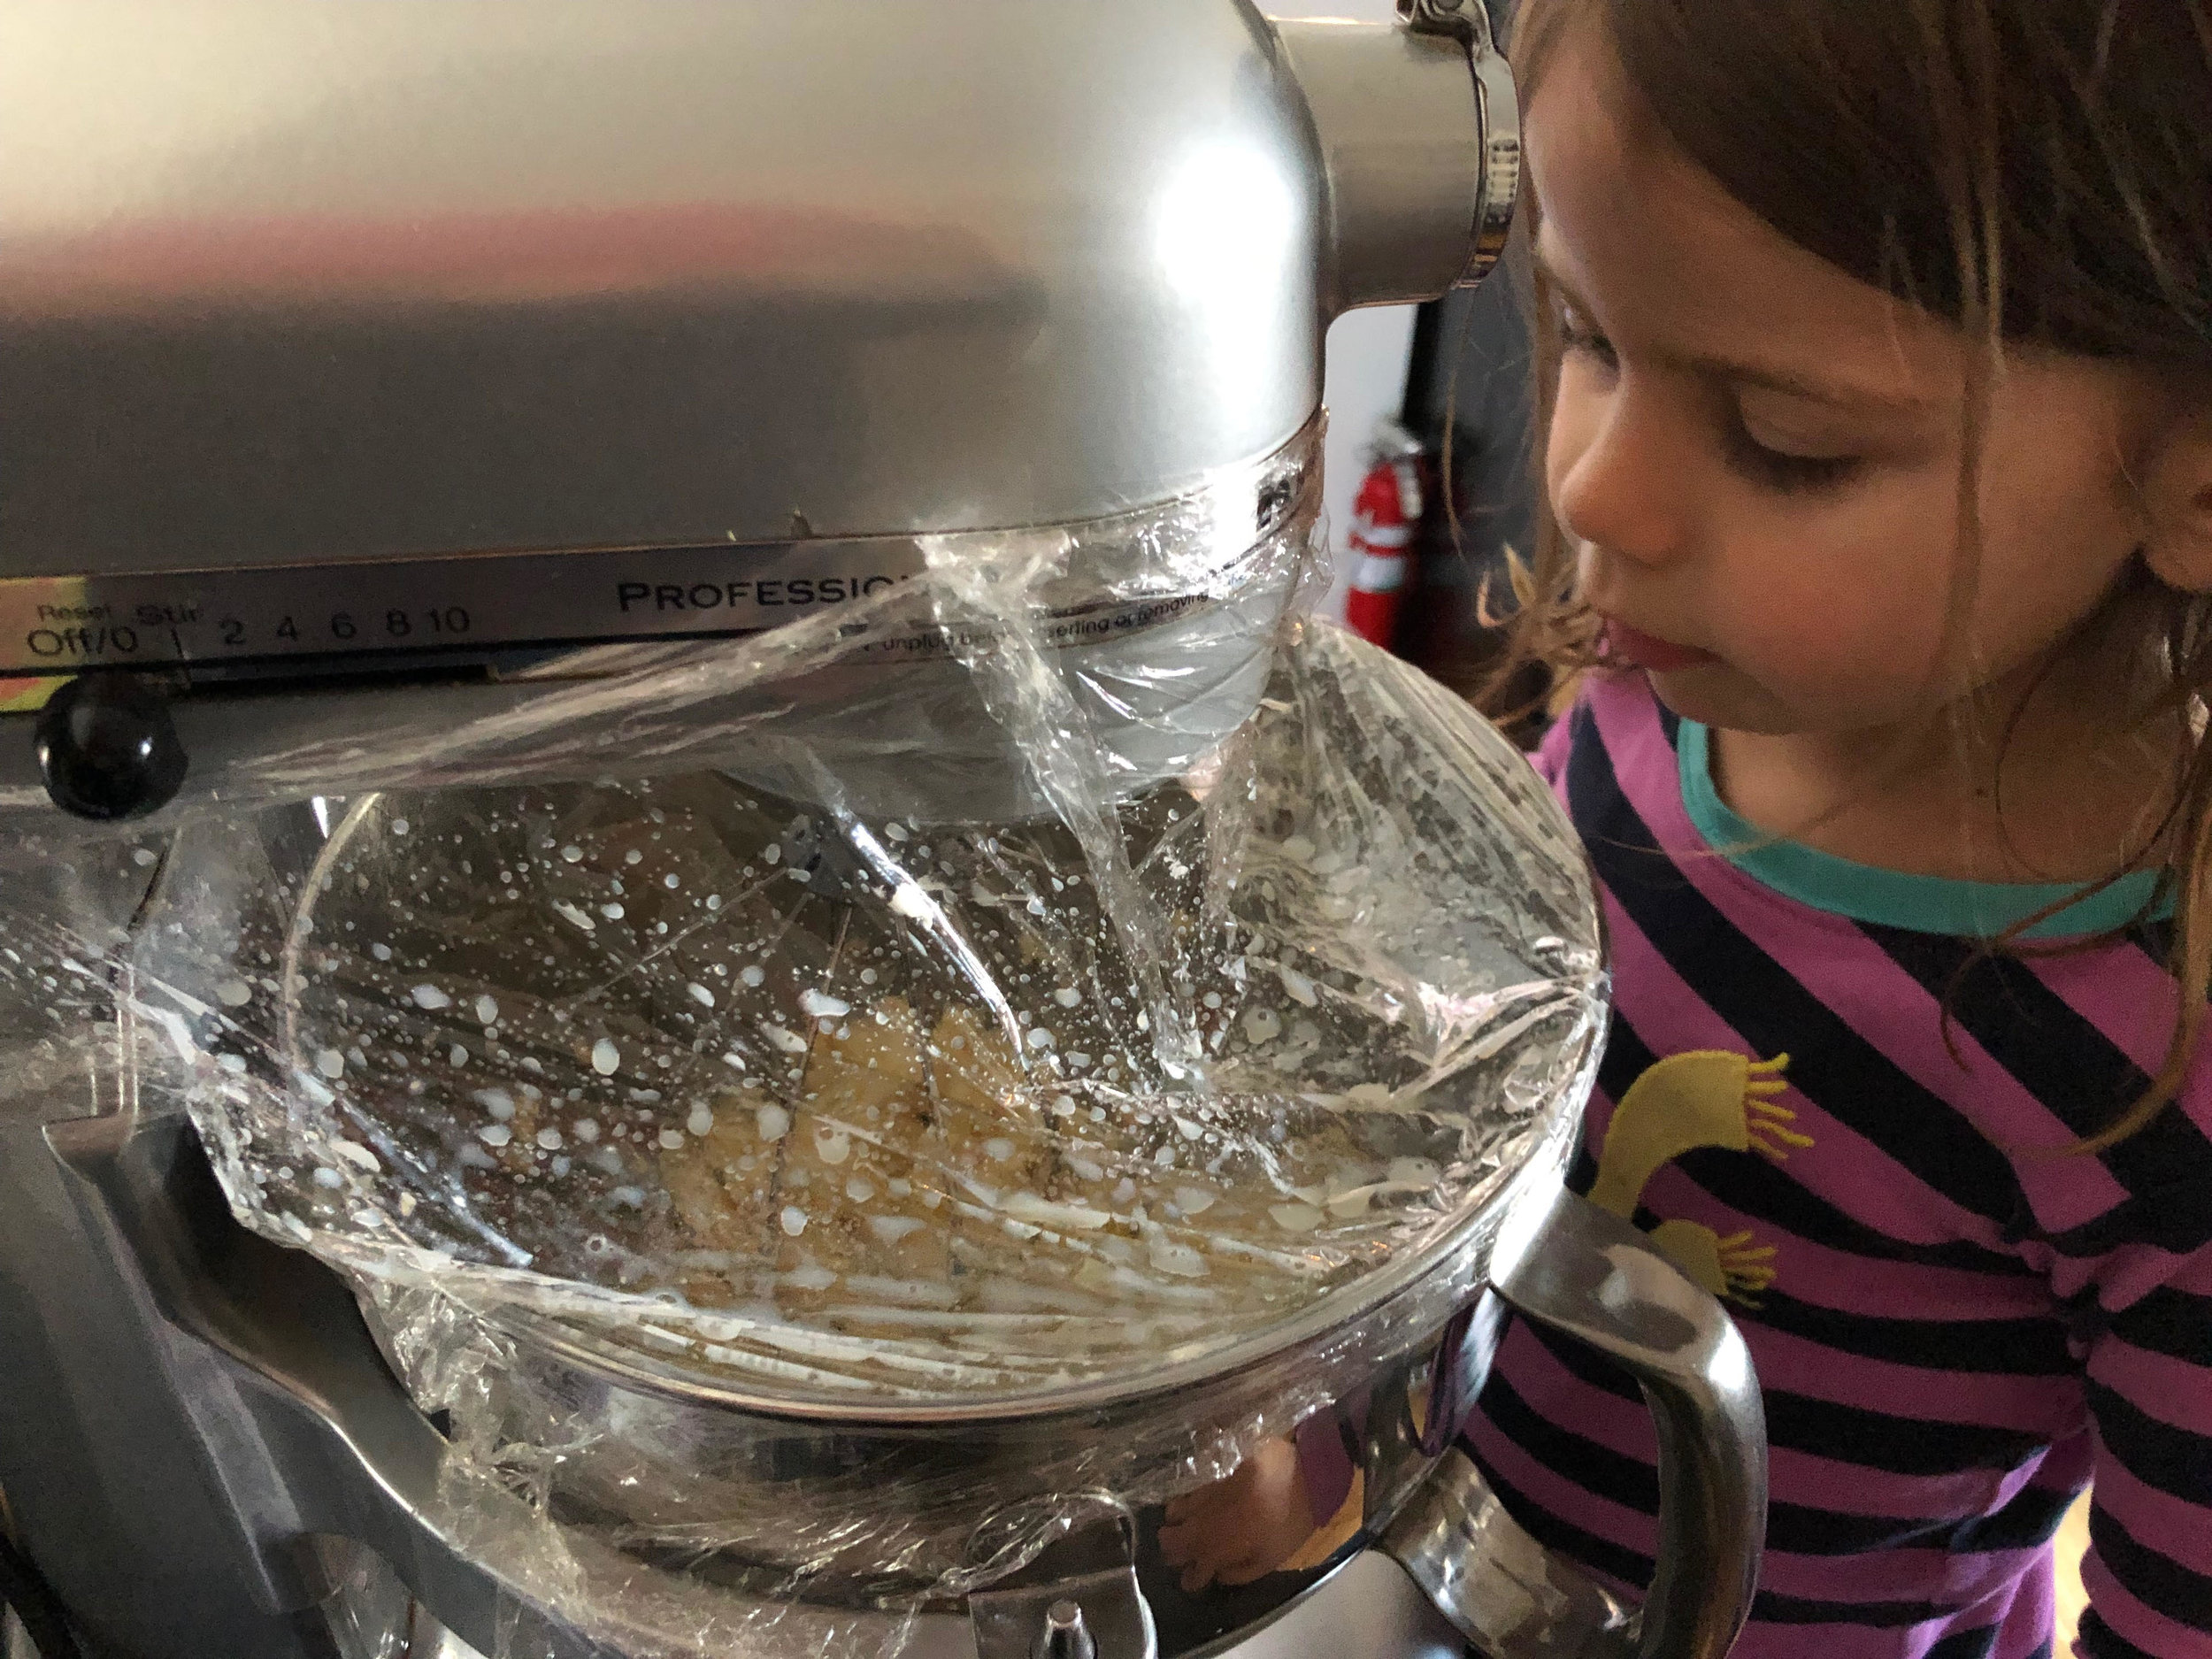
2. Whip on medium speed to thicken. Then whip on medium-high until suddenly the mixture thickens into yellow butter solids and a translucent liquid or buttermilk, roughly 5 to 8 minutes more.
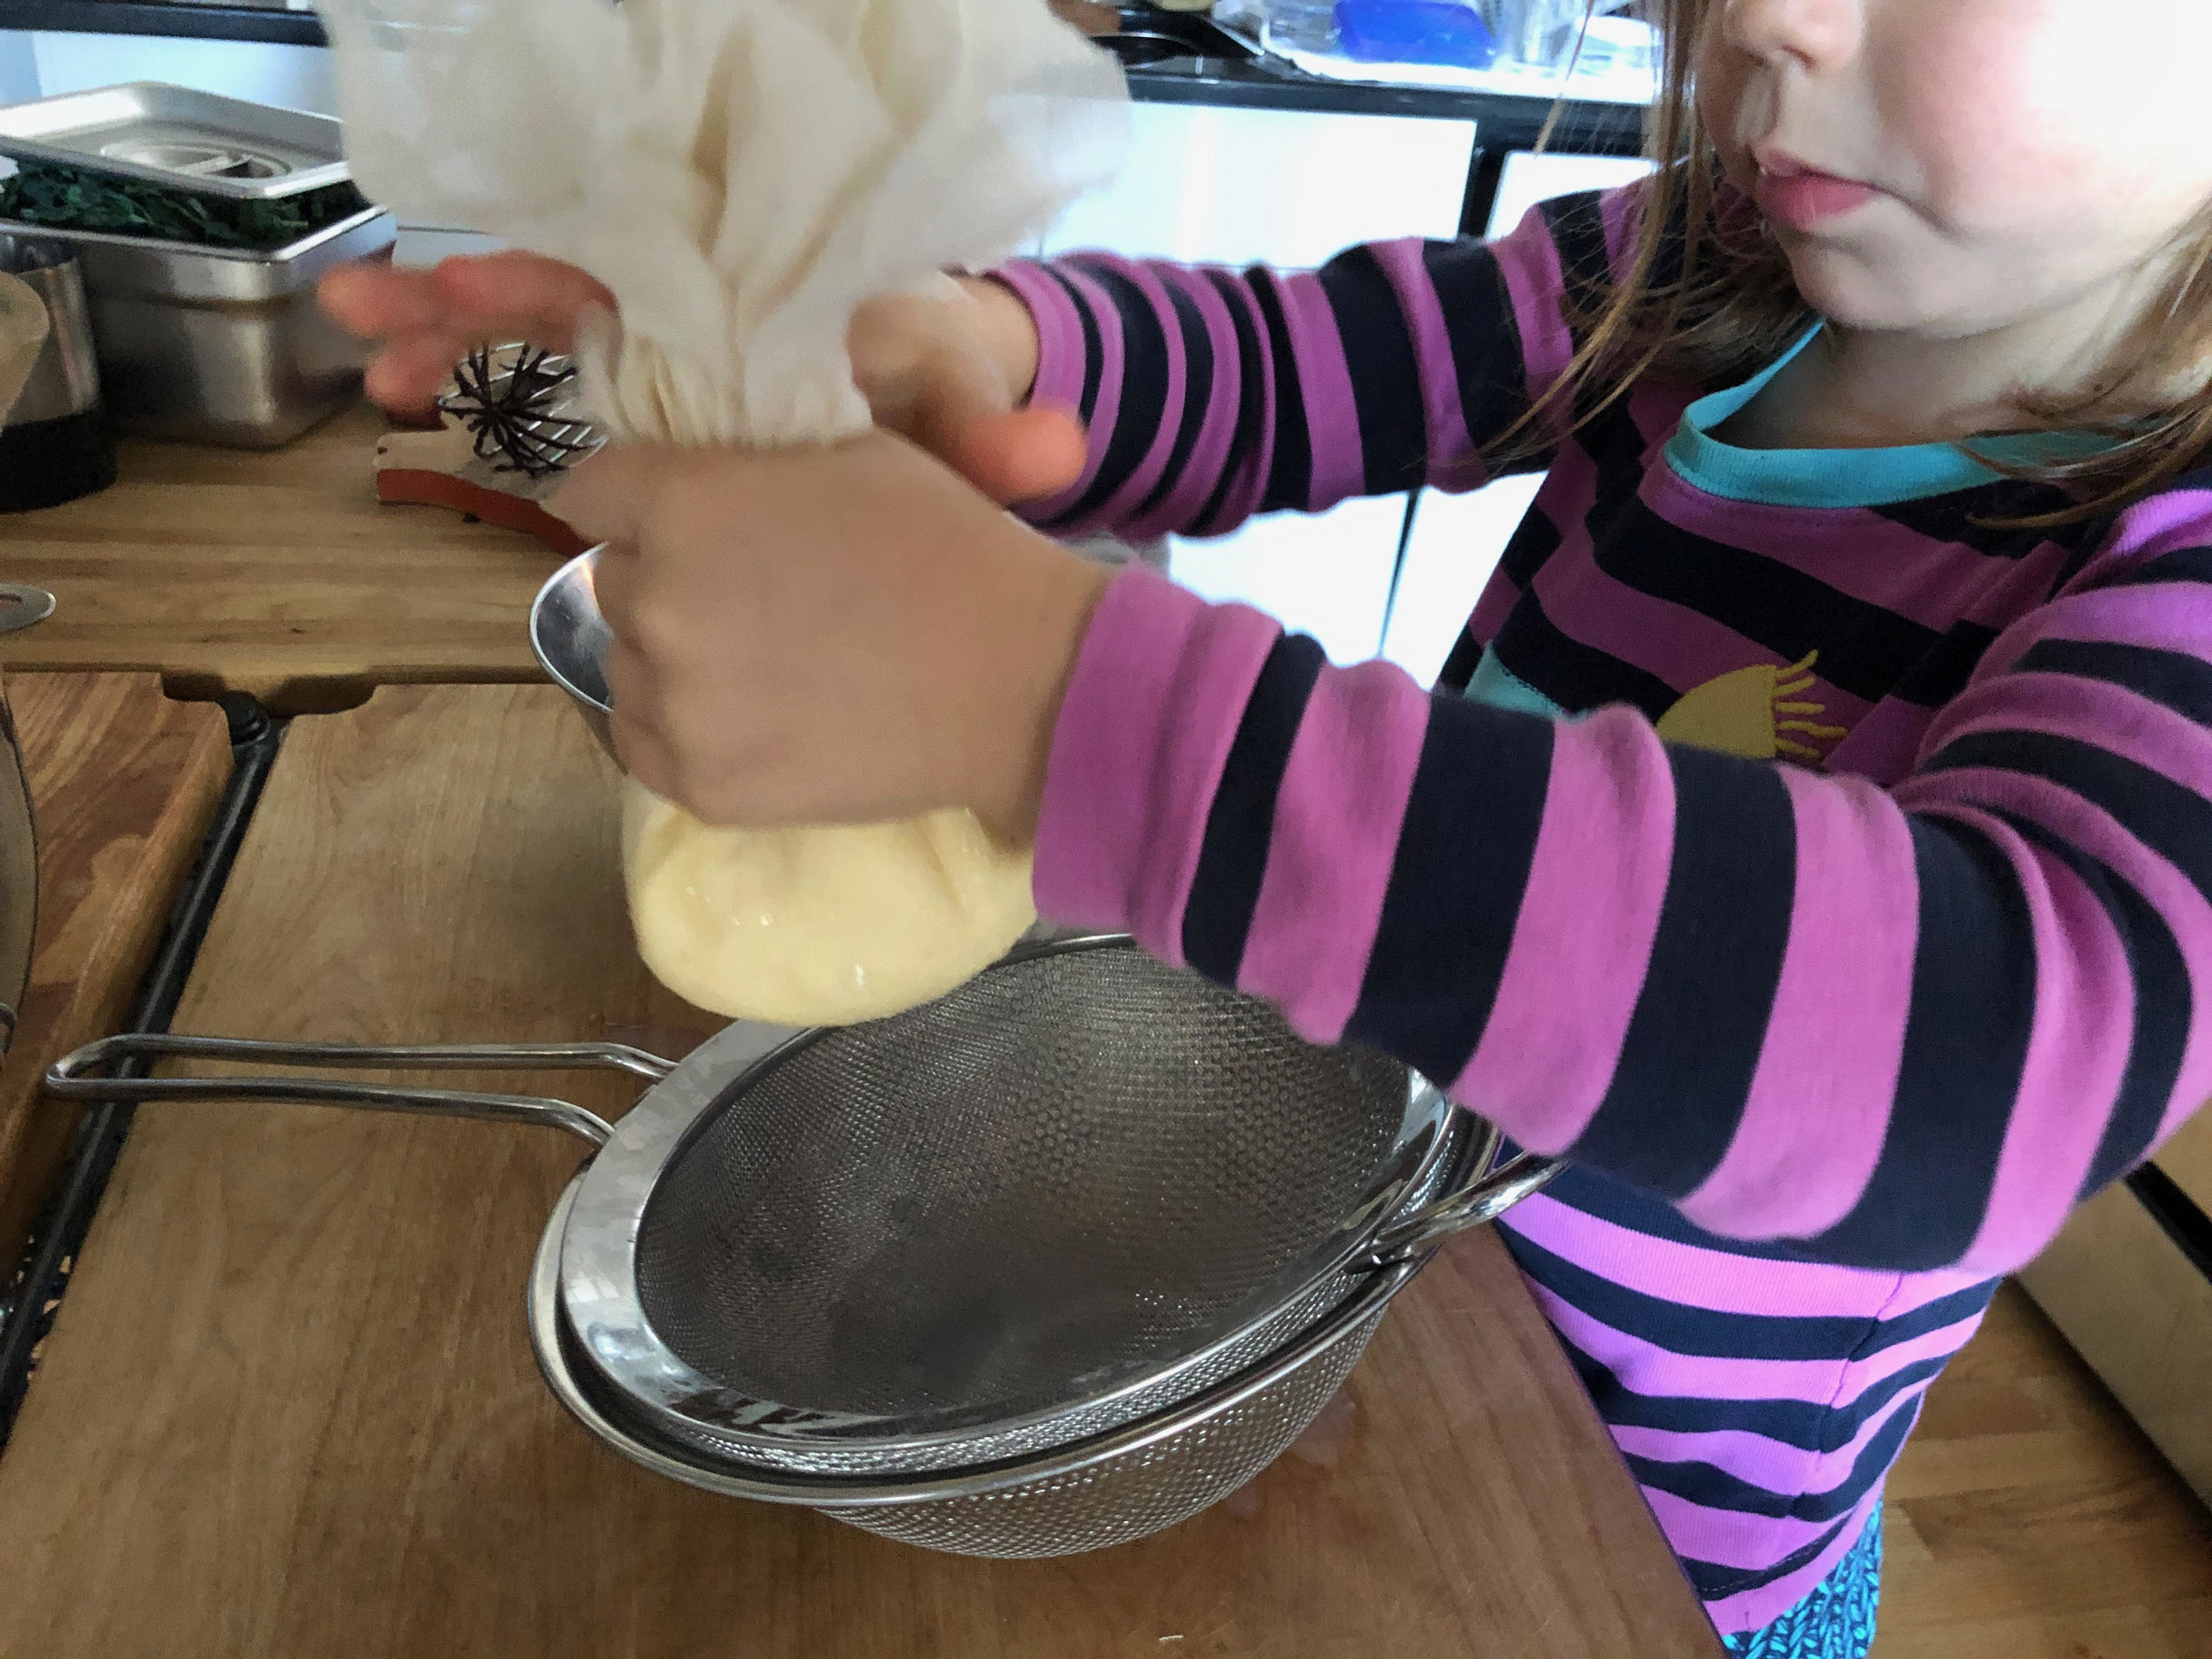
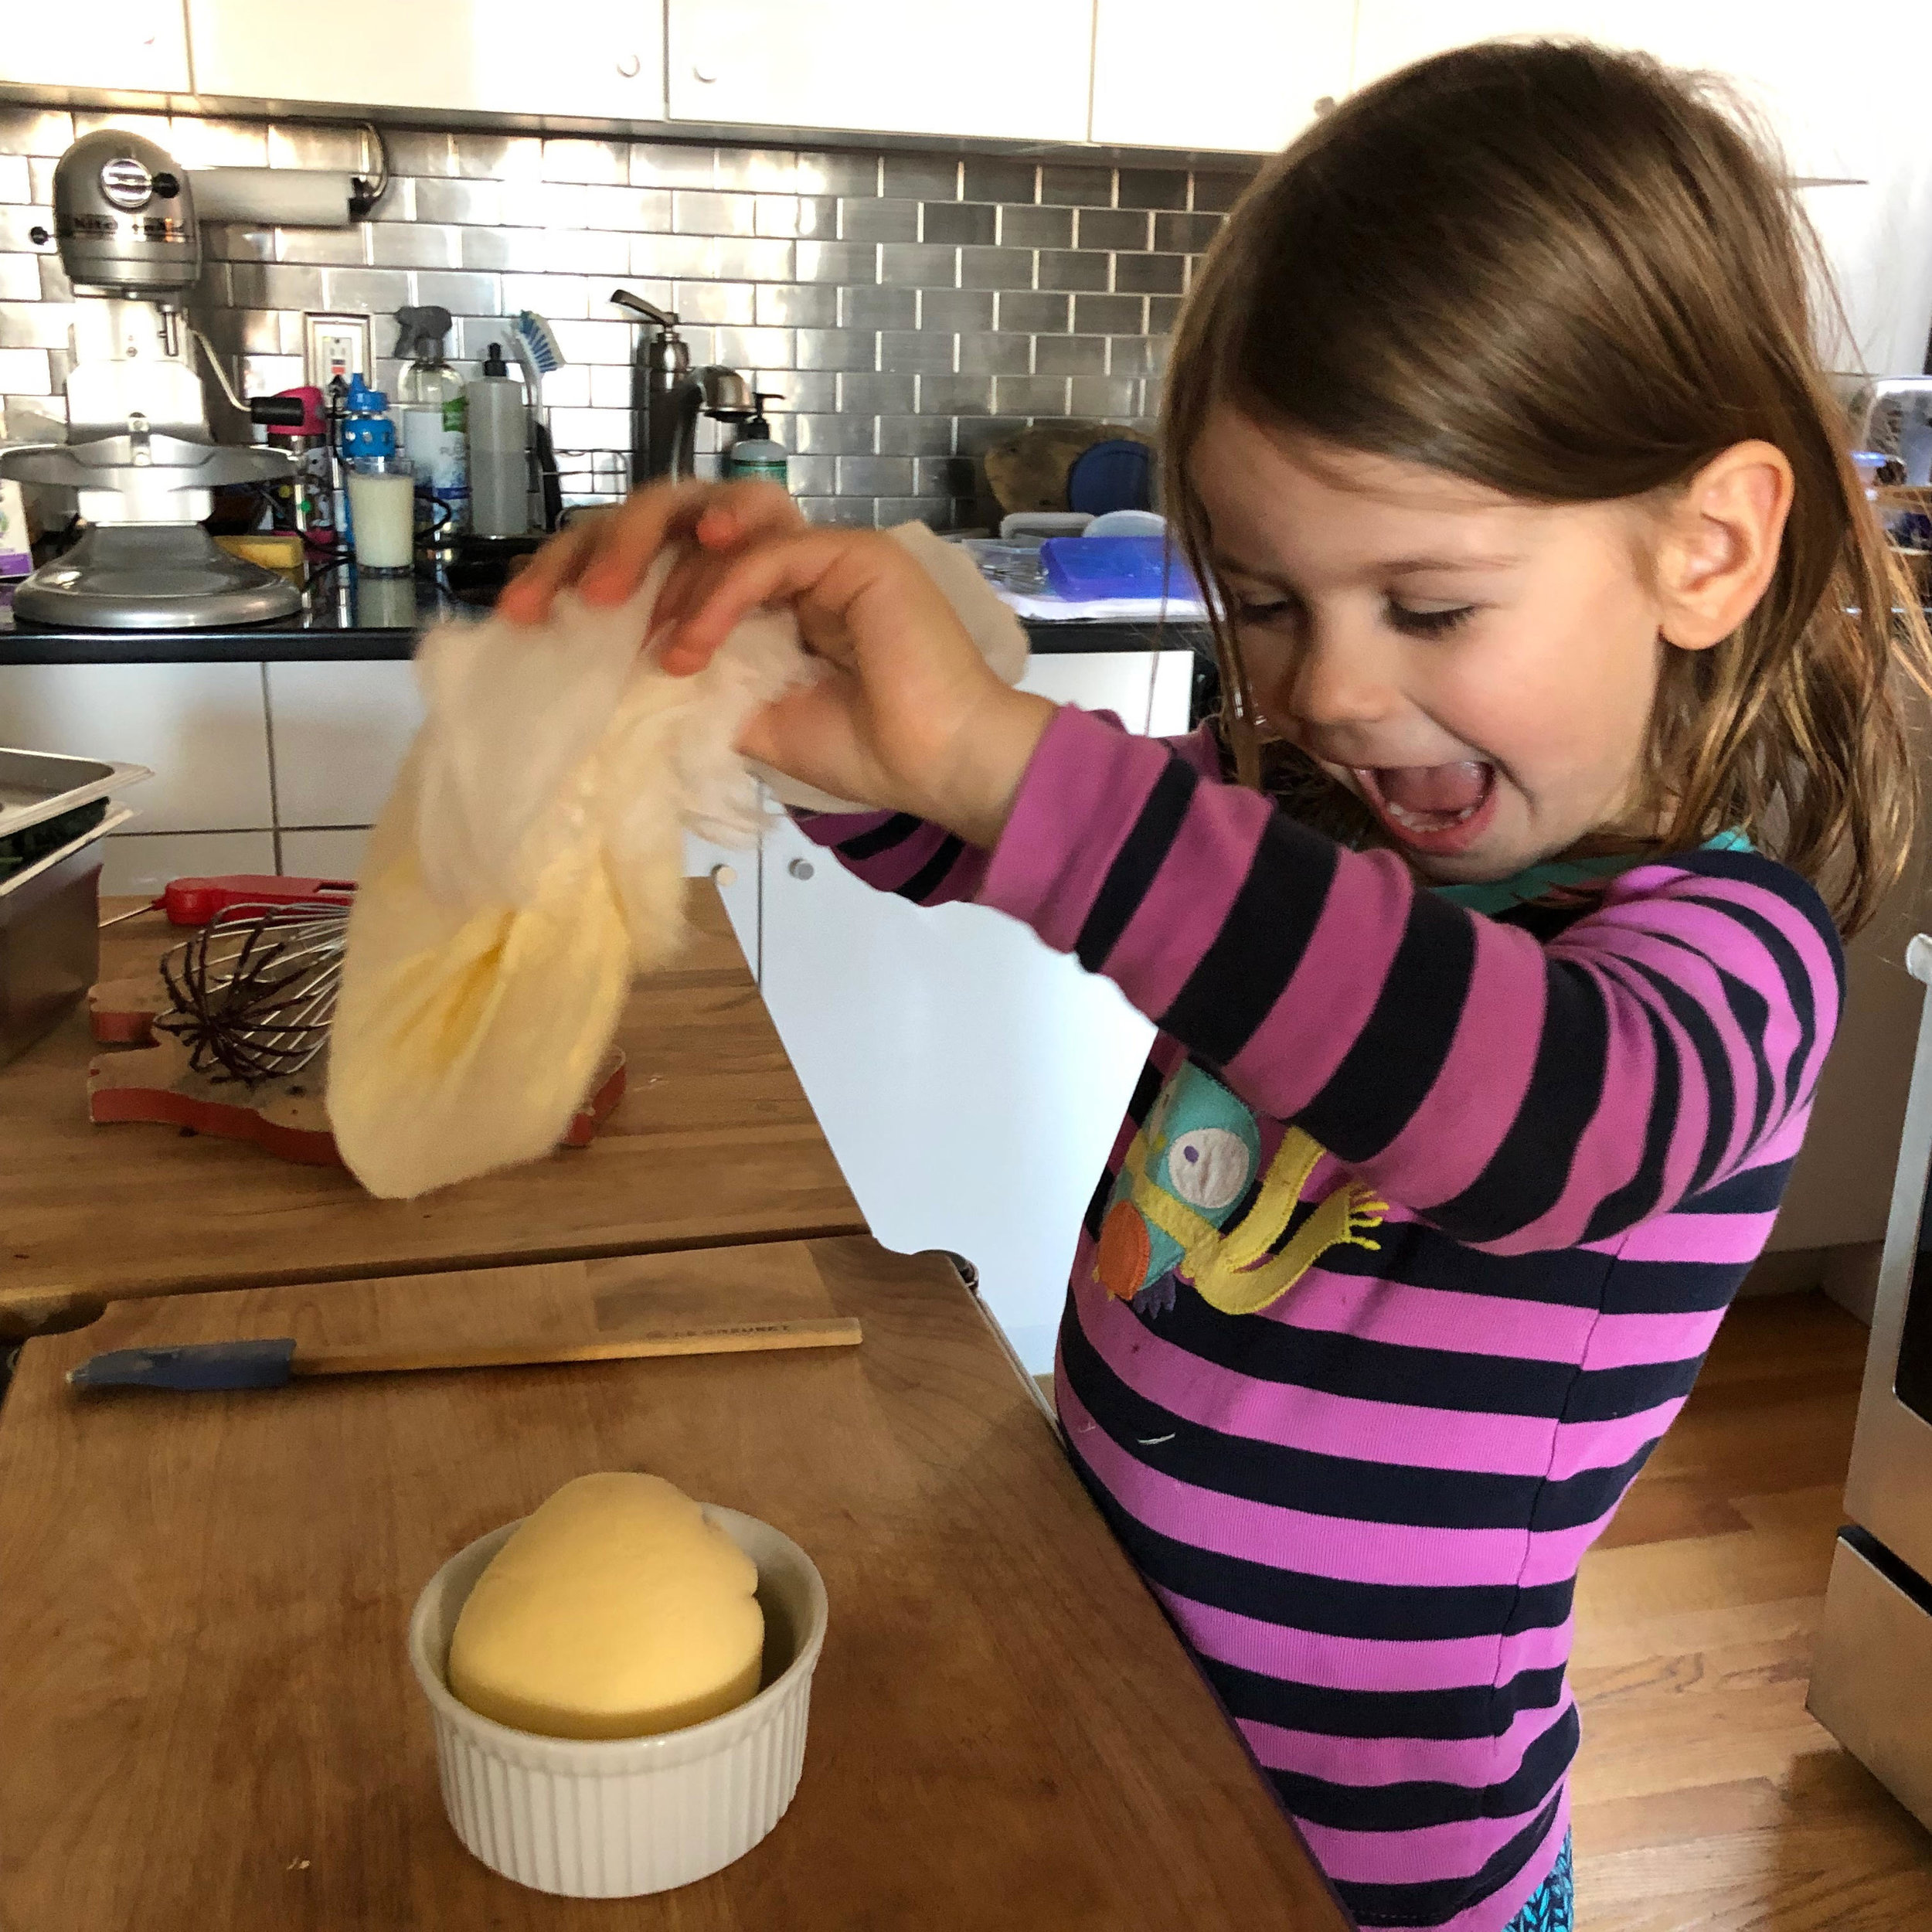
3. Set a strainer over a bowl. Pour the butter and buttermilk into the strainer. (Save the buttermilk and use it in place of water in soups, breads, or smoothies.) Knead the butter on a cutting board or wrap in cheese cloth and squeeze to remove excess buttermilk. (You can dunk the butter in ice water to rinse off the excess buttermilk.) Sprinkle with salt and knead to combine. Place butter into container and top with Maldon sea salt. Butter will keep for about 1 week in the refrigerator. Makes about 1 1/3 cups.